Blue and white is such a classic combination. It is both fresh and calming with the relaxed feeling of a lazy summer’s day on the beach.
I used blue and white as the starting point for a quilt that would be a gift for my brother. He loves rummaging in charity shops so it seemed appropriate to use pre-loved shirts and create an upcycled quilt for him.
Trawling the local charity shops, I looked for men’s shirts in a variety of patterns. Anything would do – stripes, spots, checks, tone on tone designs – provided the fabric was 100% cotton and the colours were predominately blue and white. I even found a few floral, James May shirt style patterns. Best of all was the little boy’s demin blue shirt covered in dinosaur skeletons! I mean, who doesn’t love a dinosaur?

Stack of blue and white shirts
I wanted to keep the design uncomplicated so as to show off the patterns of the shirt fabrics. A straight forward nine patch block seemed just the ticket. The shirts were cut into 4 1/2 inch squares and sewn randomly together.
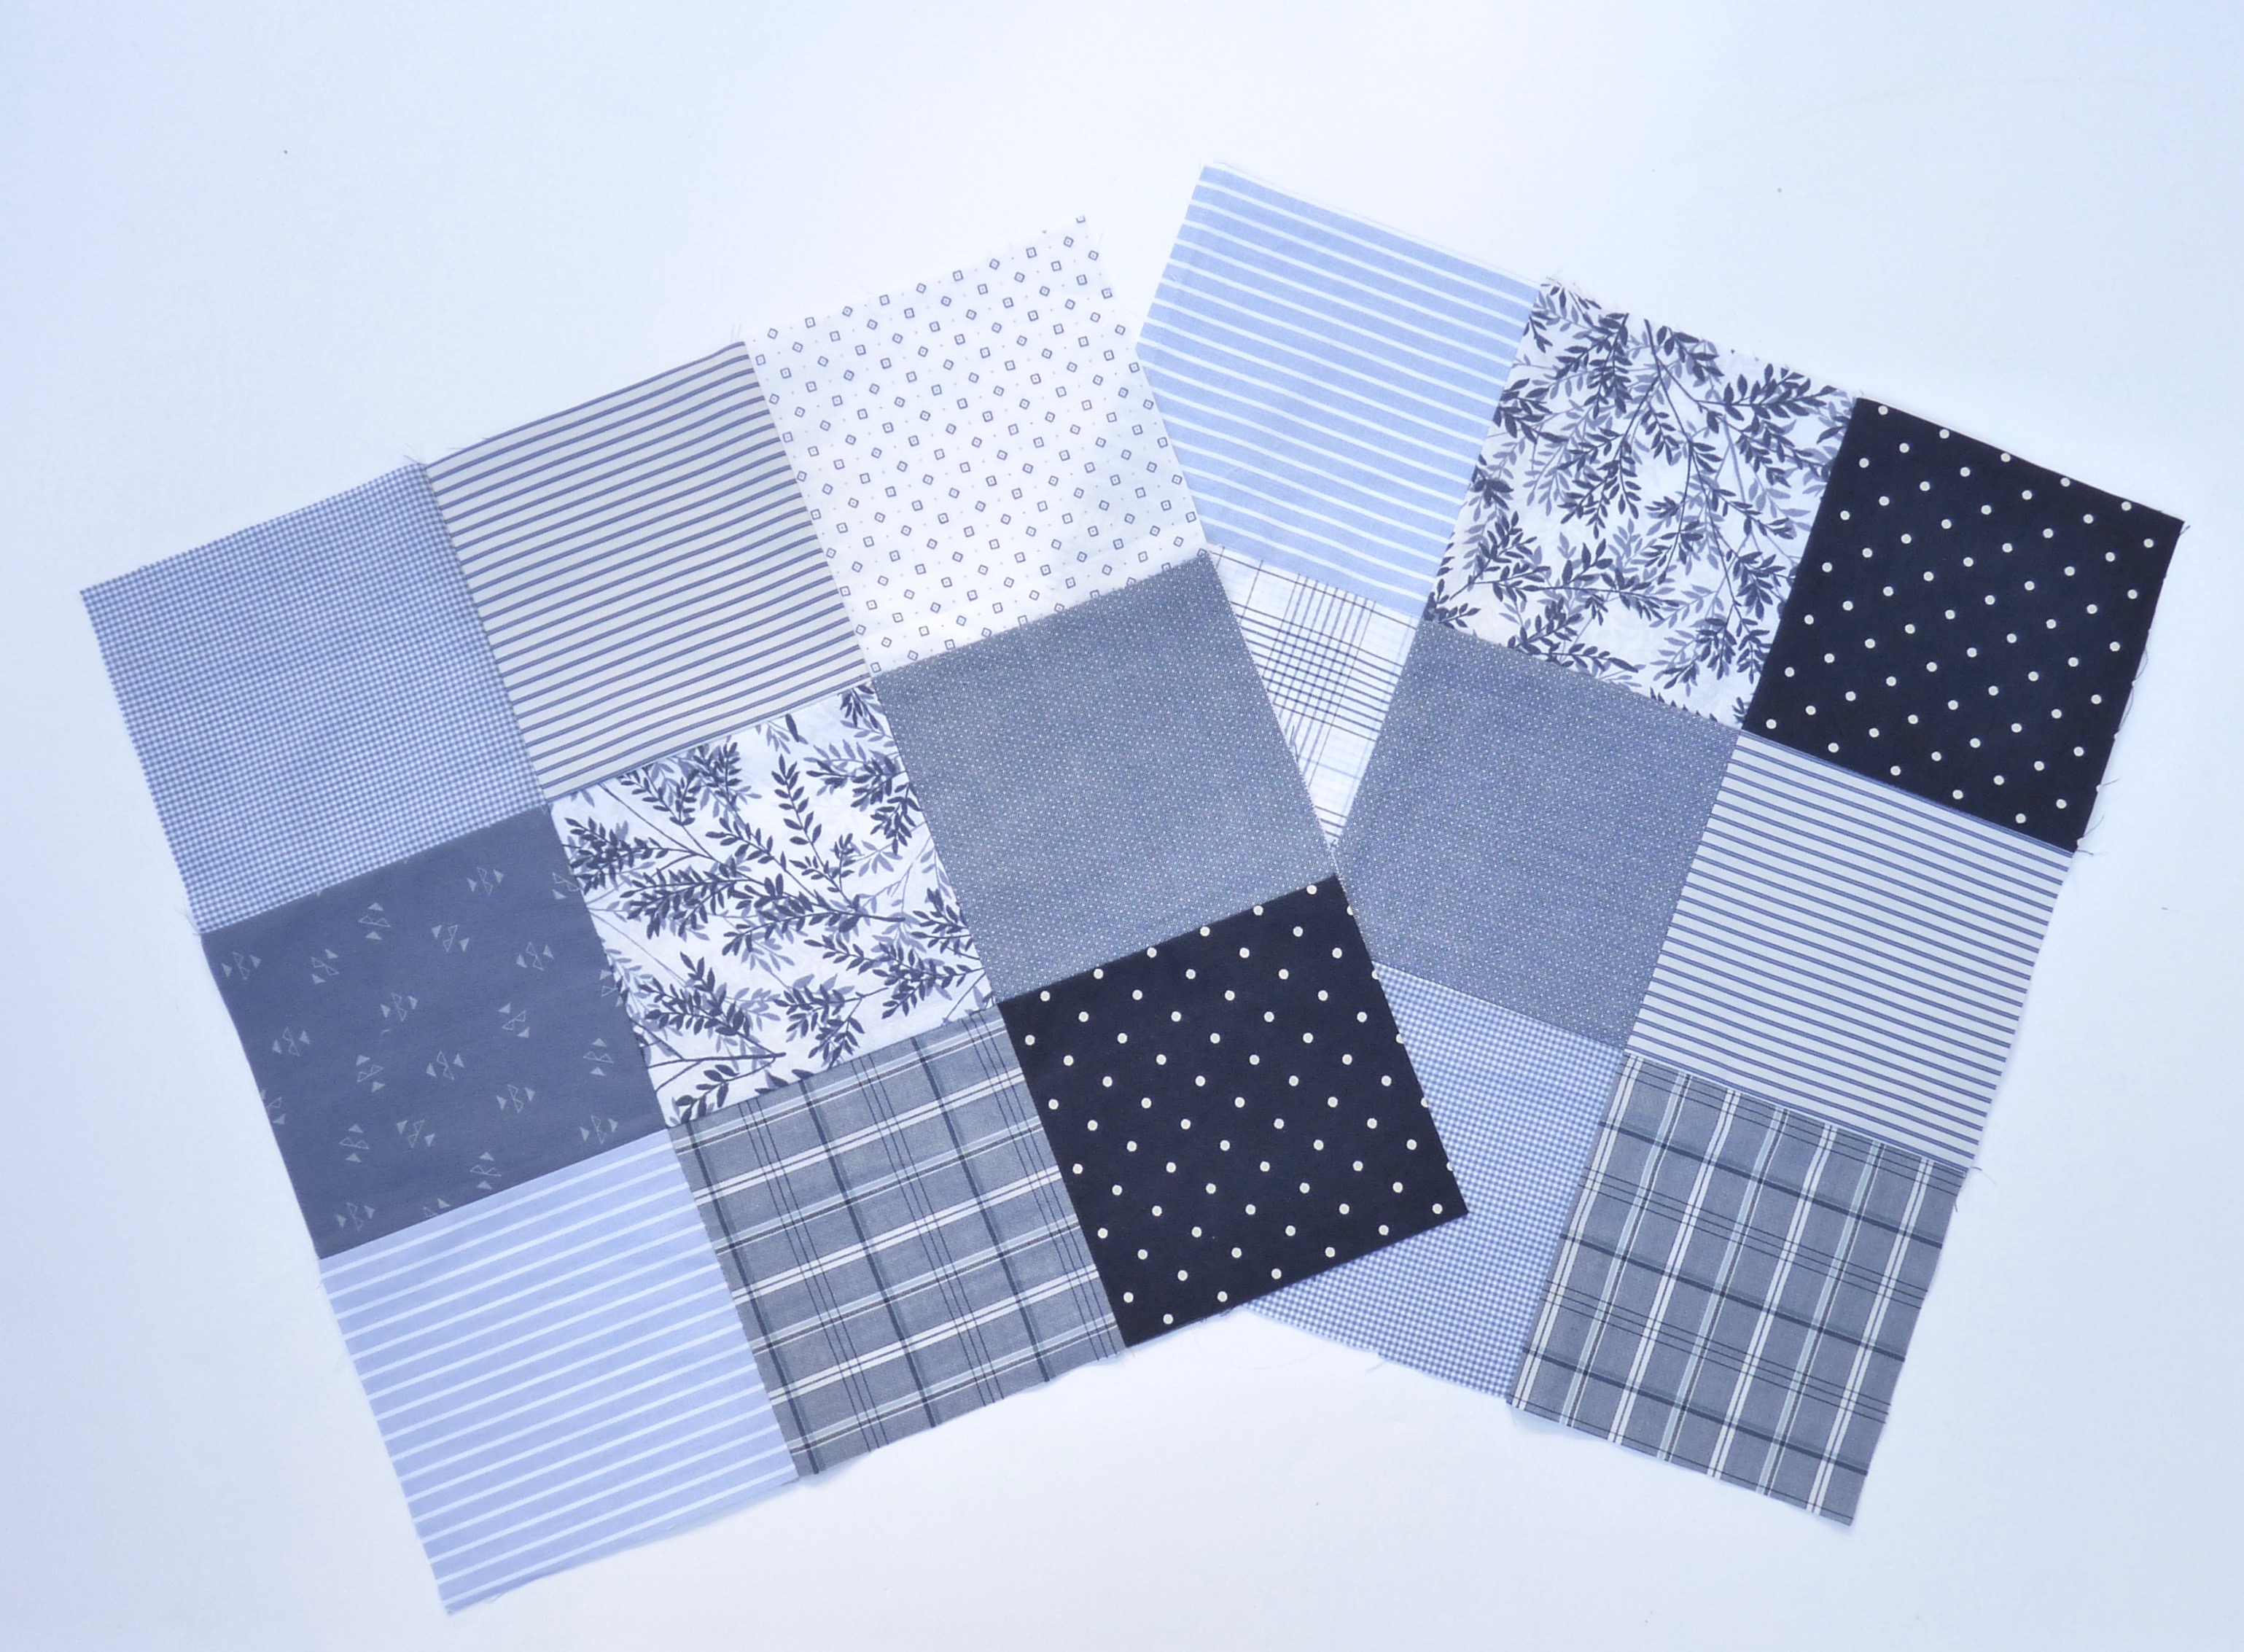
Blue and white shirt blocks
Men need encouragement in their lives too, so I embroidered positive affirmations onto some of the plain fabrics and incorporated these into the quilt blocks.
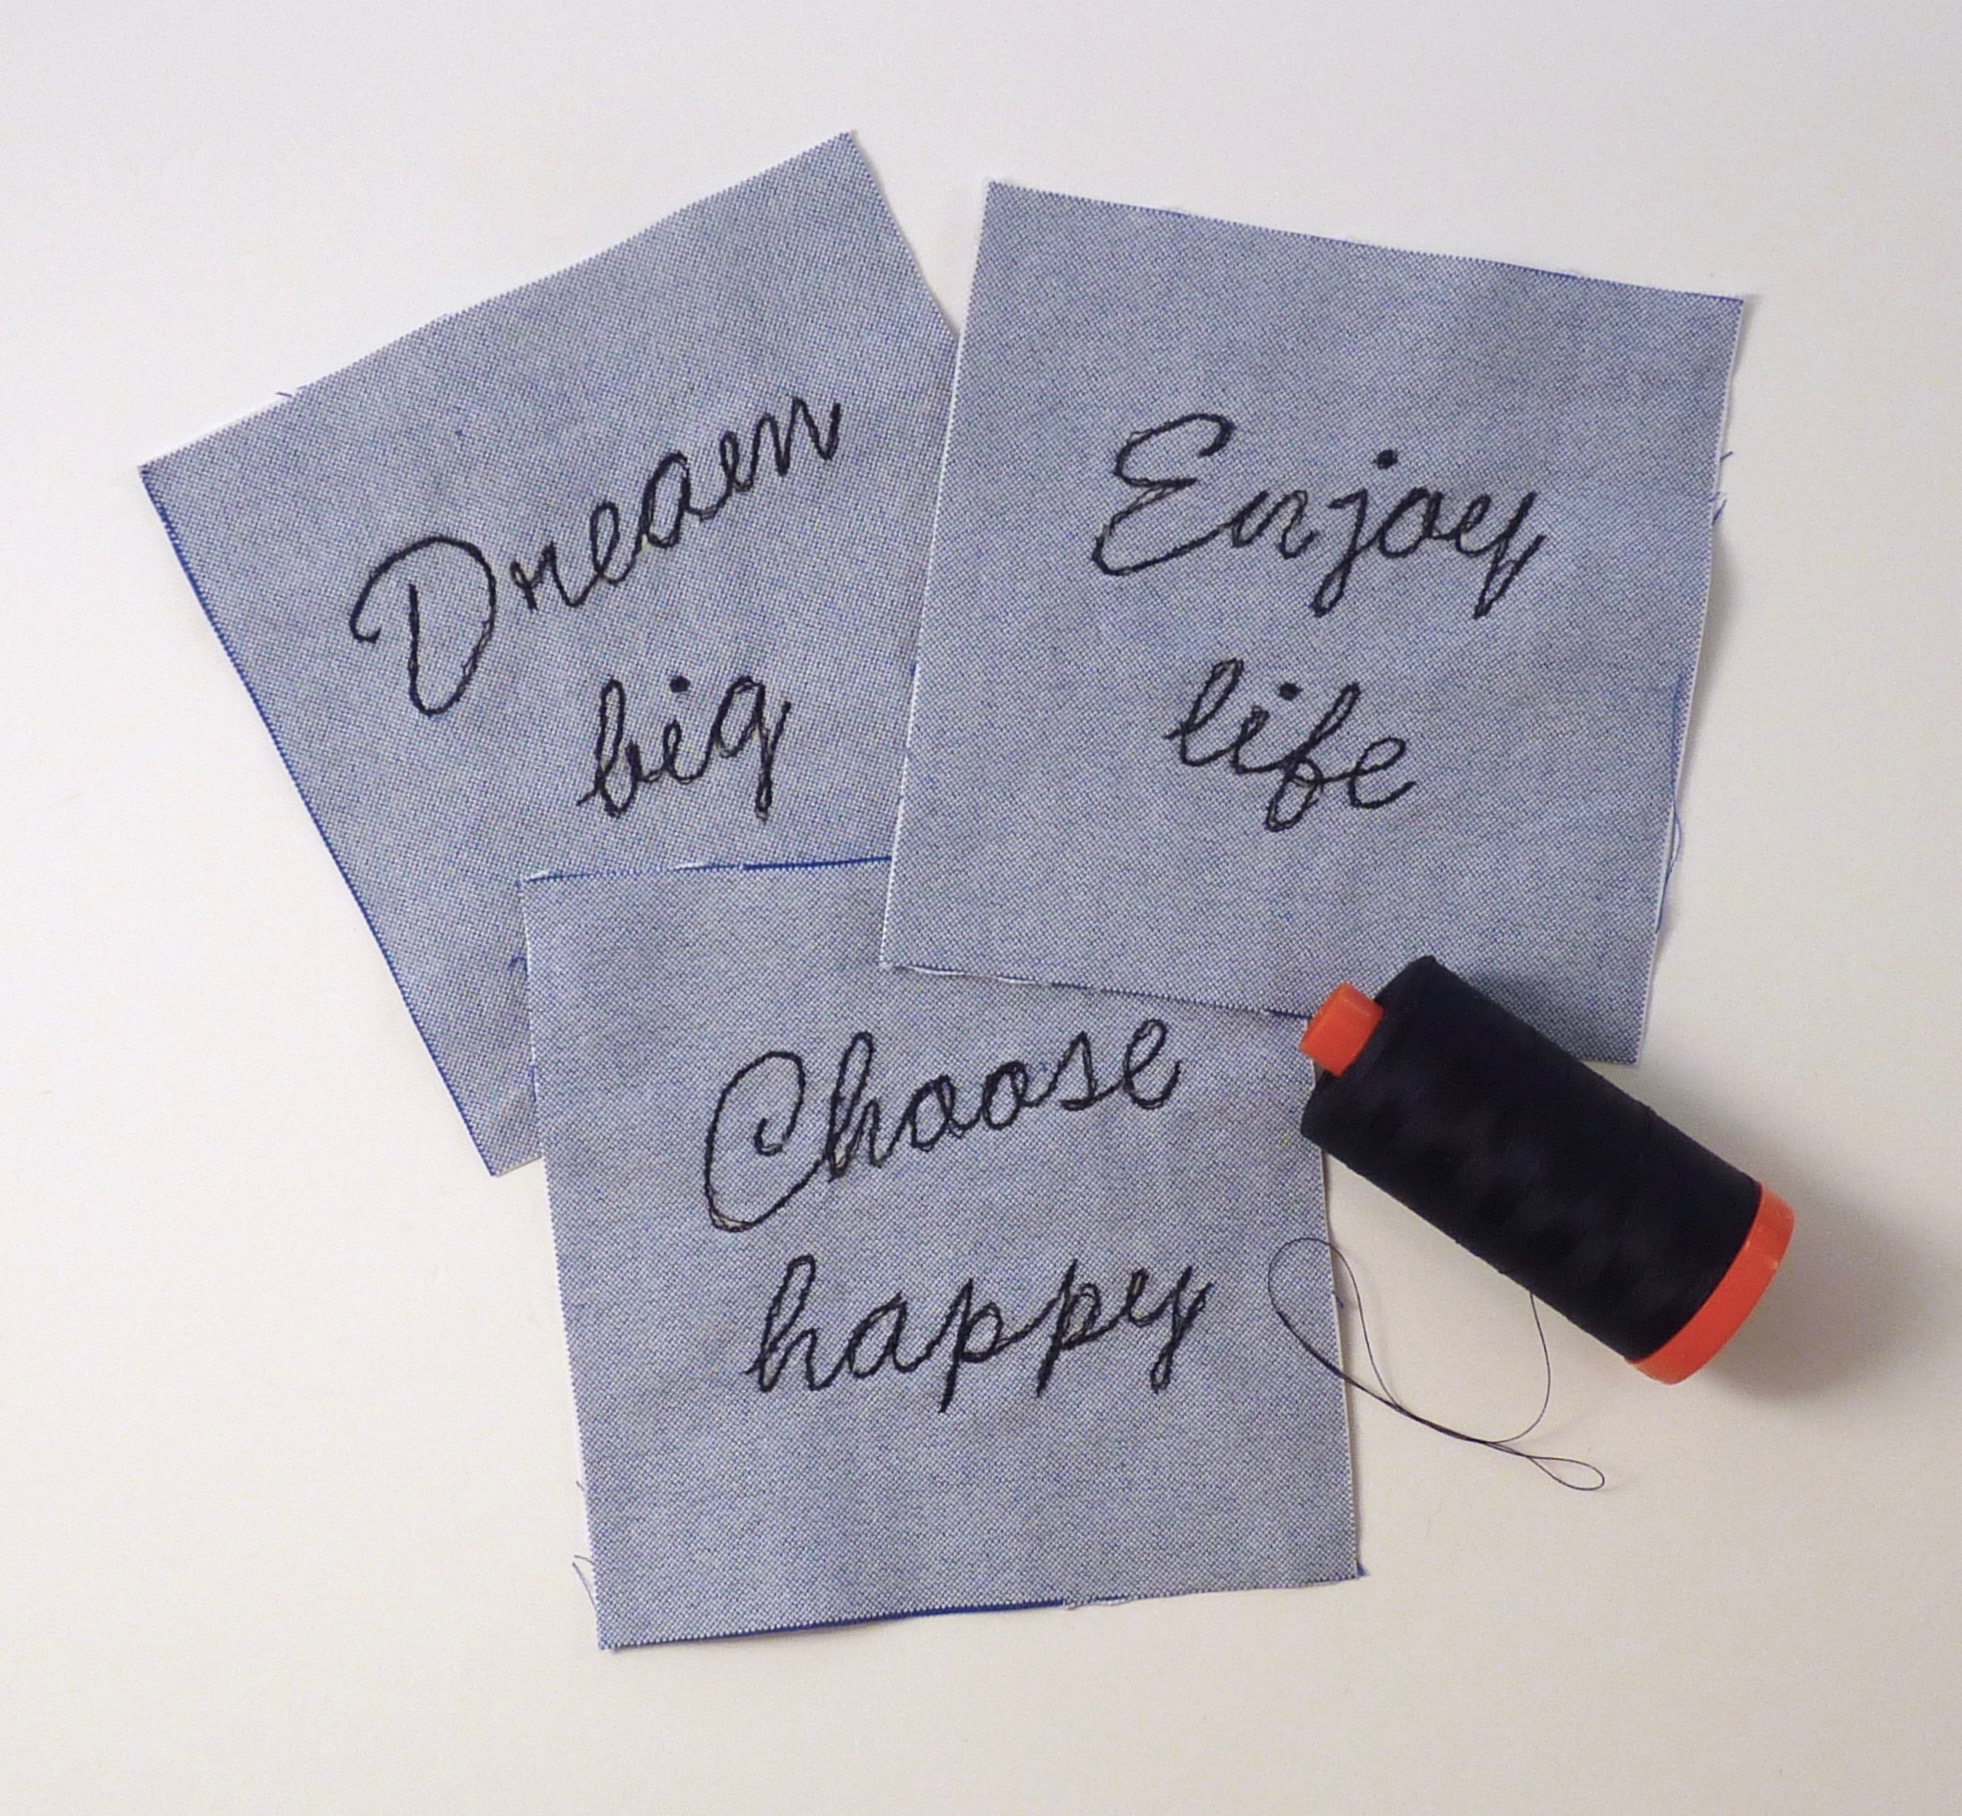
Affirmation blocks
White sashing, 2 inches finished width, was added to separate the blocks and to give it a fresh look.
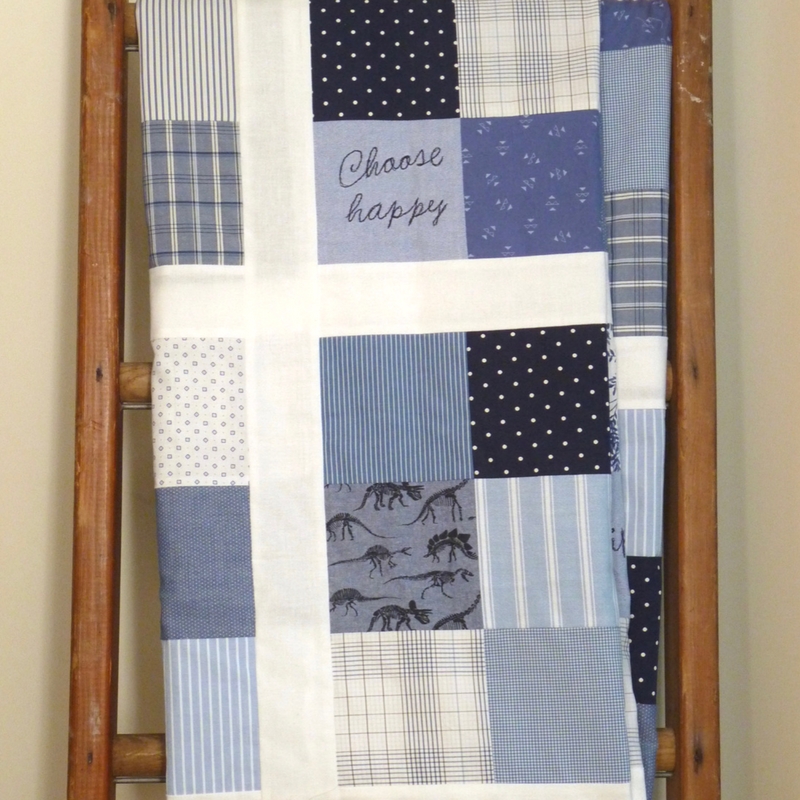
Blue and white quilt
A swirling design, called Hot Cocoa, was chosen for the long arm quilting. It adds a great texture to the quilt.
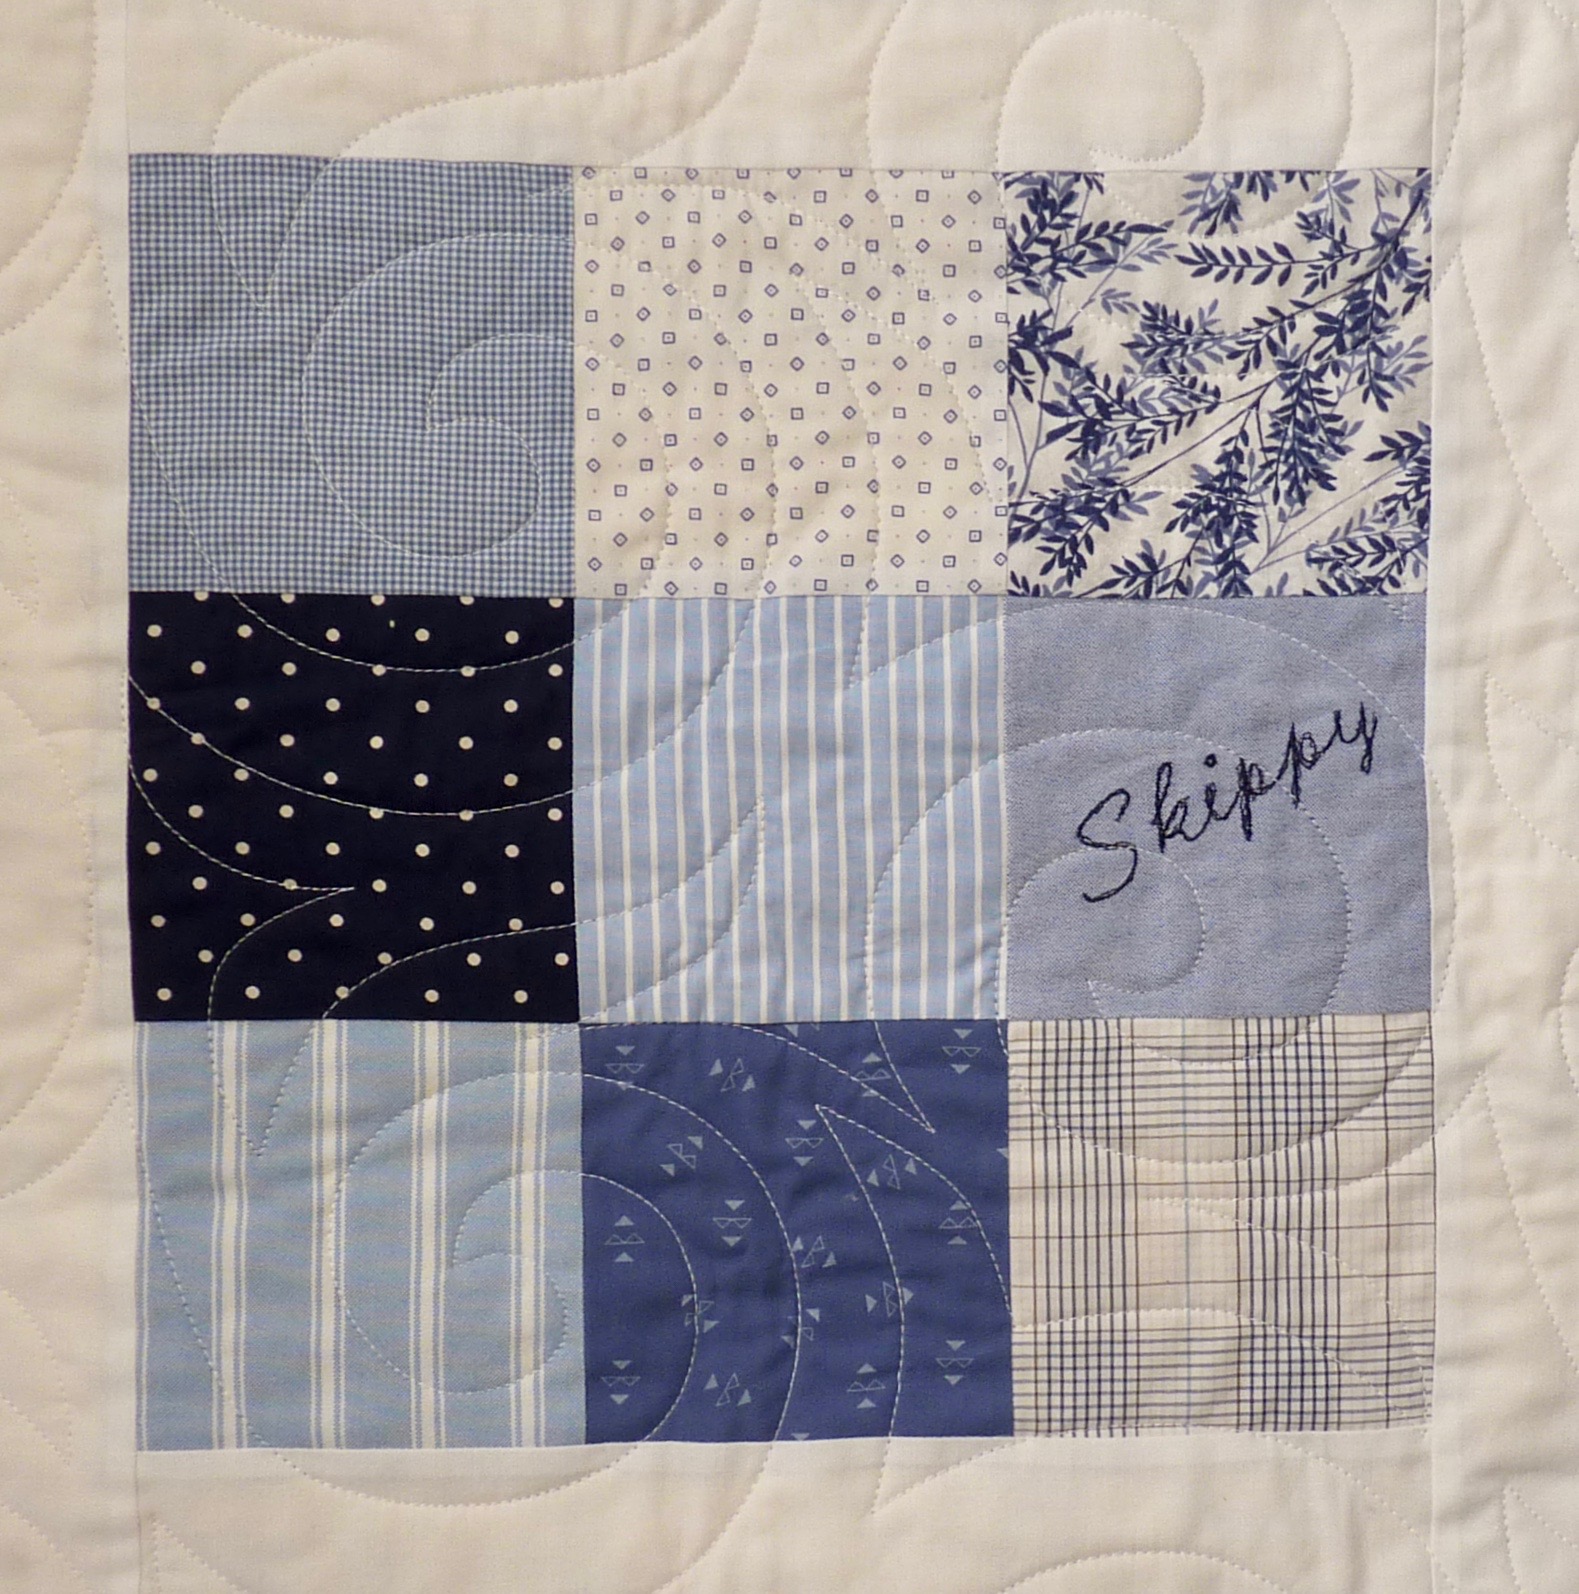
Quilt detail showing quilting design
And here is the finished quilt, complete with a dark navy binding to frame the quilt.

Quilt made from upcycled blue and white shirts
At 72 inches square it is a great size to use as a bedspread or to throw over the back of the sofa. I love that it is a classic design with little personal touches that make it unique.
Have you made a quilt from upcycled clothes? I’d love you to share a photo and if not, I’d encourage you to give it a go. So much clothing ends up in landfill and it seems a crime to waste it when it can be re-purposed for a longer life.
Like what you see? Remember you can follow me on Facebook, Instagram and Pinterest to see more of my lovely makes.