Recently I was commissioned to make a baby quilt for a lovely newborn baby boy. As it happened, I had the perfect fabrics on hand to make him this gorgeous ABC quilt.
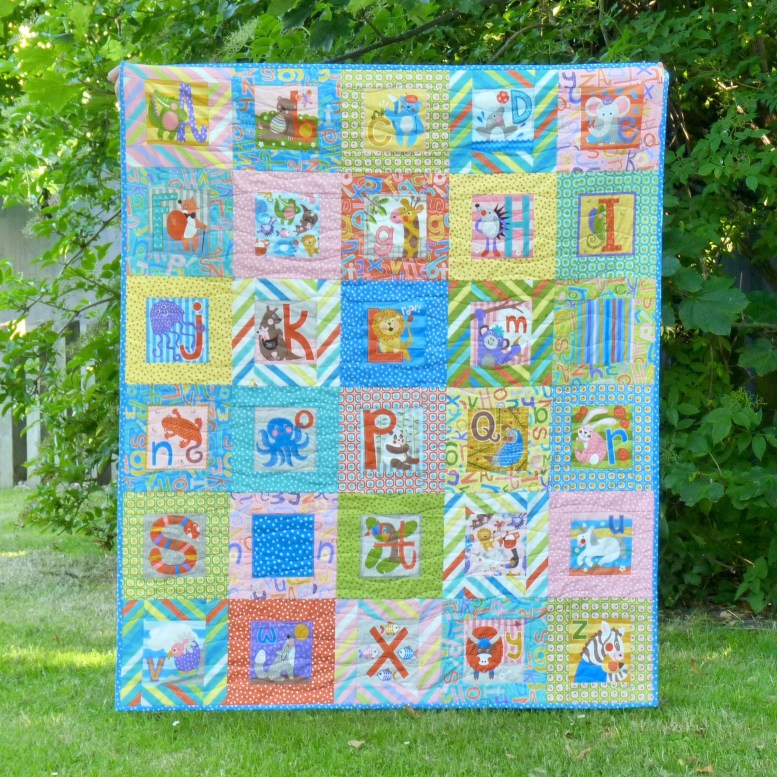
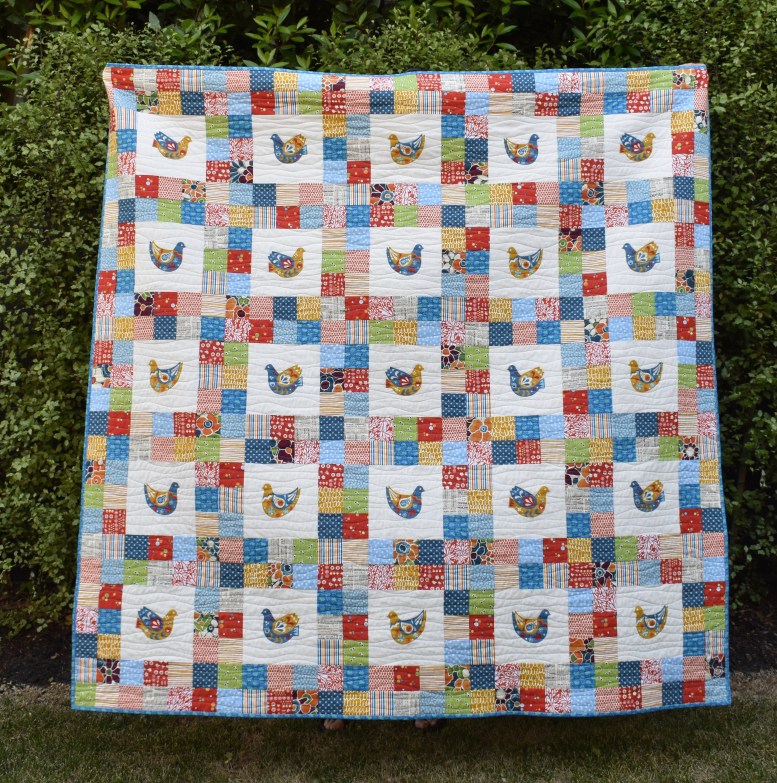
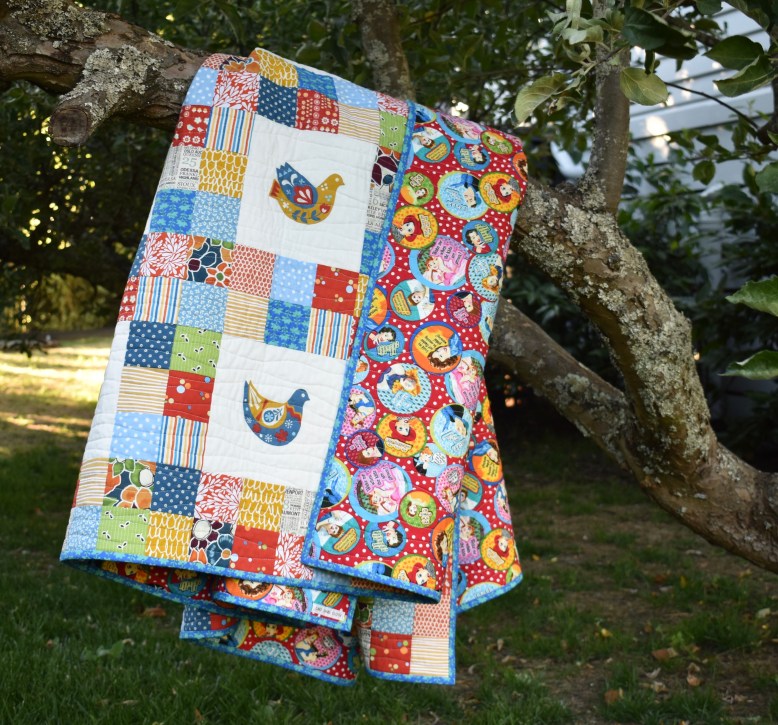
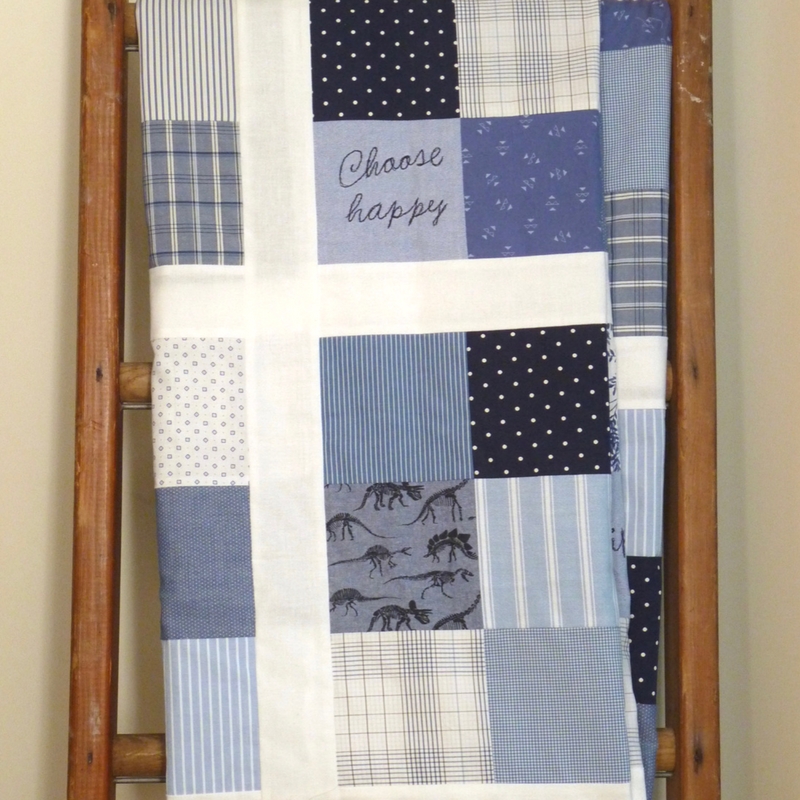
Front of ABC Menagerie baby quilt
This is a really simple quilt design so I thought I’d share a short tutorial for anyone who’d like to make something similar.
What I used for this quilt:
1 x ABC Menagerie alphabet panel (if you don’t have a panel, then substitute fussy cut 5.5 inch squares)
1 x ABC Menagerie layer cake (collection of 10 inch squares)
0.5 metres fabric for the binding – I used the ABC Menagerie blue spotted fabric
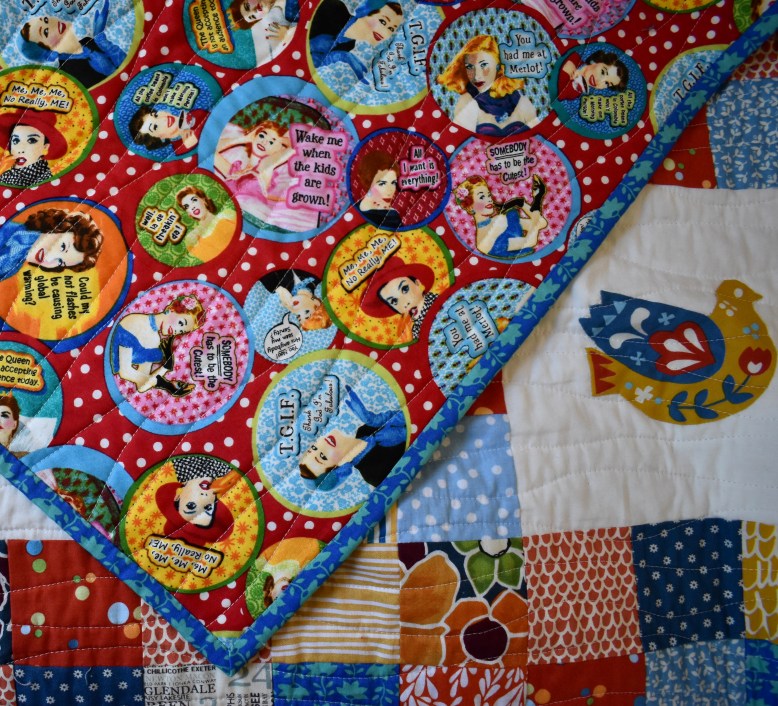
1.5 metres fabric for the backing – I used the ABC Menagerie red circles
1 x crib size wadding or batting
Making the quilt:
I cut out the ABC blocks from the panel, remembering to leave the 1/4 inch seam allowance around each square. There were only 28 squares in the panel so I cut an additional two similar sized squares from the layer cakes to give 30 in total. These extra squares are the multi-animal squares.
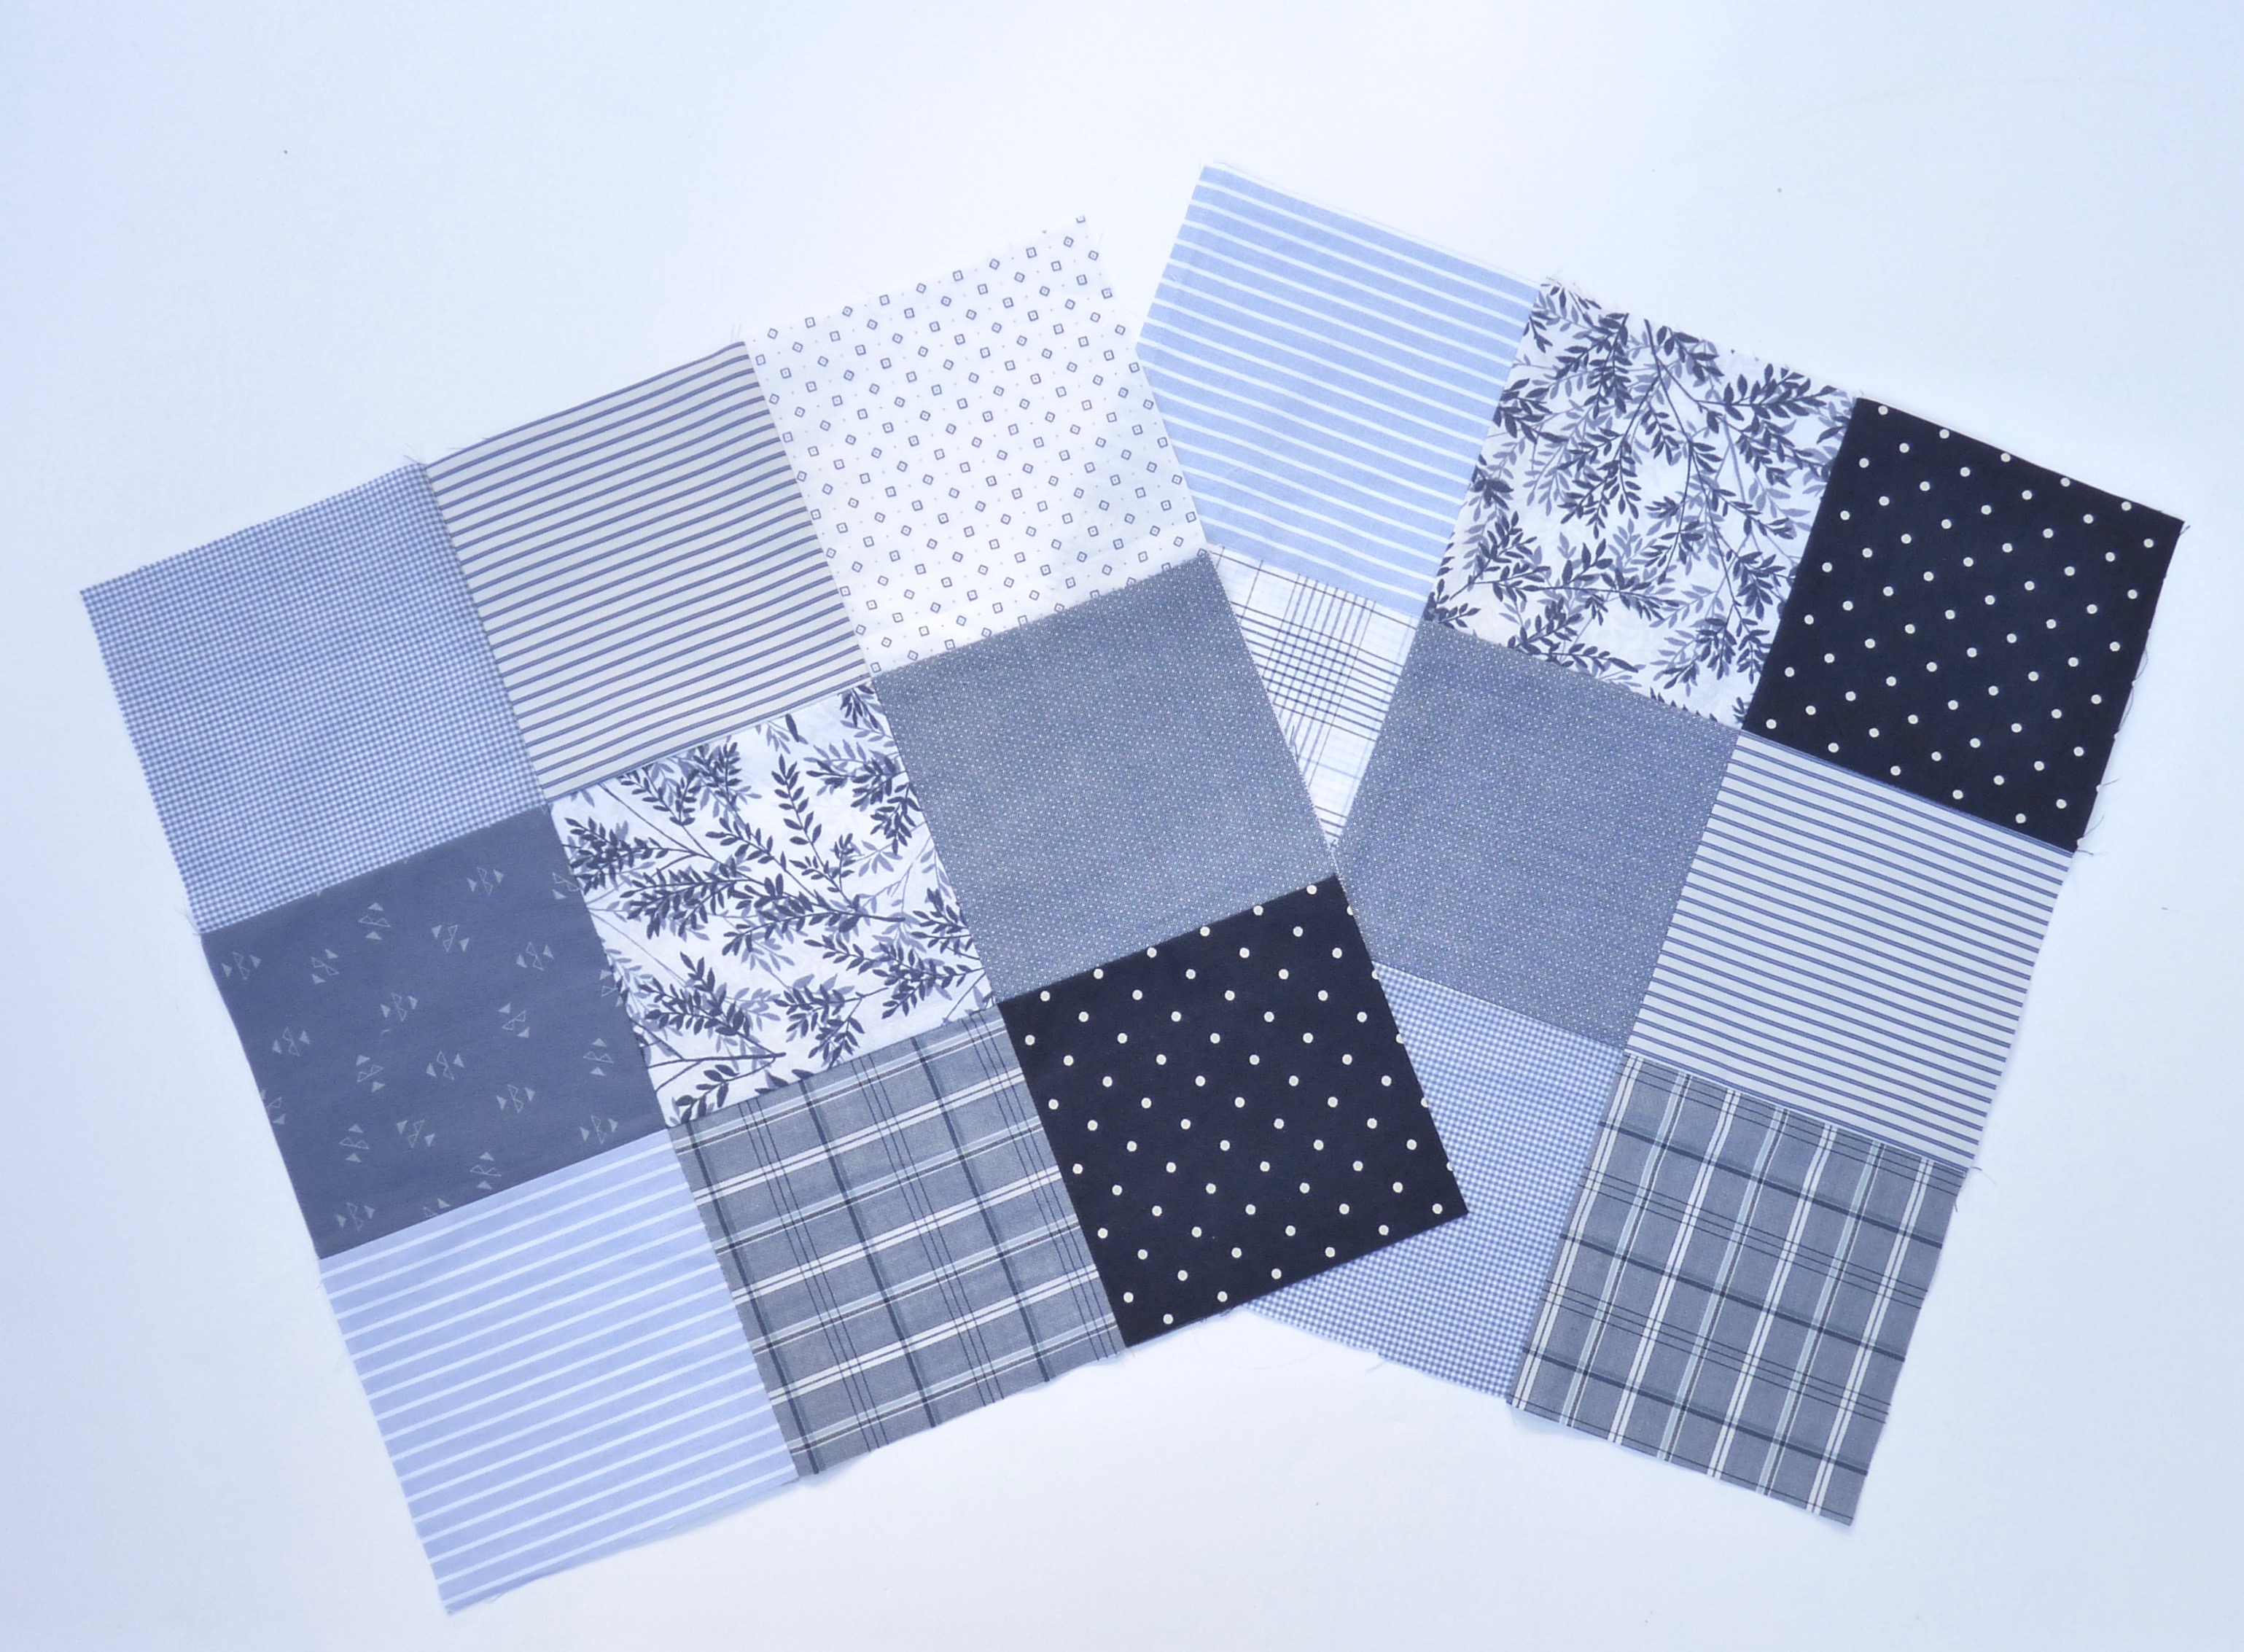
For the layout, I chose 30 layer cake squares and laid them out in a 5 x 6 pattern. Then I put the ABC squares on the layer cake squares and moved them around until I was happy with the arrangement. Of course, I took a photo to help me remember what goes where.
Each of the 30 layer cake squares were sub-cut into four 2.5 inch strips.
The layer cake strips were sewn to the sides of the relevant ABC square and seams pressed away from the ABC square. The layer cake strips were then trimmed in line with the ABC square.
The remaining layer cake strips were sewn to the top and bottom of the ABC square. Again, seams were pressed away from the ABC square.
Finished blocks were trimmed to 9.5 inches.
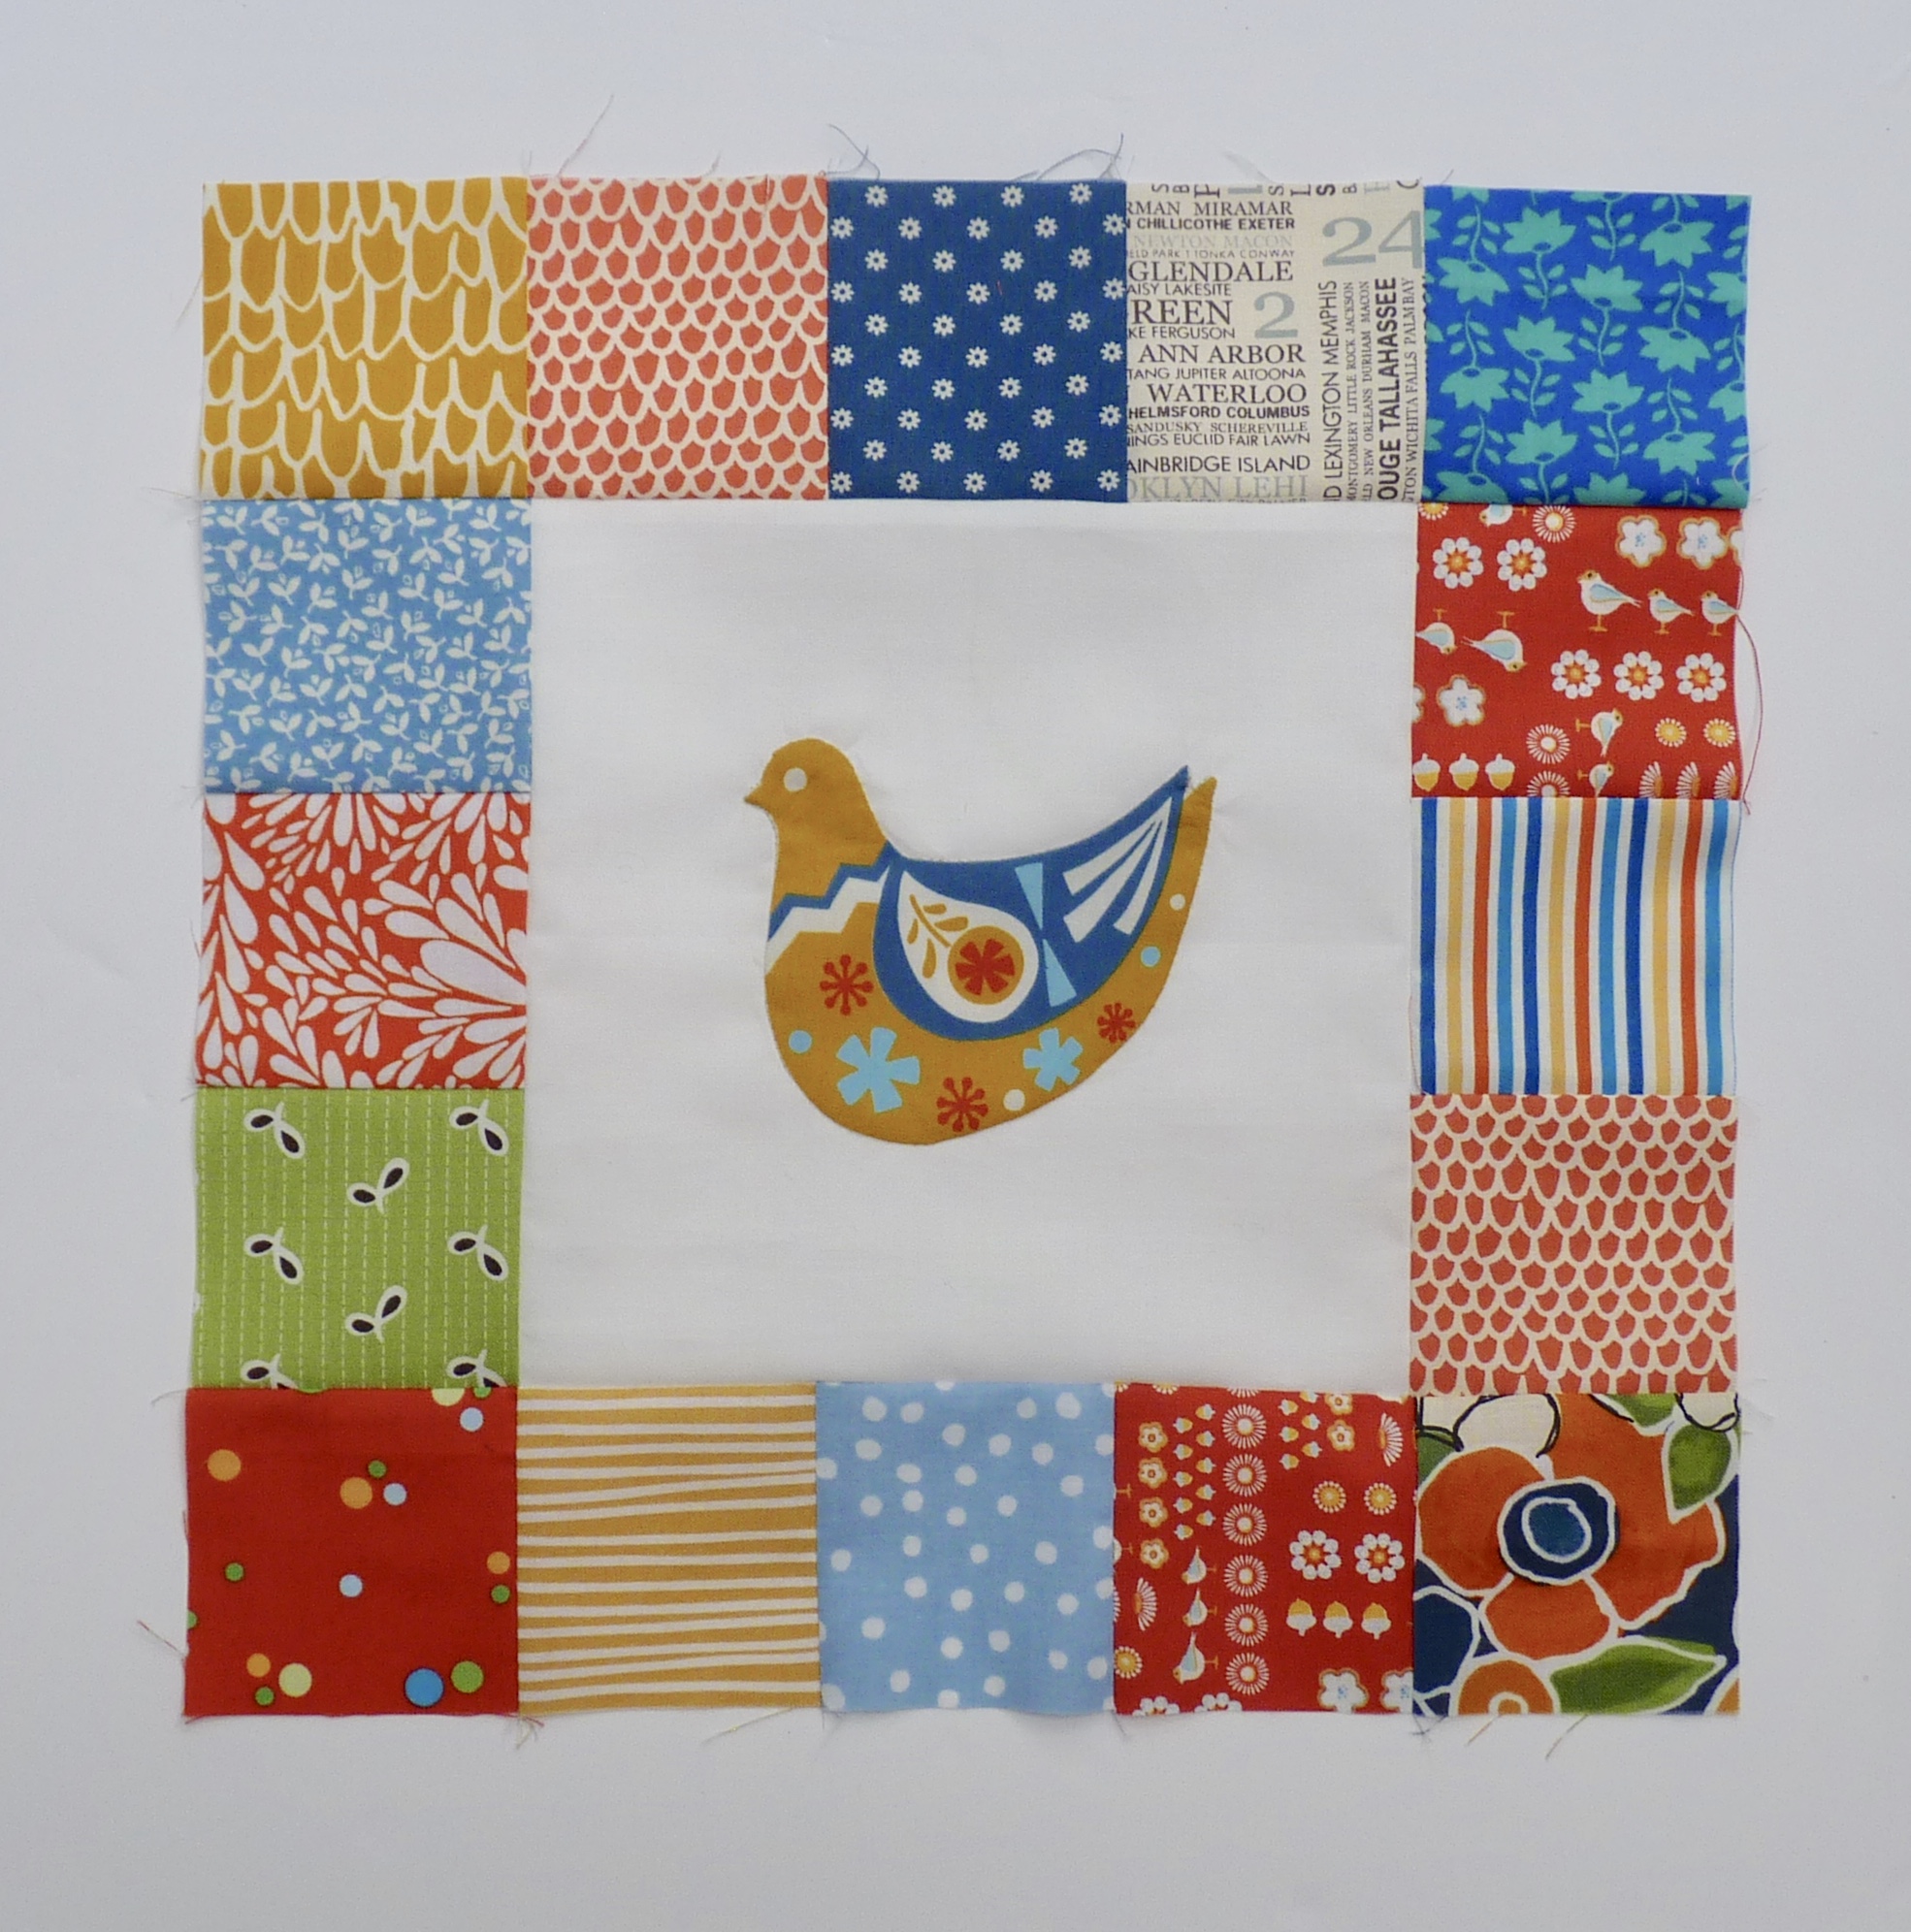
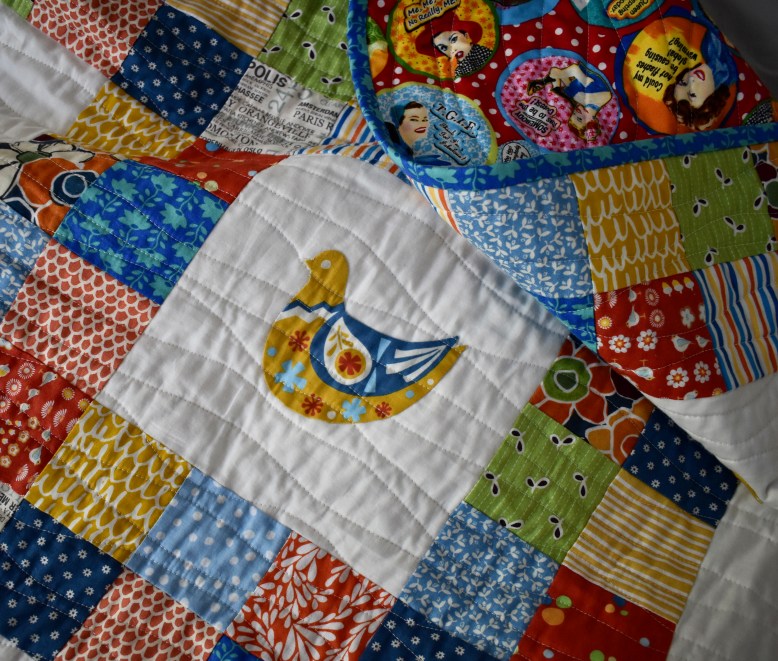
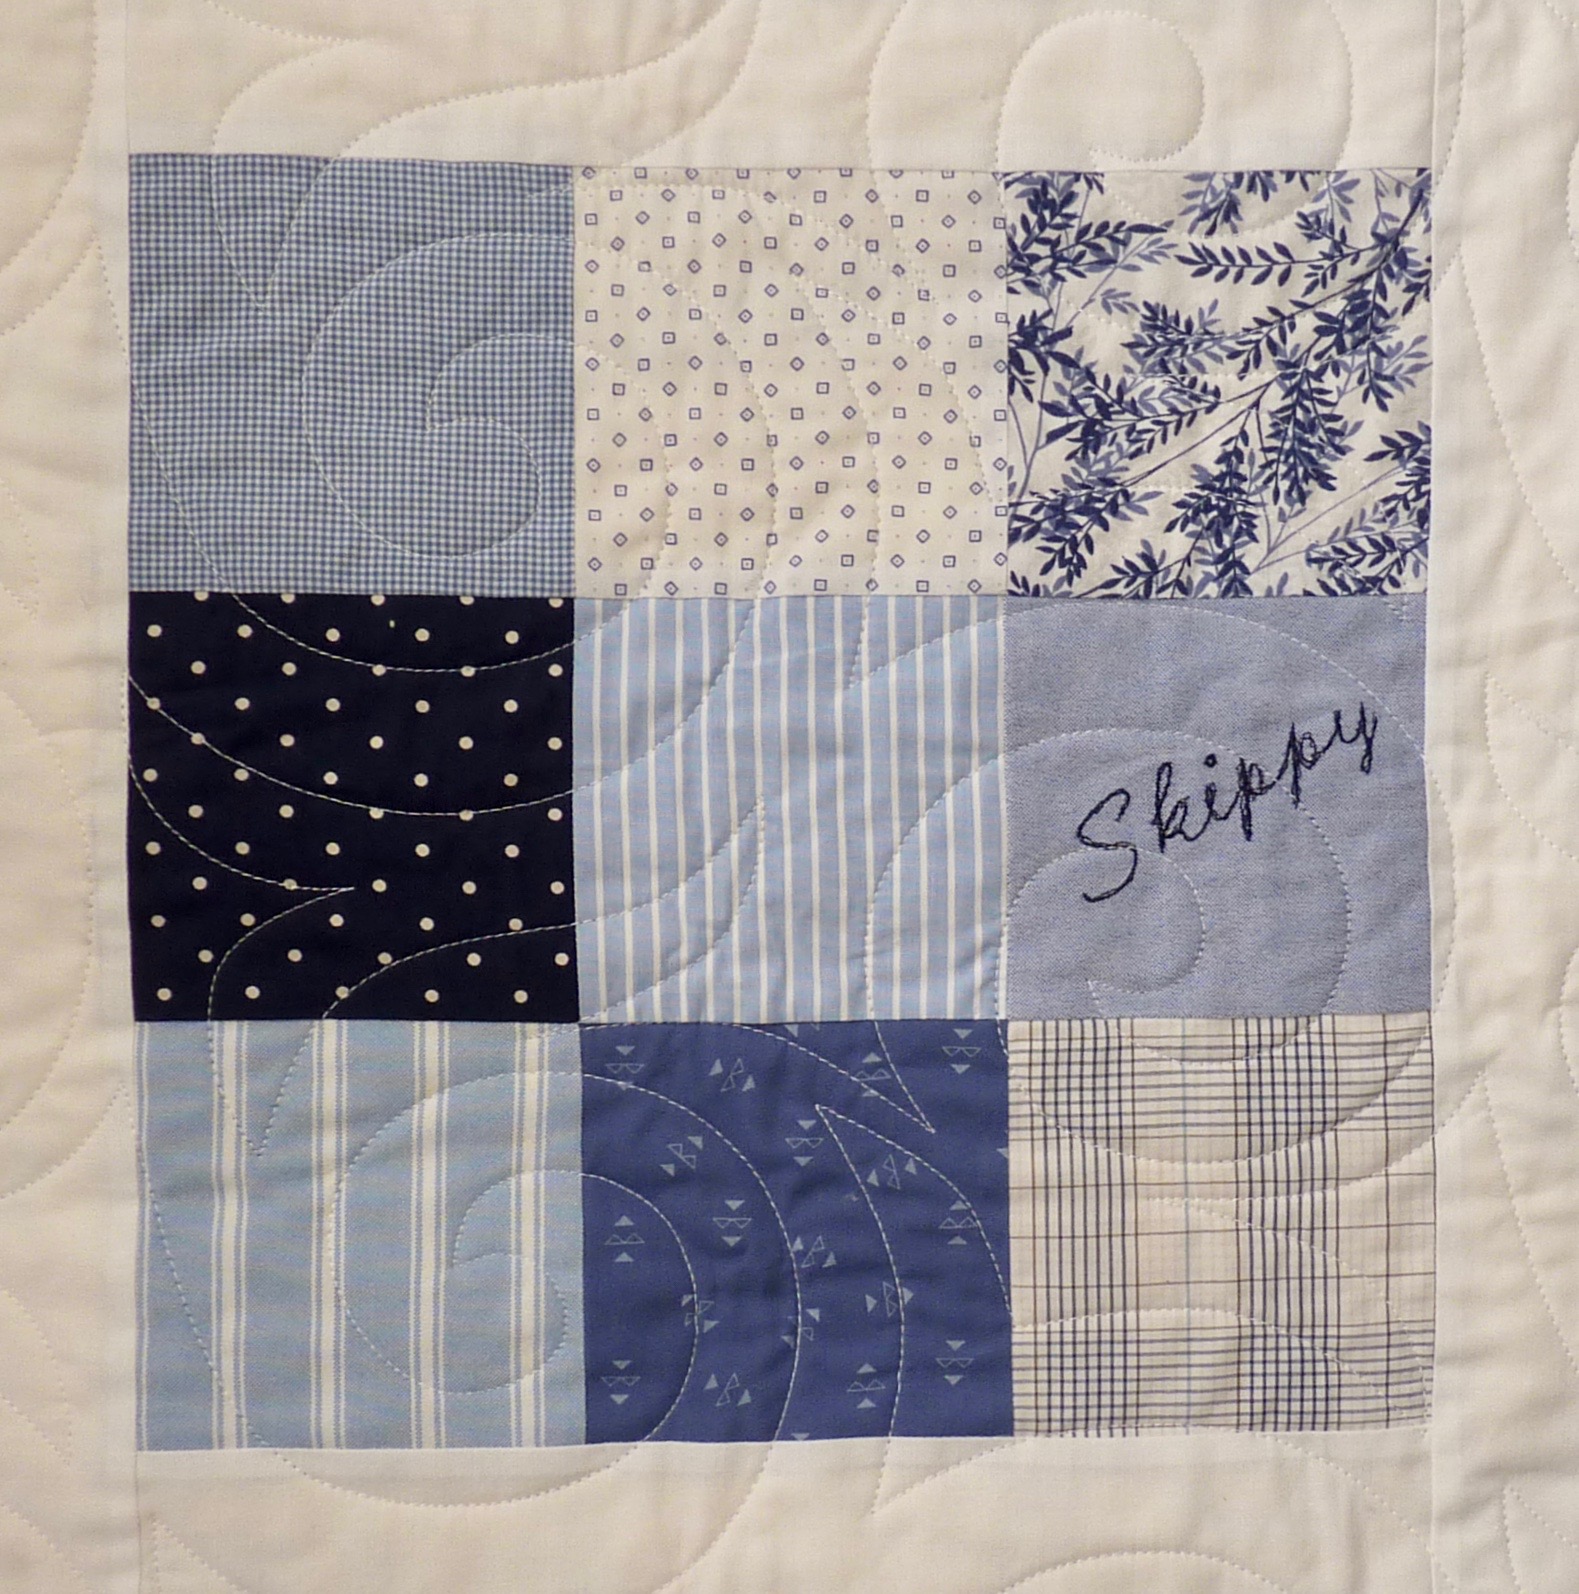
TOP TIP: To avoid having to match seams when joining the blocks, I alternated whether I added the initial layer cake strips to the sides or top/bottom of the ABC square. You can see the alternating seams between blocks more clearly in the image below.
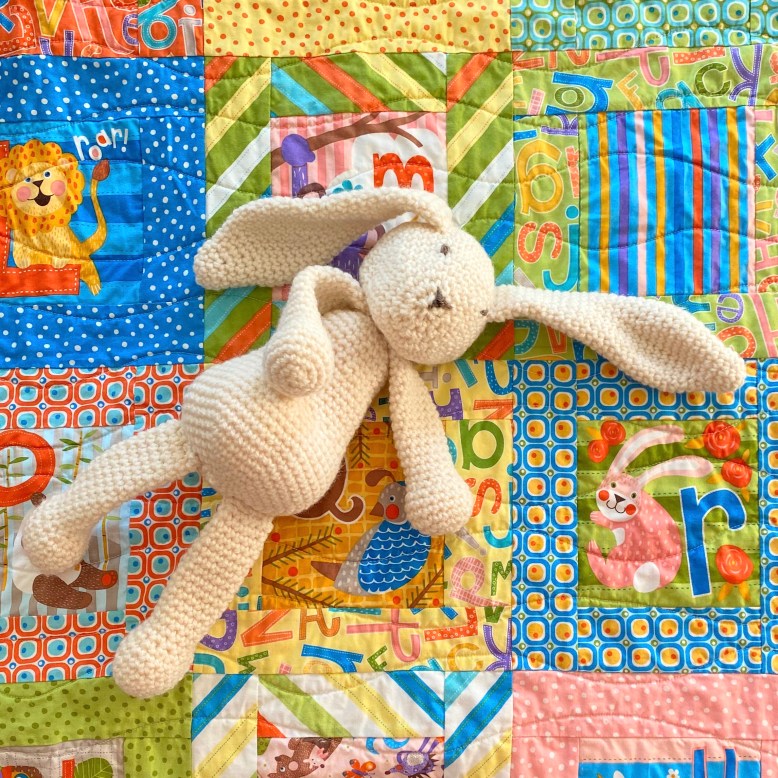
Detail of ABC Menagerie baby quilt
Blocks were sewn together into rows and then the rows sewn together to make the quilt top.
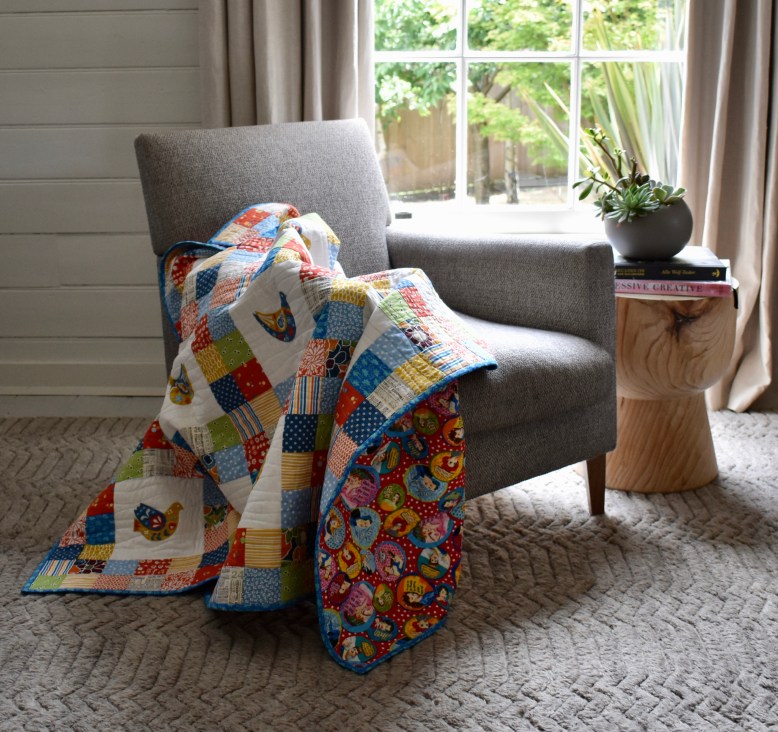
To ensure I had the required width for the backing, I created a panel made from some of the remaining layer cake squares cut into 5 inch, 4 inch, 3 inch or 2.5 inch widths and then sewn together to the required length. Seams were pressed open on the panel to make it as flat as possible. The backing fabric was cut vertically 15 inches from one selvedge and the panel inserted. Again, these seams were pressed open.
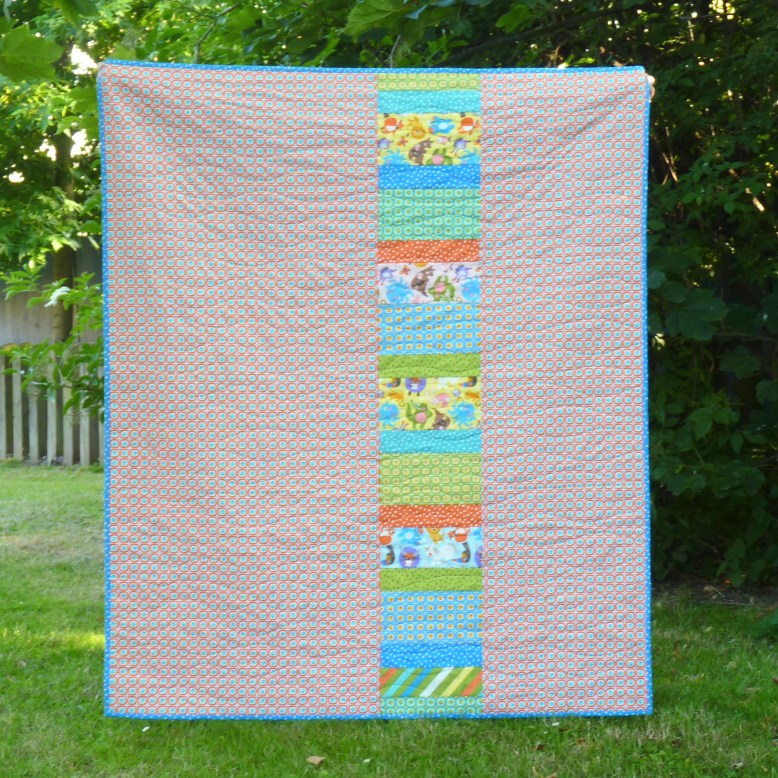
Back of ABC Menagerie baby quilt
The quilt was pin-basted and I used a walking foot to quilt in free-hand wavy lines. These wavy lines are very forgiving and a good choice for new quilters worried about keeping their lines straight. They also provide great texture to the quilt making it cosy and tactile.

Detail of back of ABC Menagerie baby quilt
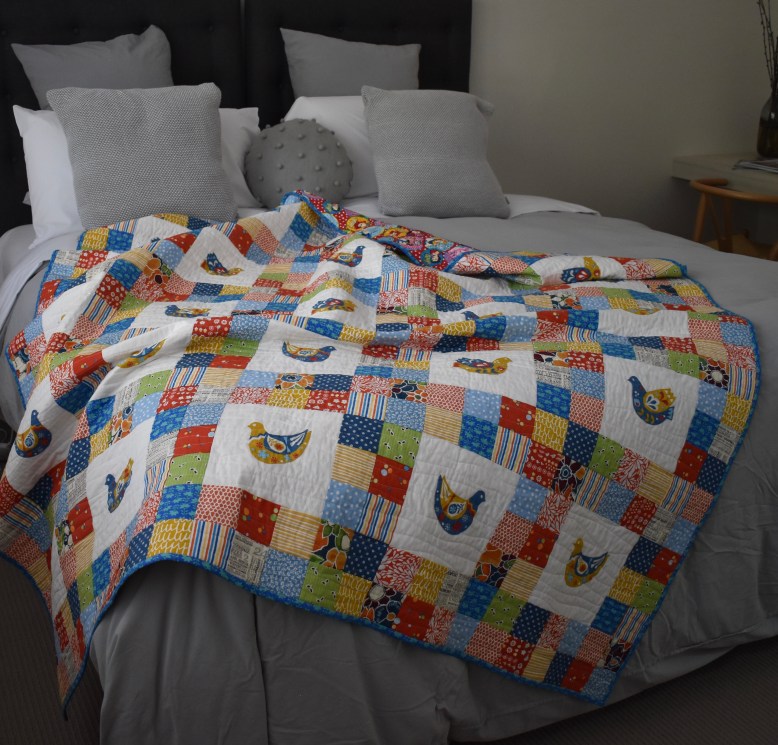
This quilt is a lovely, bright and happy addition to the little boy’s nursery.
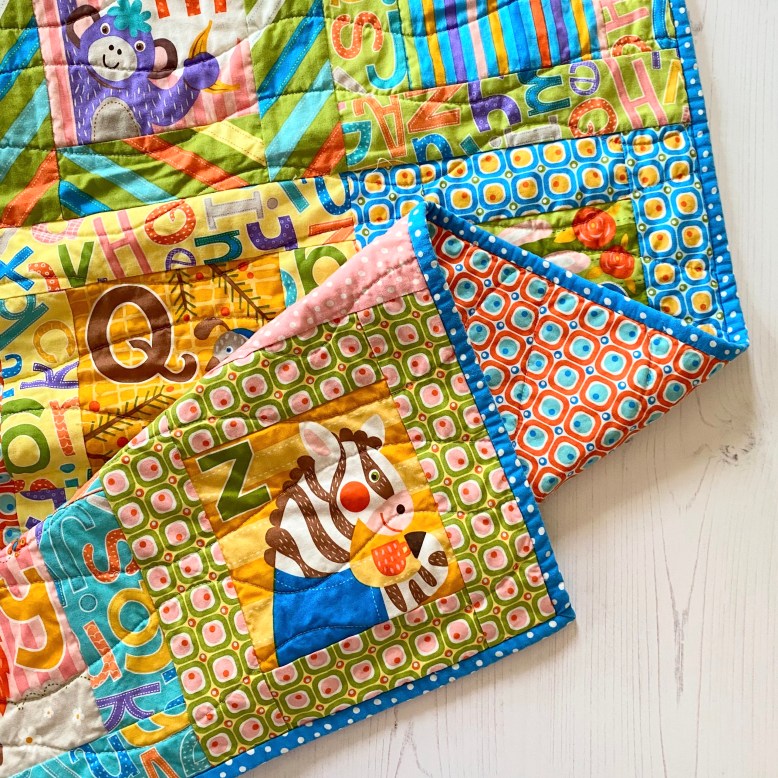
Detail of ABC Menagerie baby quilt
I hope this tutorial has inspired you to make your own simple baby quilt to welcome a new addition to your family or a friend’s family.
Have fun!
Like what you see? Remember you can follow me on Facebook, Instagram and Pinterest to see more of my lovely makes.