Is there anyone who doesn’t love rainbows? They are so beautiful; a symbol of hope and a promise of better things to come.
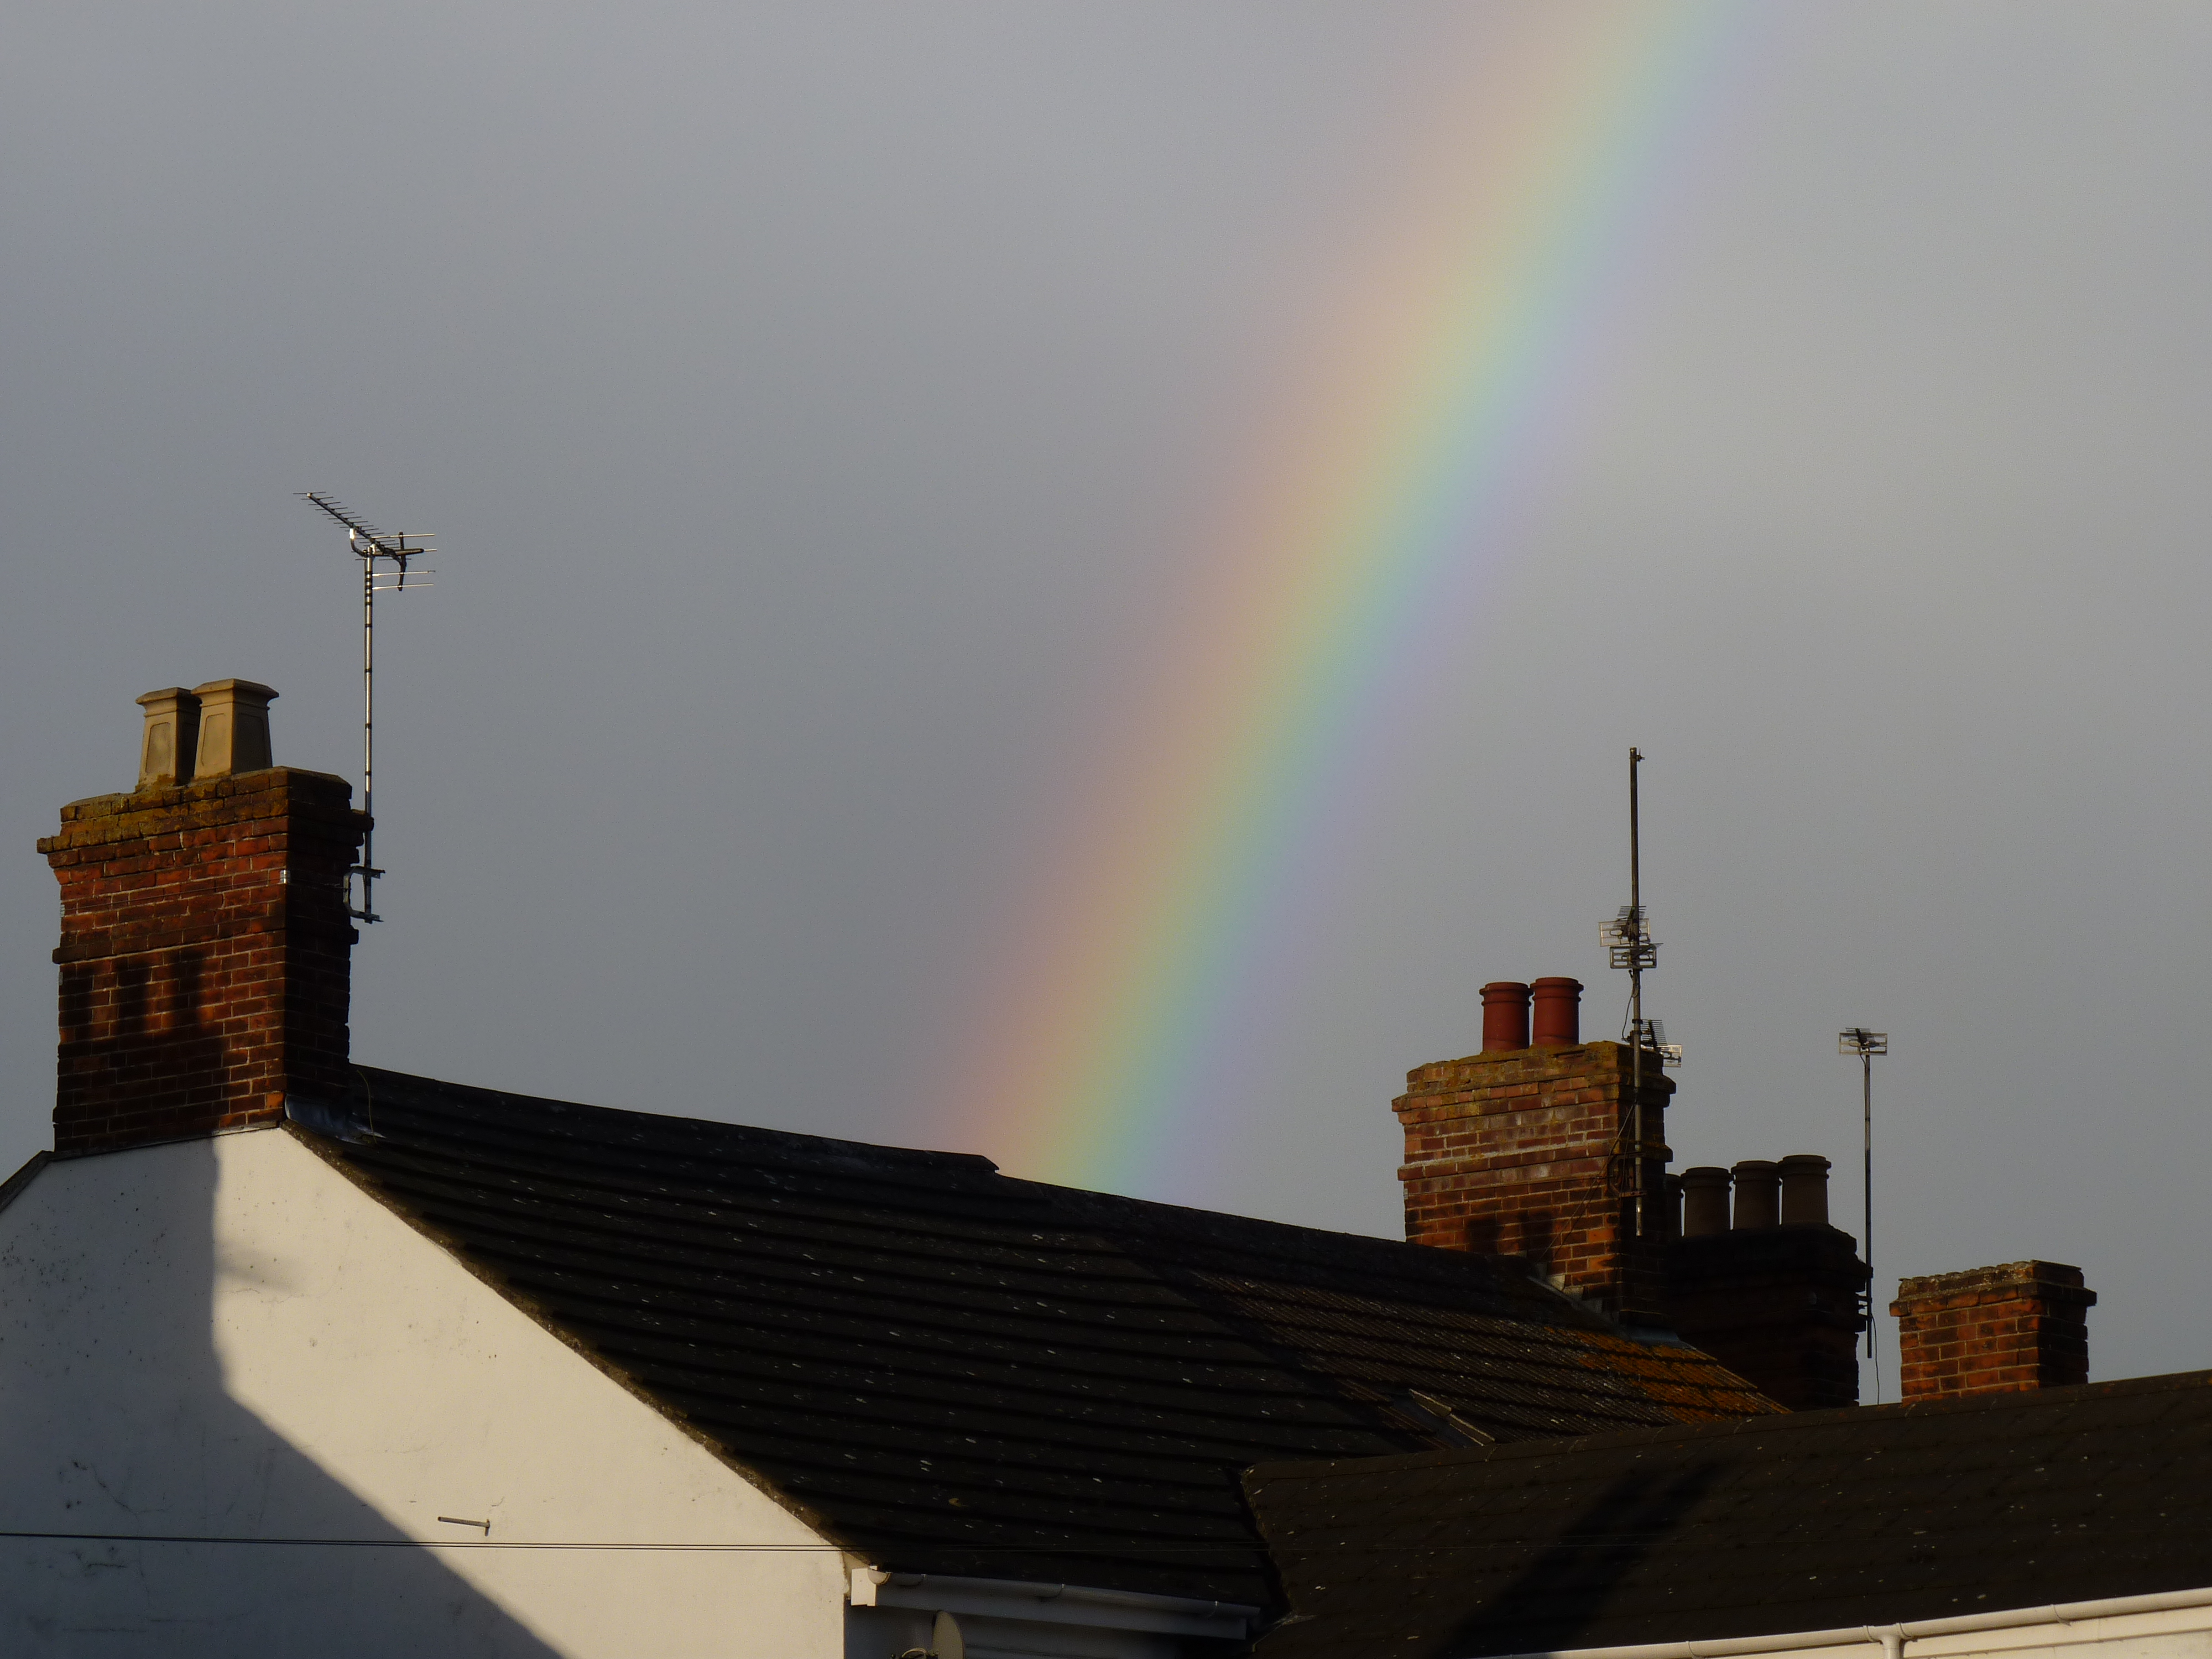
Rainbow over rooftops
The beautiful colours of Fancy by Lily Ashbury simply lent themselves to a rainbow quilt. Even the press information about this collection described it as being like “rays of sunshine on a cloudy day” and “gorgeous, lush, and drenched with colour”.
The collection was missing a purple so I hunted though my fabrics to find something suitable. This was harder than it might seem as purple, particularly a dark reddish purple, is not a common colour in quilting fabrics (they seem to tend toward lavender and bluish purples). Thankfully I found two.

Purple fabrics
The sharks tooth is a fabulous match as the pattern mimics others in the Fancy collection. The second had little birds on it. At first, I wasn’t sure if this would really work with the other fabrics. But then I remembered that in the song, “happy little bluebirds fly beyond the rainbow” so it was obviously meant to be.
The spectrum of colours made a coin quilt design an obvious choice for me. I had so much fun making my last off-set coin quilt, I decided to use this as the basis for my rainbow quilt. For this quilt, I used a jelly roll and simply removed any duplicate fabric strips. The fabrics were used in the same order they were presented in the jelly roll and the same design was used across a row in each of the five columns. A Flurry spot (Dashwood studios) in light teal was the perfect choice for the background.
I had no dilemmas about what to use for the backing fabric. It just had to be unicorns. I mean, what else would you expect to find behind a rainbow? Visitors to my Bucks Open Studios event were asked to help me choose which unicorn fabric to use.
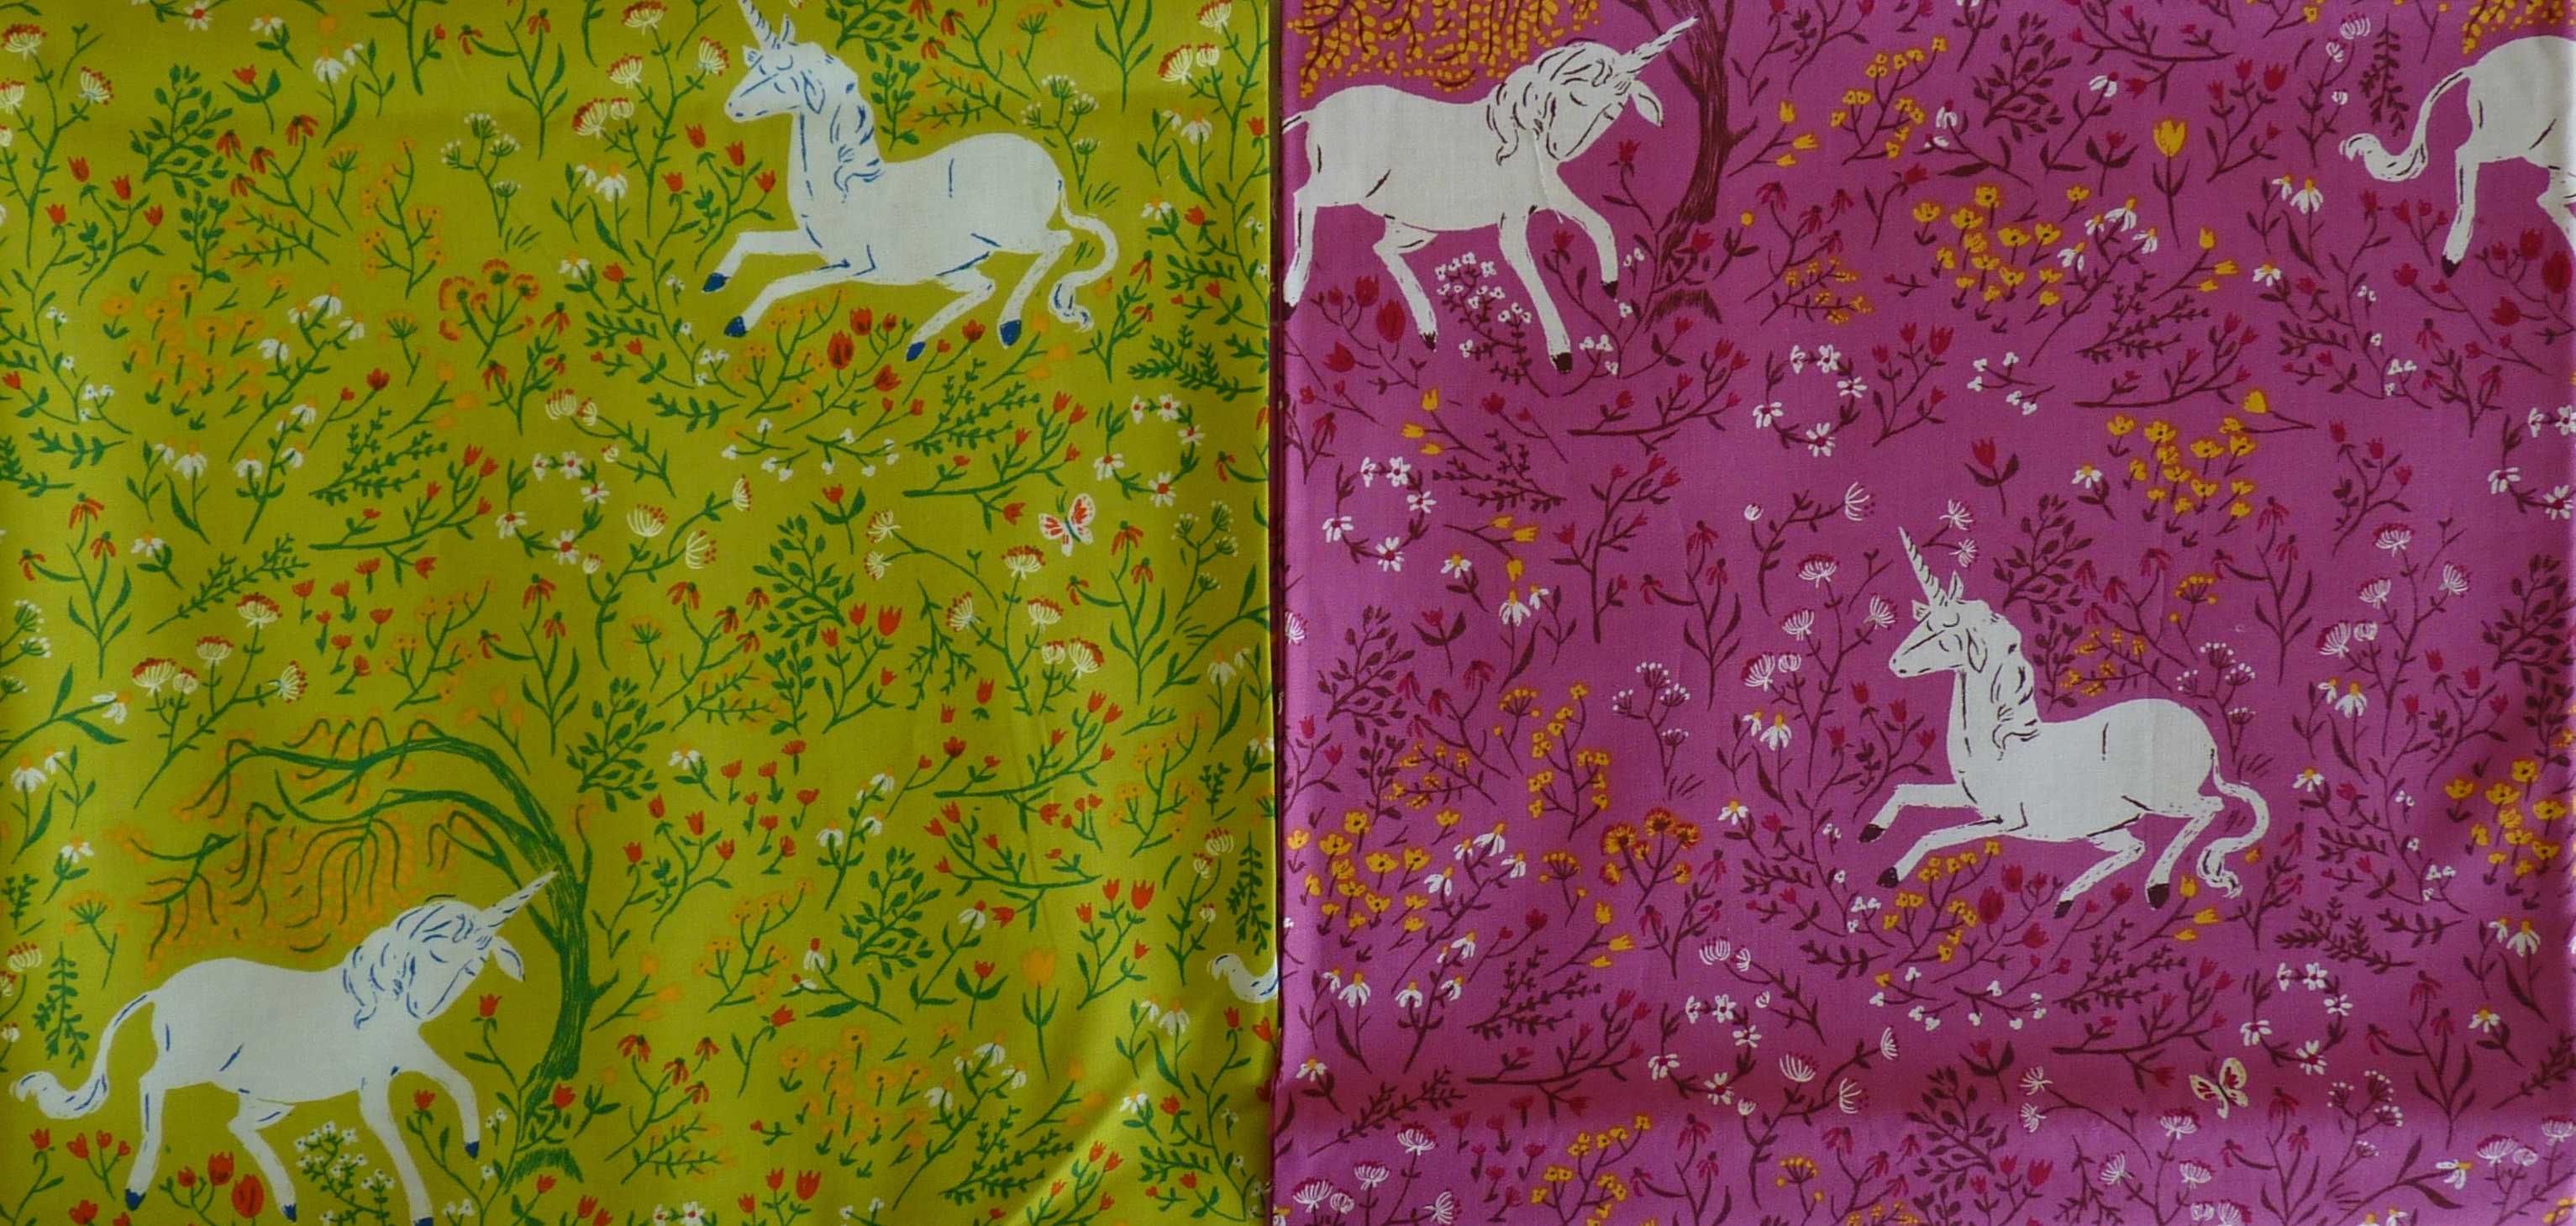
Unicorn fabric by Heather Ross
It was an even split between the green and the purple colour ways of this lovely whimsical design by Heather Ross from her Far Far Away collection.
In the end, the decision was taken out of my hands as I could only source enough of the green colour way to complete the backing. Either one would have worked however the green is a beautiful, soothing colour that is the perfect counterfoil for the riot of colours on the front.
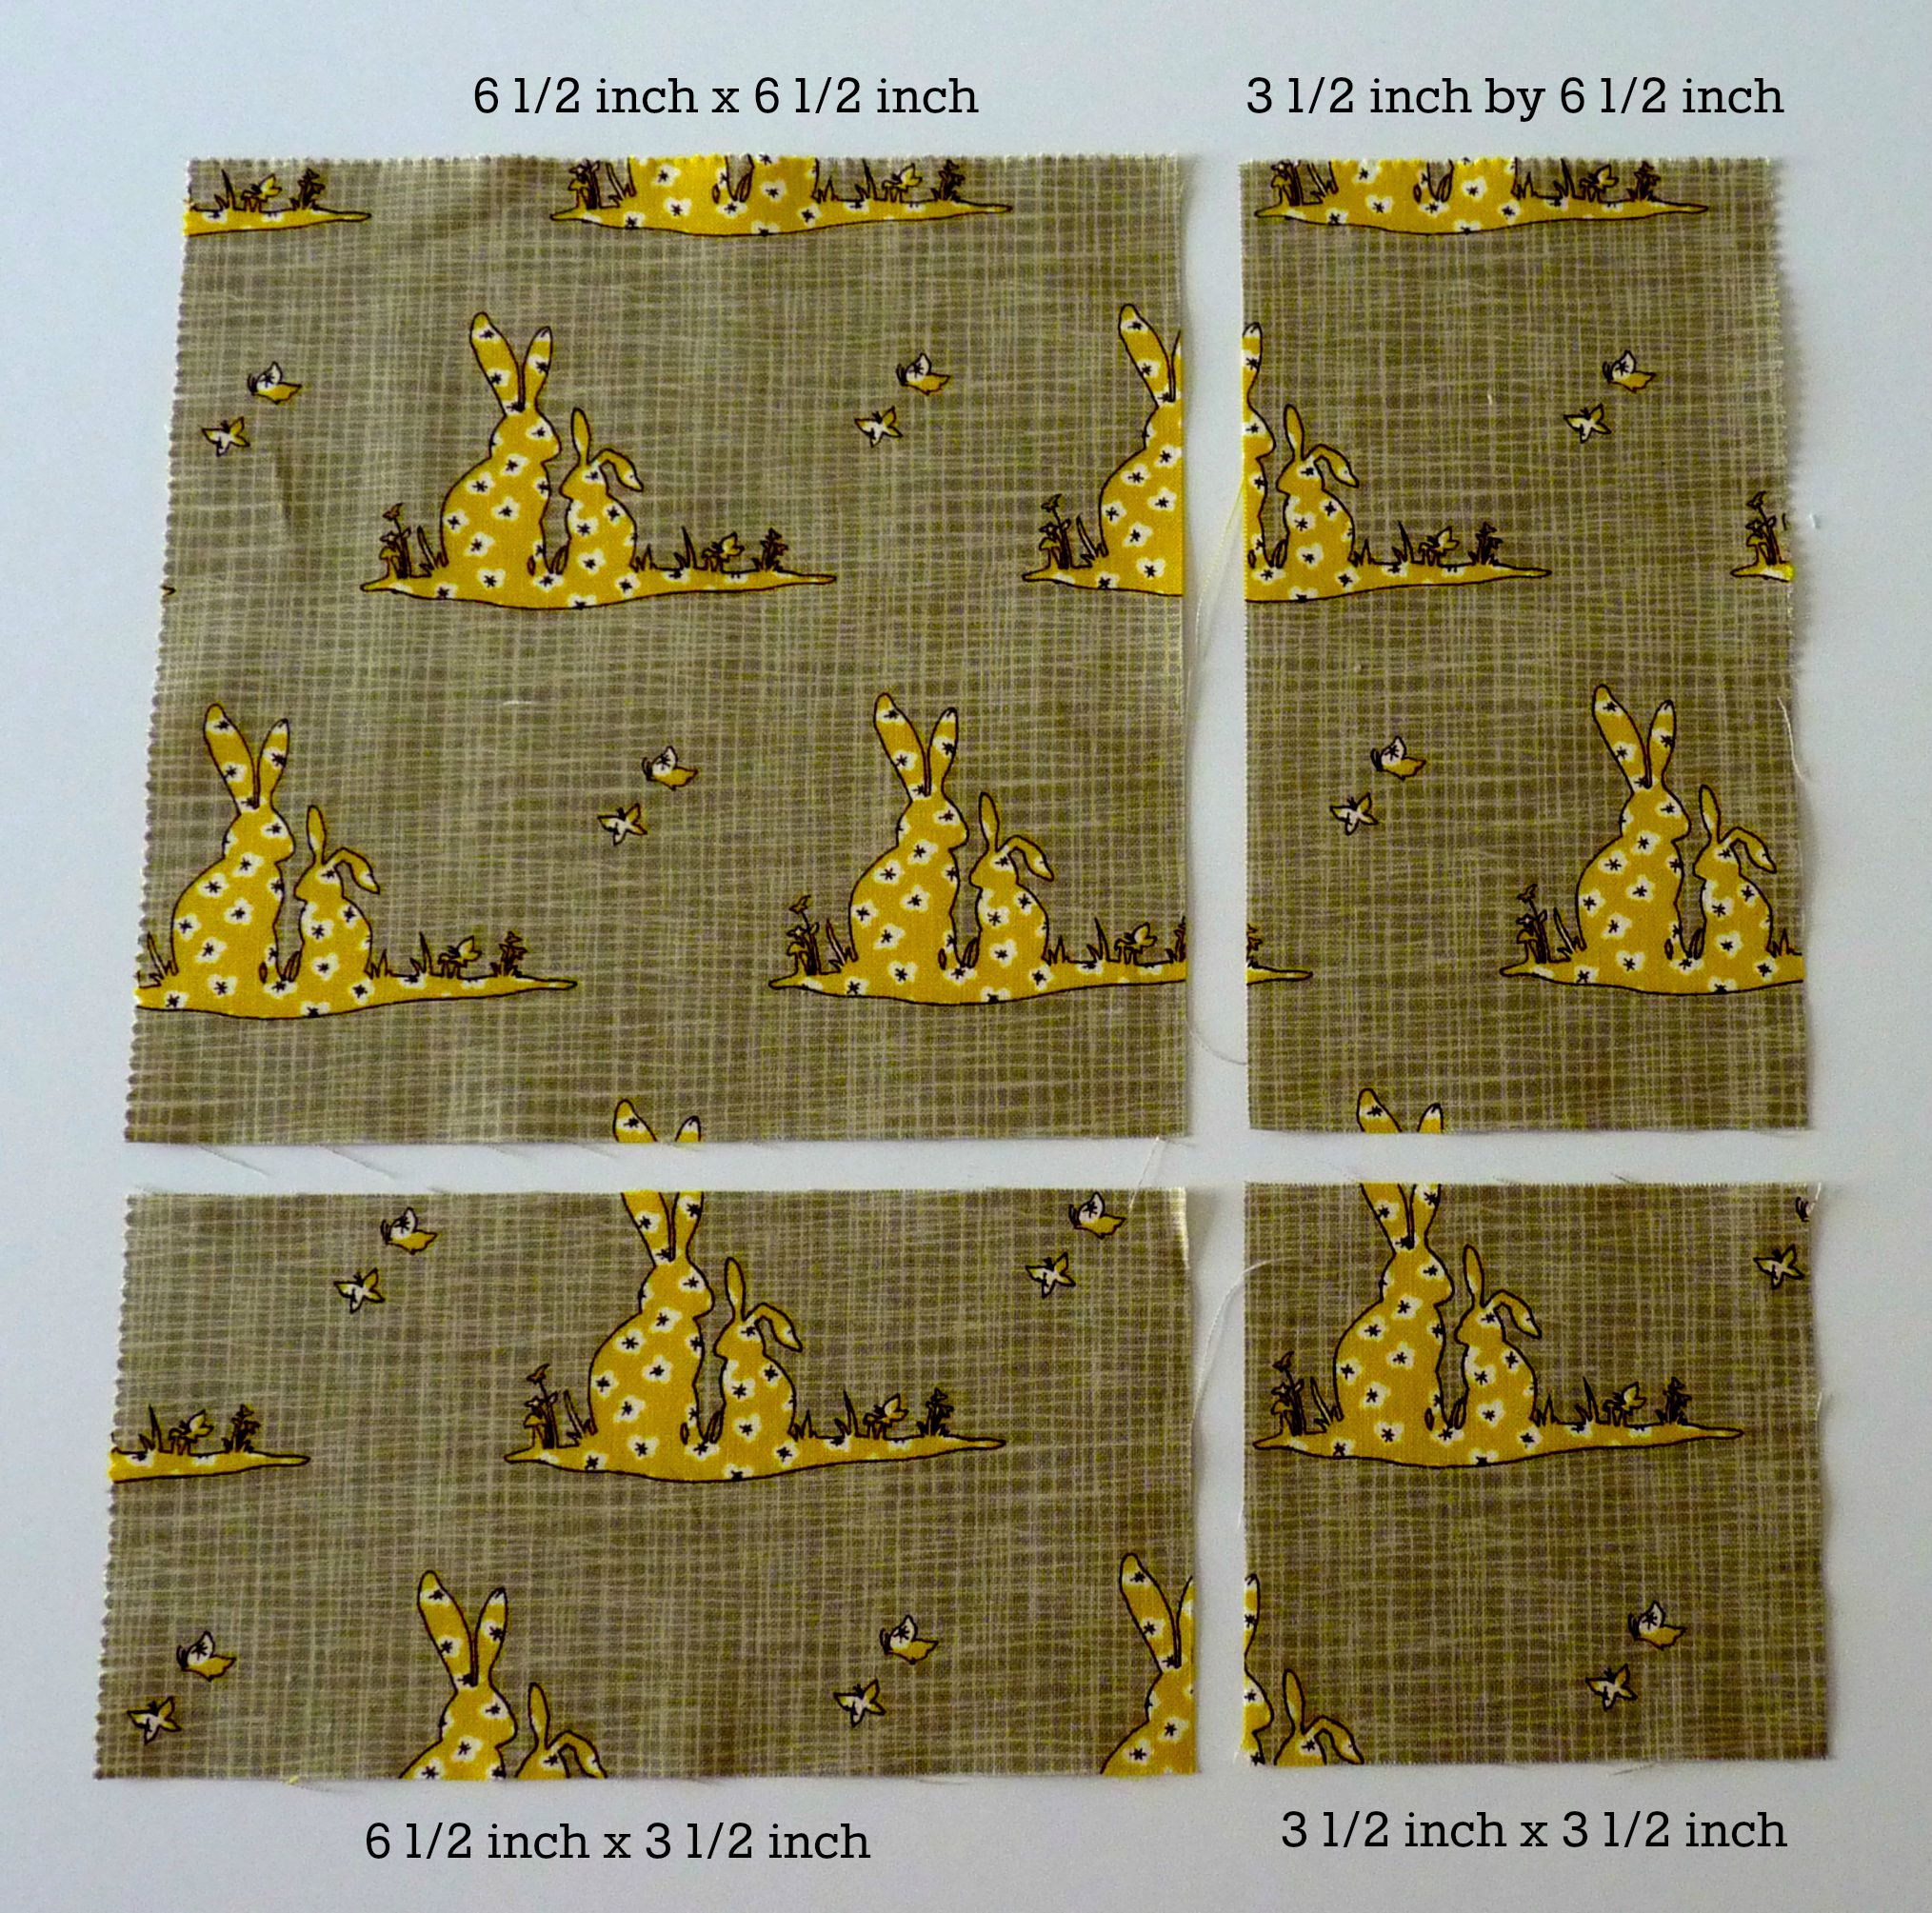
The lovely, swirly Curlz (it’s my favourite) was used as the quilting design and a glorious sunshine yellow from the Linen Cupboard collection was chosen for the binding.

Off-set coin rainbow quilt
This cuddly, warm quilt in cheerful, sunny colours cannot fail to banish dark days and rainy skies.