Over a year ago now, a friend announced that she was expecting a new nephew in April and she wanted to make a gift for him. Foolishly I offered to show her how to make a giant granny square blanket. I mean, everyone can crocket a granny square, right? Well, teaching her was an epic fail as she could only manage to create a chain stitch! Feeling responsible (she had already bought the yarn – from a charity shop, but still) I offered to make the blanket for her.
My friend made the first four chain which formed the centre ring, so she had some creative input into the blanket. I started off well however it quickly transpired that my blanket wasn’t going as planned. It had definitely developed a twist (argh!).
Giant crochet granny square fail
A quick look on Google and I found a couple of solutions. That is the lovely thing about the internet. It is so much easier to find someone who has come across the same problem, and more importantly, found a solution that they are happy to share with the world.
Turns out, the simple solution is to turn your work on each row. Basically this means that you crochet clockwise on one row and then anti-clockwise on the next row. Kerry Jayne Designs has a really clear tutorial on her blog that explains how to do this. Thank you, Kerry Jayne. You are a life saver!
Turning the blanket on each row does change the look of the stitches – but in a good way as there is now no wrong side since both sides look the same.
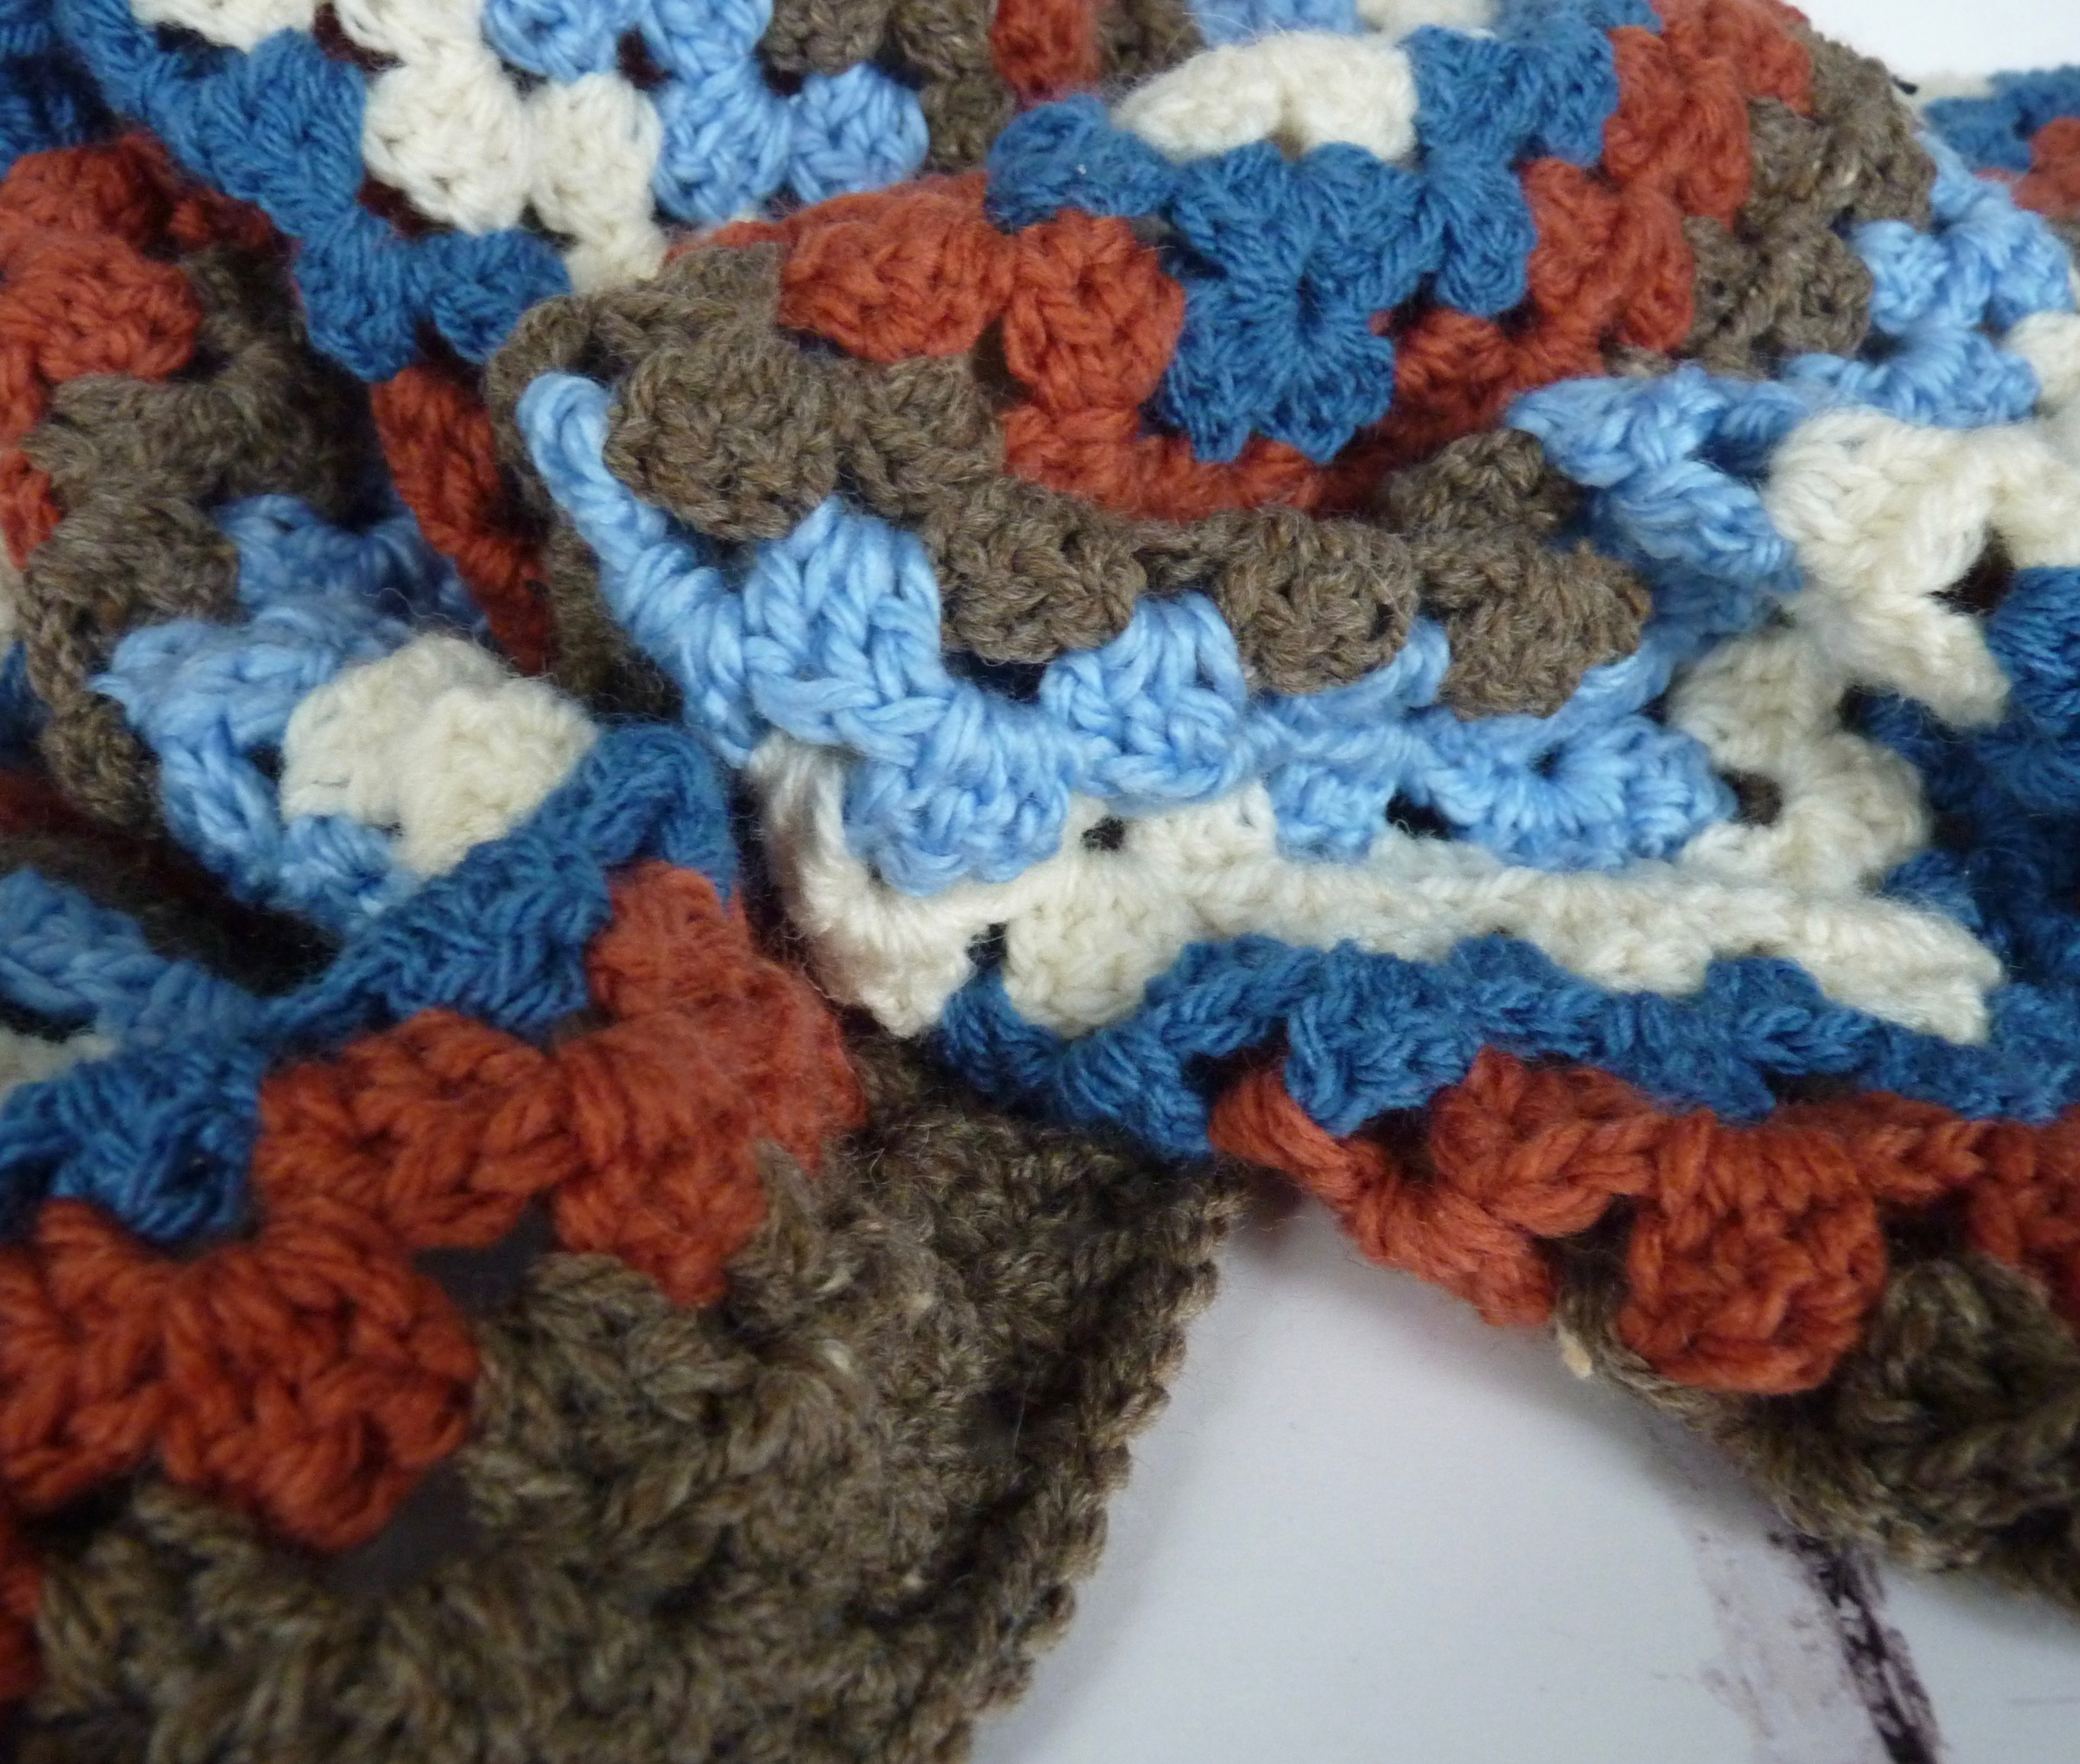
Giant crochet granny square blanket detail
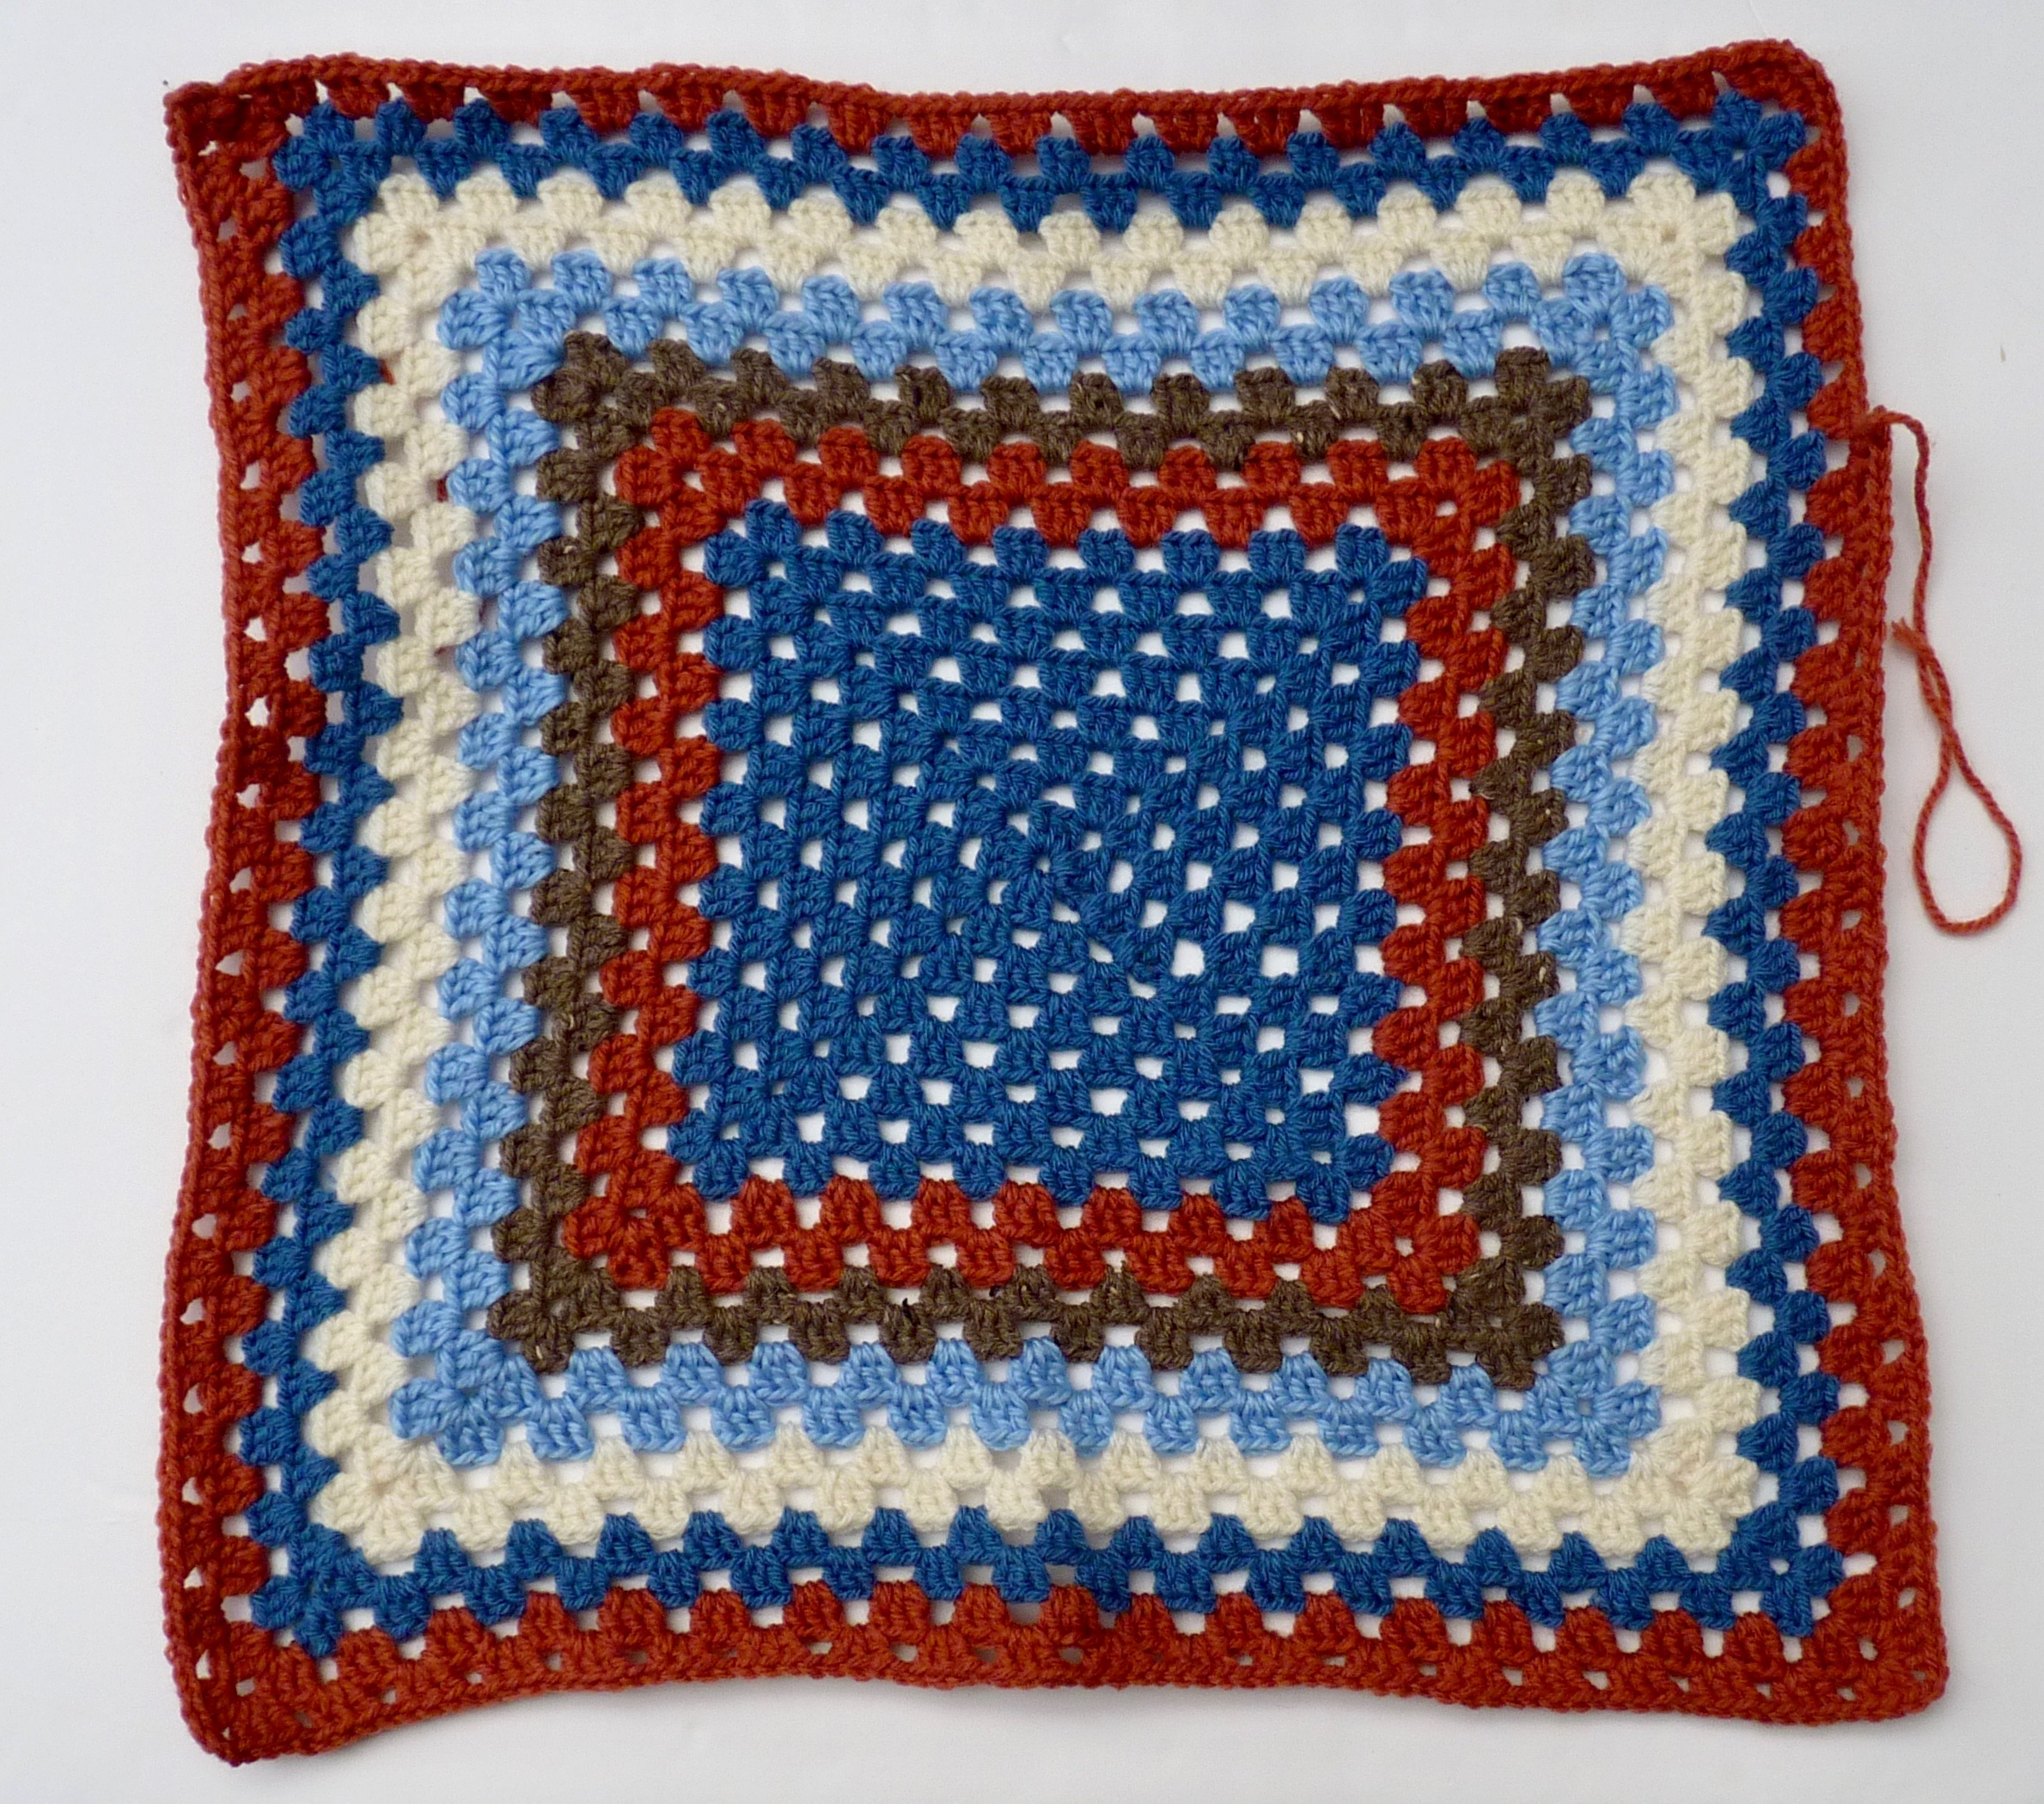
The blanket was finished in time for the baby’s arrival.

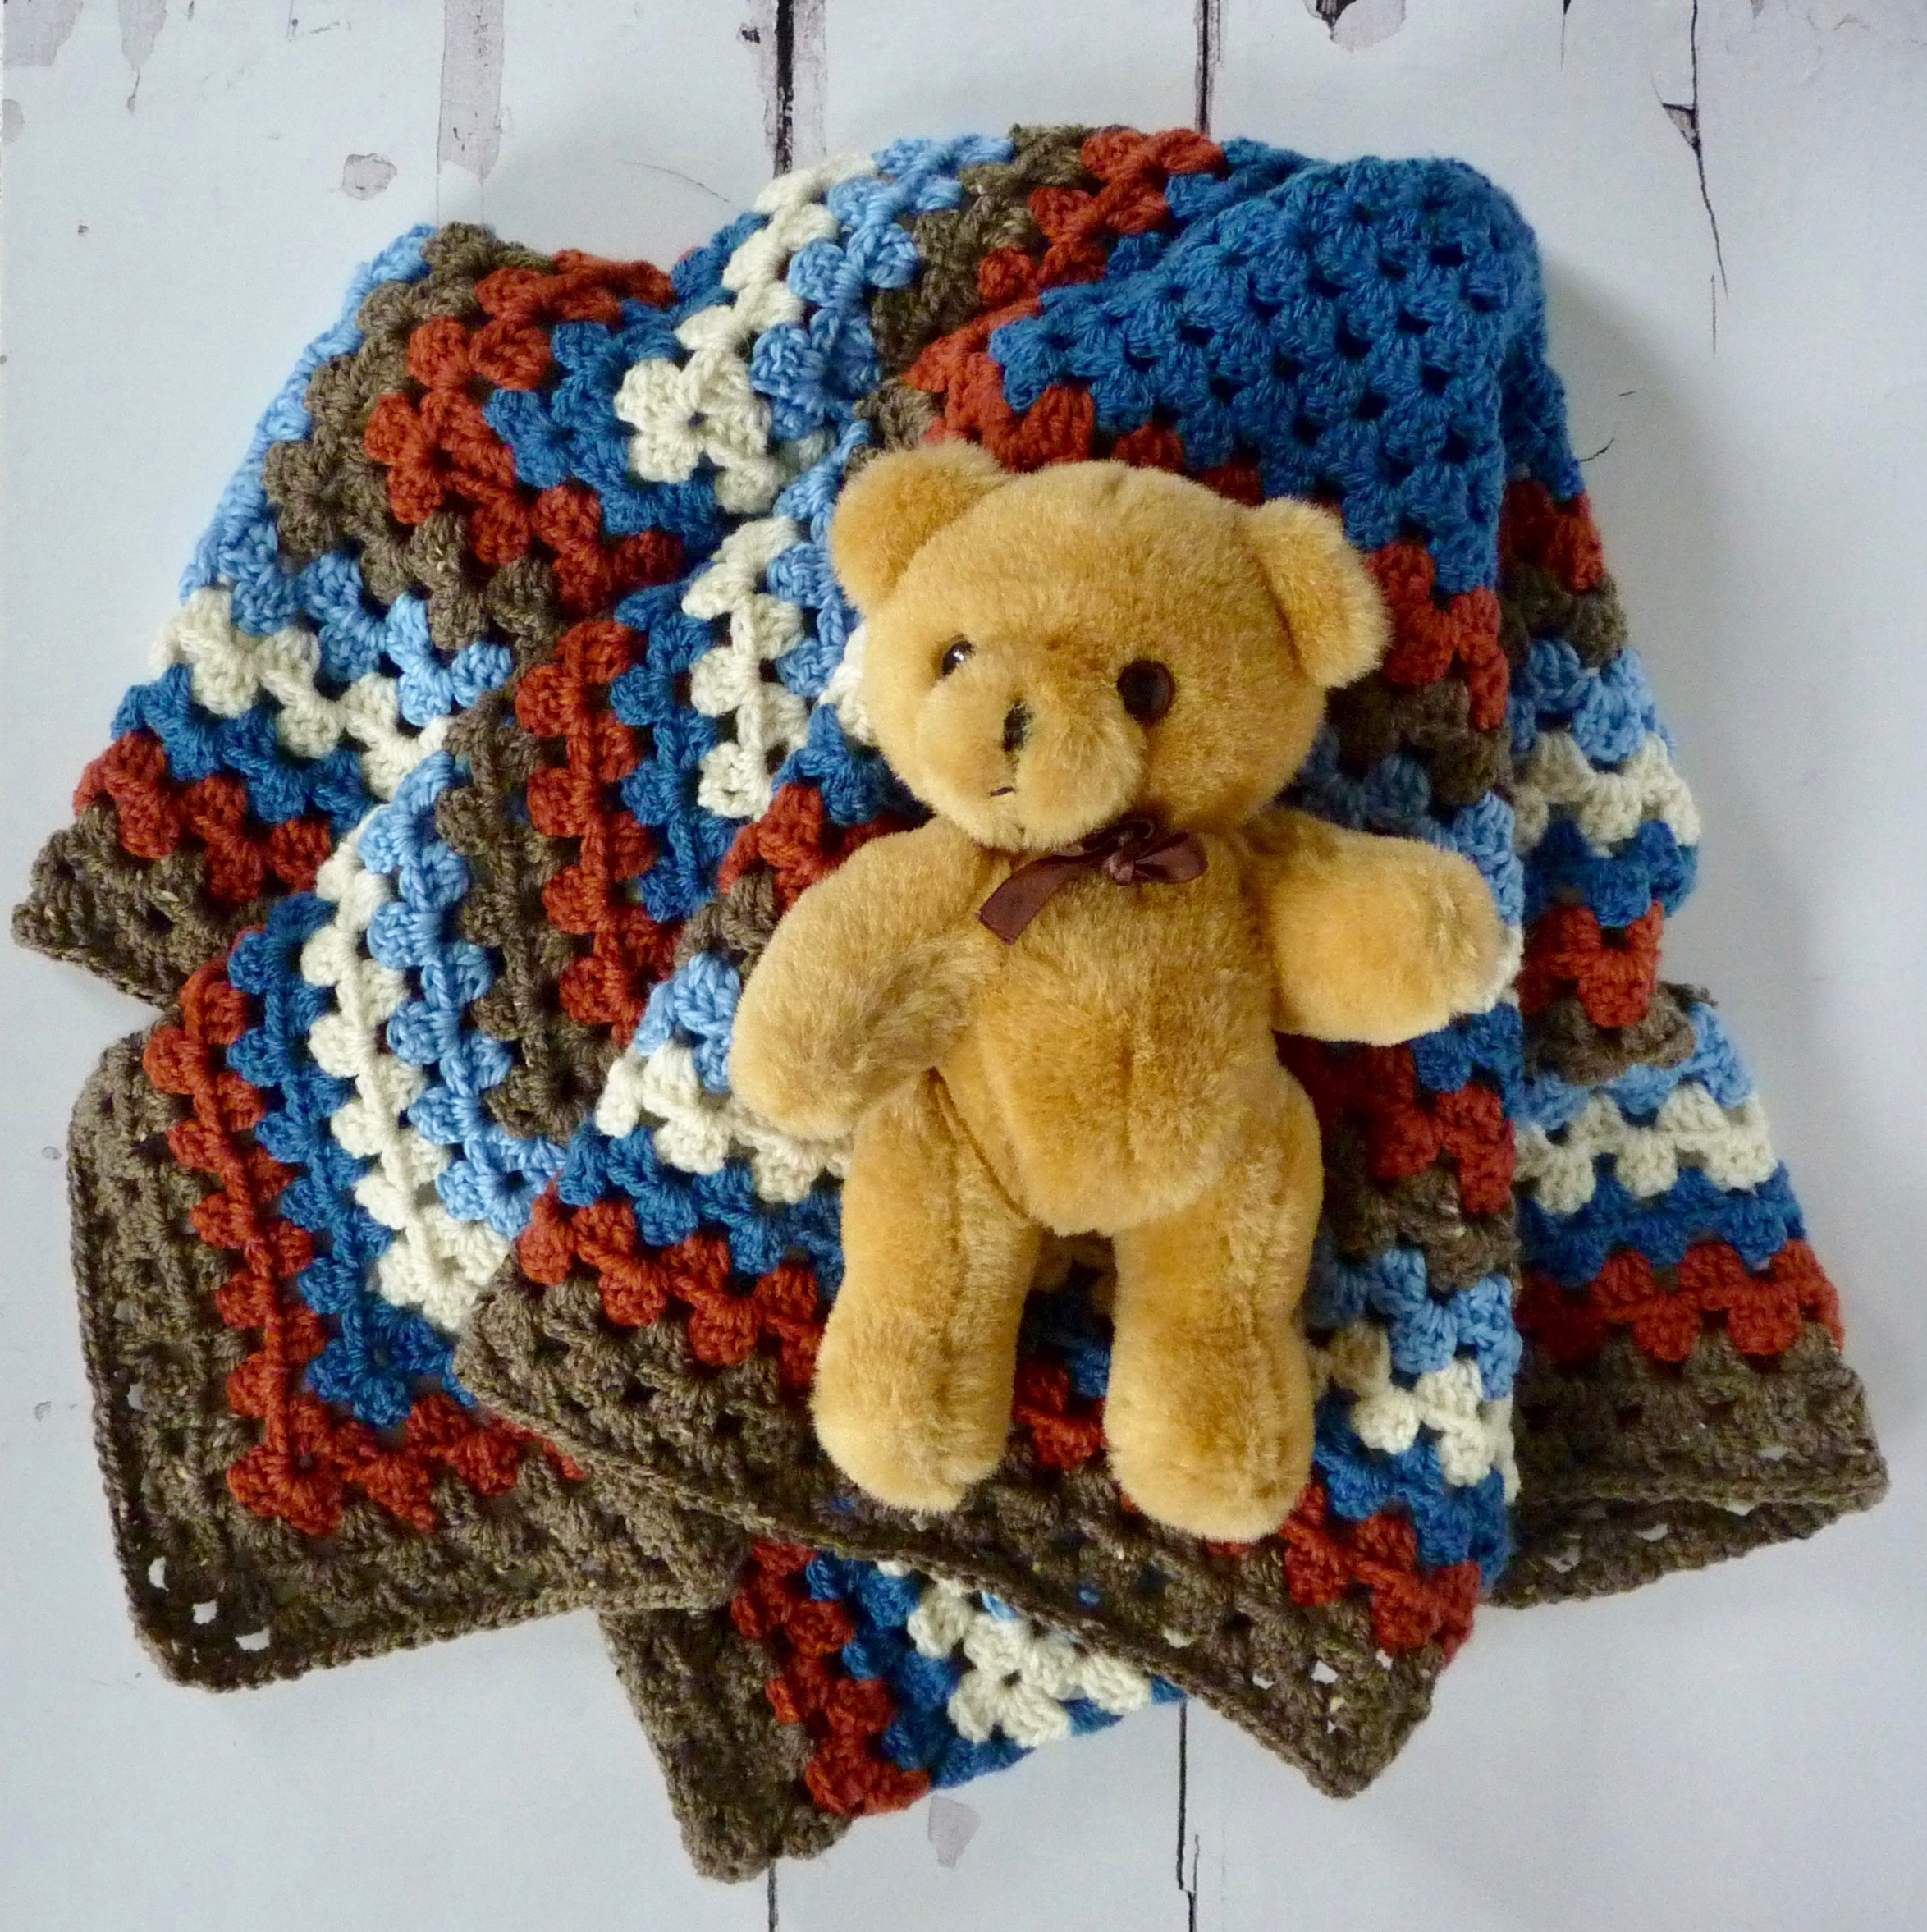
Giant granny square crochet baby blanket
It finished at just over a metre square which is the perfect size for a baby or toddler. The colours are lovely too and make a pleasingly understated palette that is not too babyish.
Giant crochet granny square blanket
Did the new mum like the blanket? I’m happy to say that she loved it which is the best accolade.
There was quite a bit of the brown and cream yarn left over after making this blanket. I’ll share what I made with it in a later post.
Like what you see? Remember you can follow me on Facebook, Instagram and Pinterest to see more of my lovely makes.