Using Chenille-It tape as a quilt binding

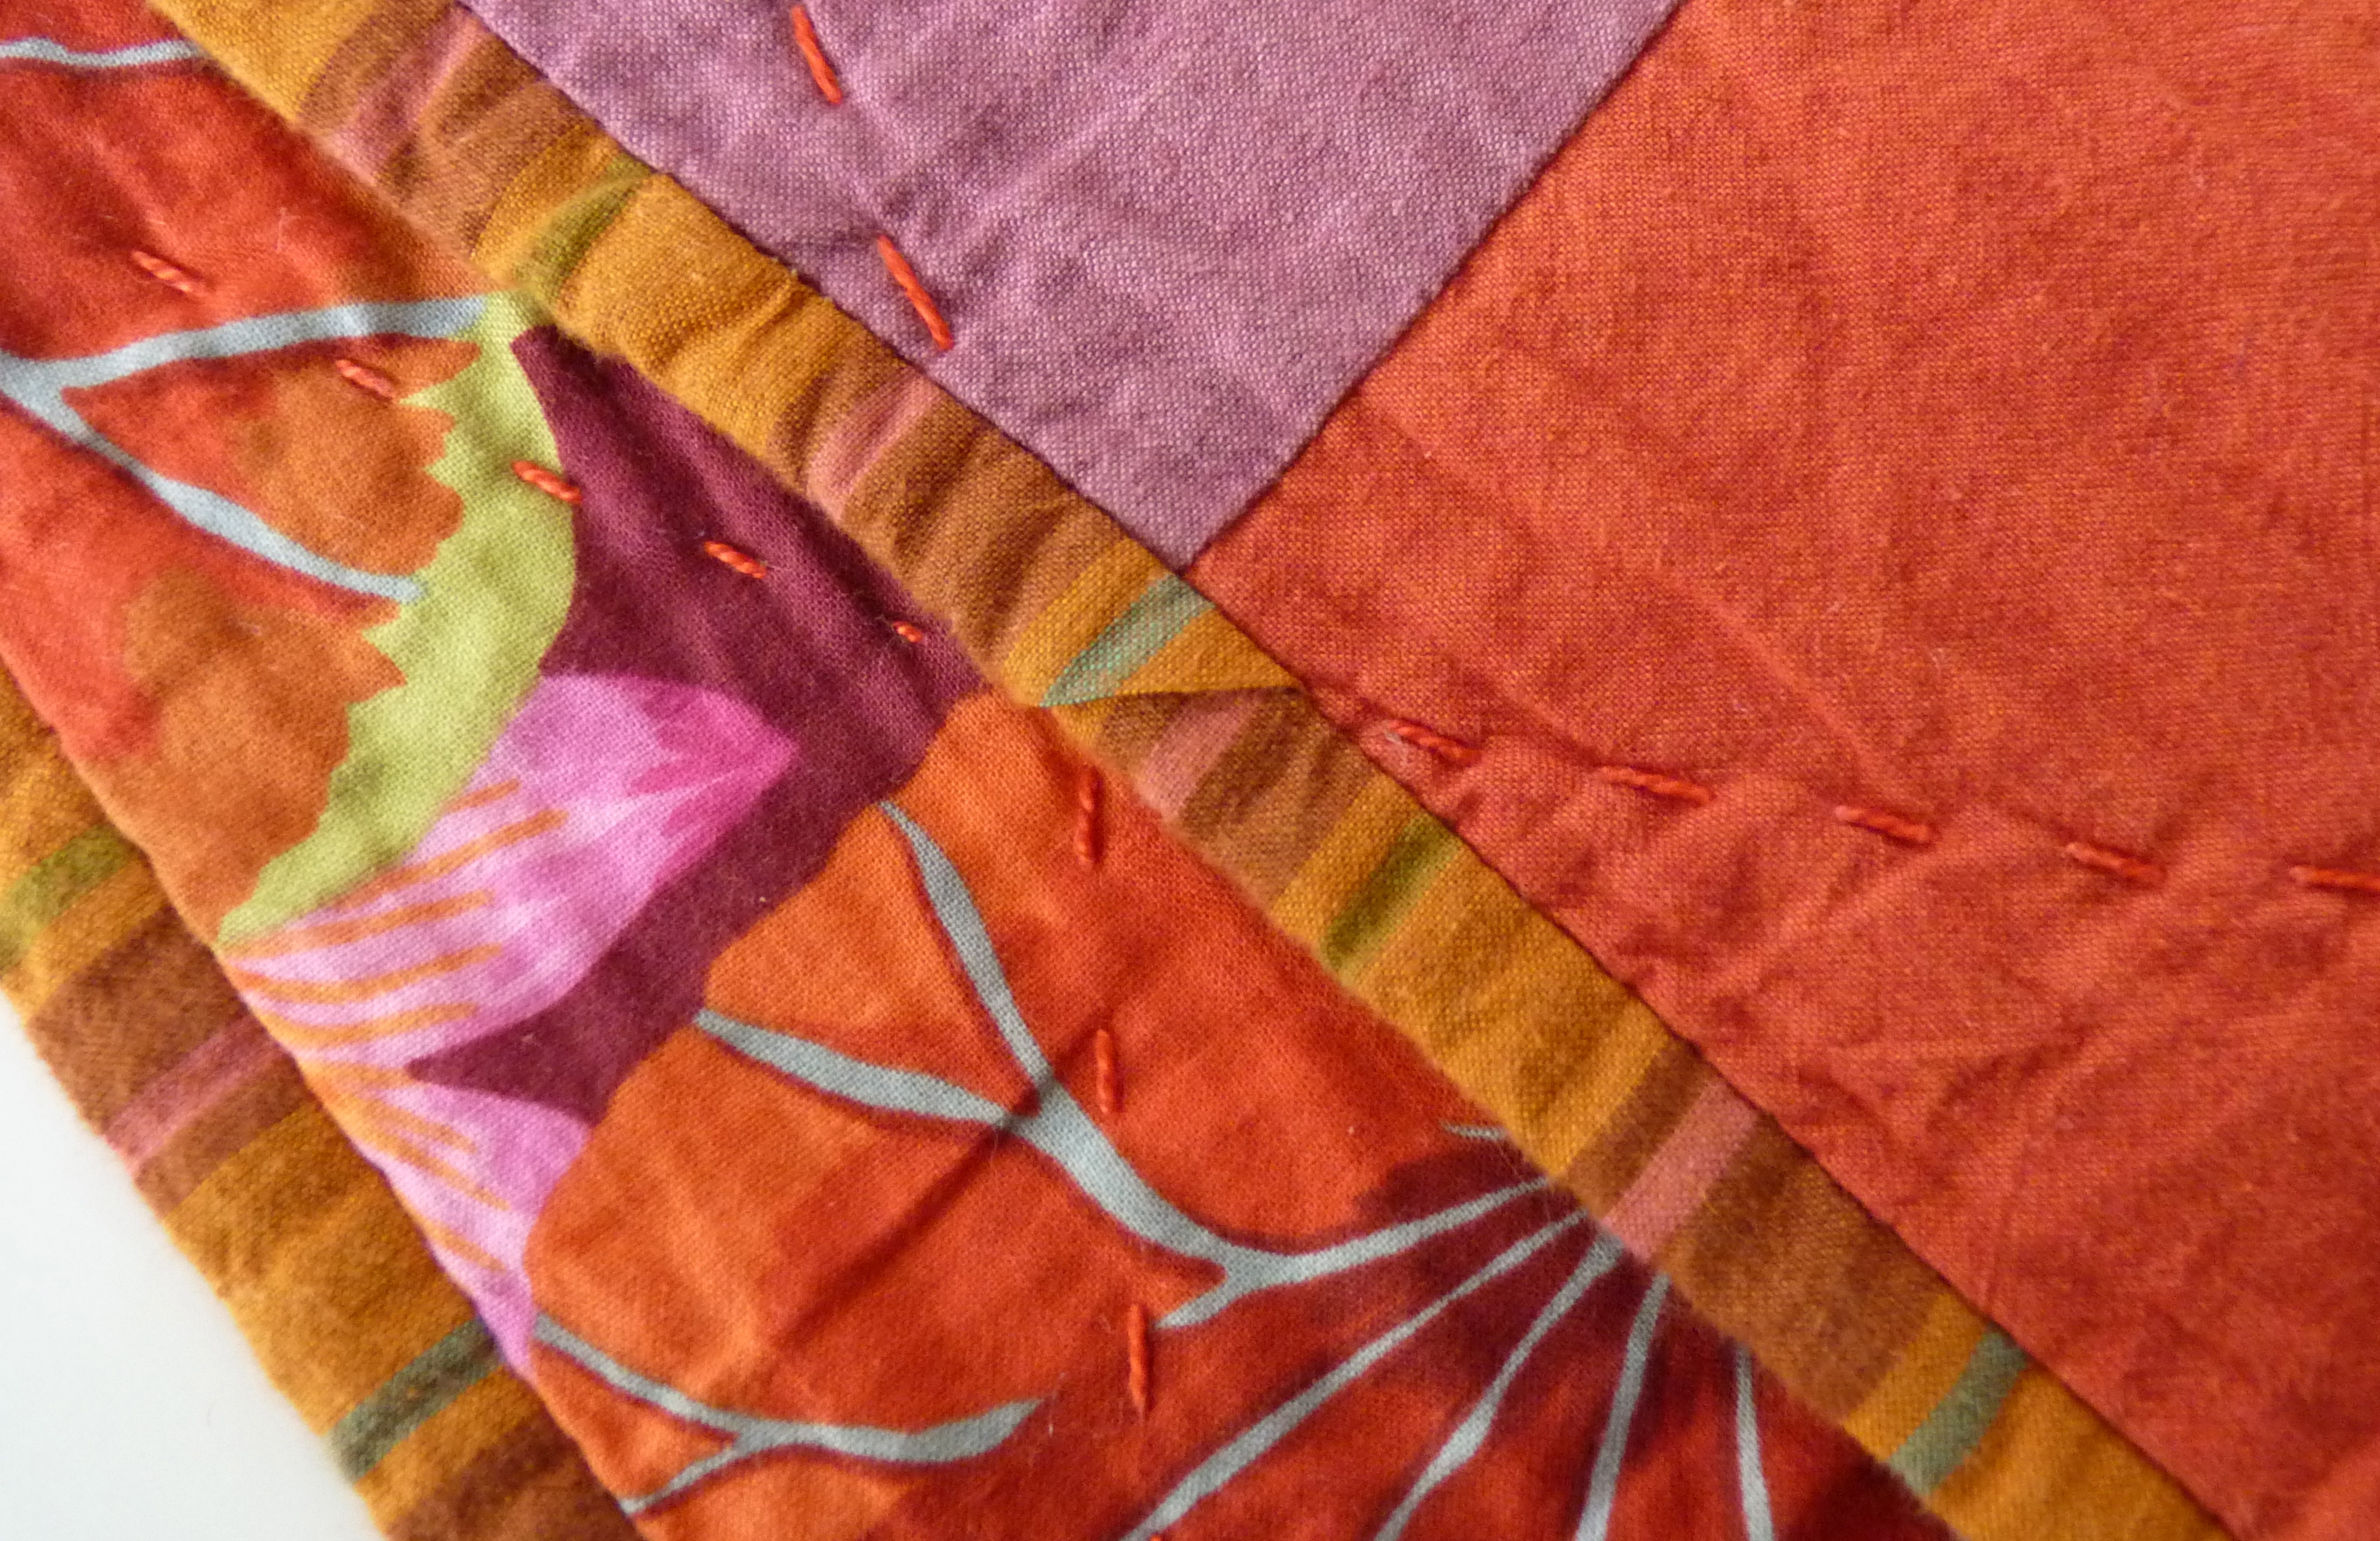
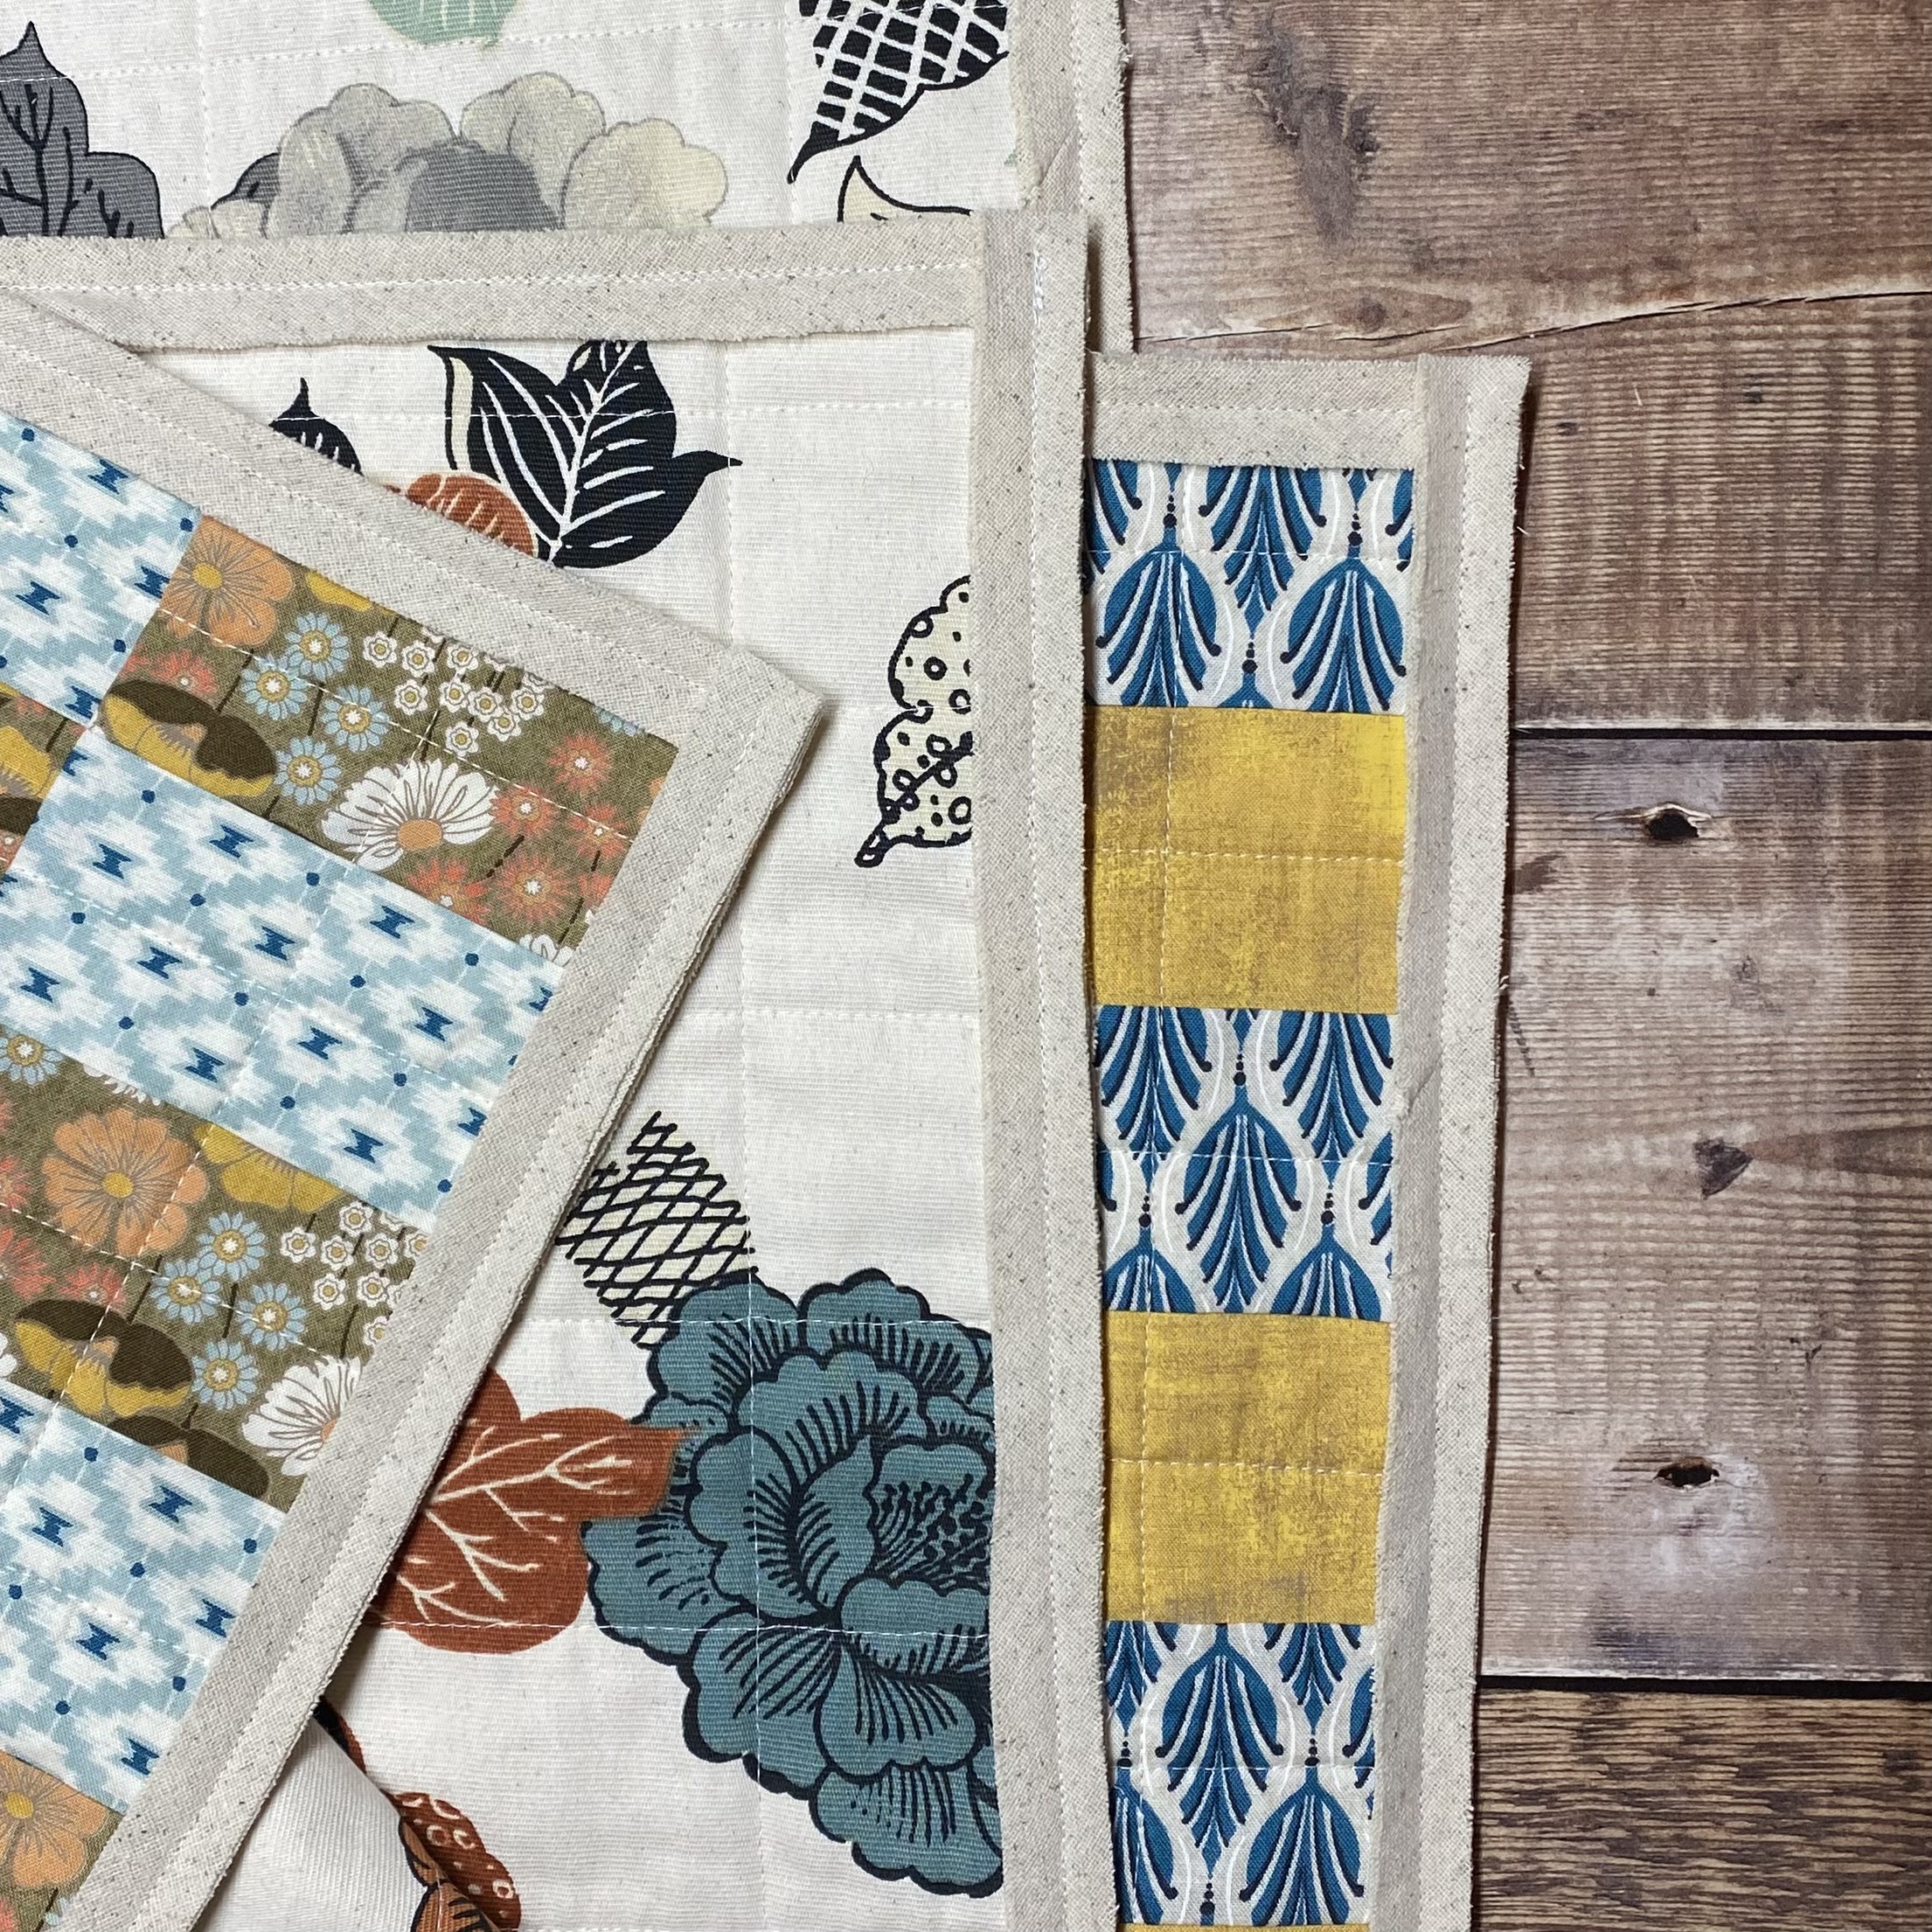
Recently I’ve seen a number of quilts on social media with a fluffy edging rather than the traditional fabric binding.  All my previous quilts have a hand sewn traditional fabric binding but it does take me so long to finish them.  This fluffy edging looked like it would be a quicker finish so I was keen to give it a try.

The fluffy edging is made using Chenille-It Blooming Bias tape.  Chenille-It Blooming Bias tape comes in two widths – 3/8 inch and 5/8 inch.  For quilt edging I would definitely recommend using the 5/8 inch wide tape.

The tape is very easy to use.  Sharon Holland Designs has an excellent video tutorial that provides detailed instructions on how to apply the tape as a binding to a quilt.  You can find it under the tutorials tab on her website.

In summary, these are the steps you need to follow to apply the tape:

  • overlock or use a zig zag stitch to secure the outer edges of your quilt
  • cut four lengths of tape about 1 inch longer than one side of the quilt
  • sew two lengths on that side to the back of the quilt
  • then sew two lengths to the same side on the front of the quilt  
  • repeat steps 2 and 3 for each of the other sides
  • start by applying tape to the shorter sides and then the longer sides
  • if your quilt is square then do opposite sides and then the other opposite sides
  • trim the beginning and end of your tape so that they are level with the other sides 

Below is a photo of how my quilt looked after applying the tape to all four sides.  I think we can agree that it looked pretty uninspiring at this stage.

Thankfully that is not the end of the process as the magic happens after washing. The quilt needs to be washed in order to fluff up the tape.  

Initially I washed my quilt on a short cold wash but found there were sections of the tape that hadn’t fully fluffed up.  So, I popped it back in the washing machine with an old towel and on a longer cold wash.  The agitation of the towel was just what was needed to fully fluff the tape.

Chenille-It Blooming Bias as a quilt edging after washing

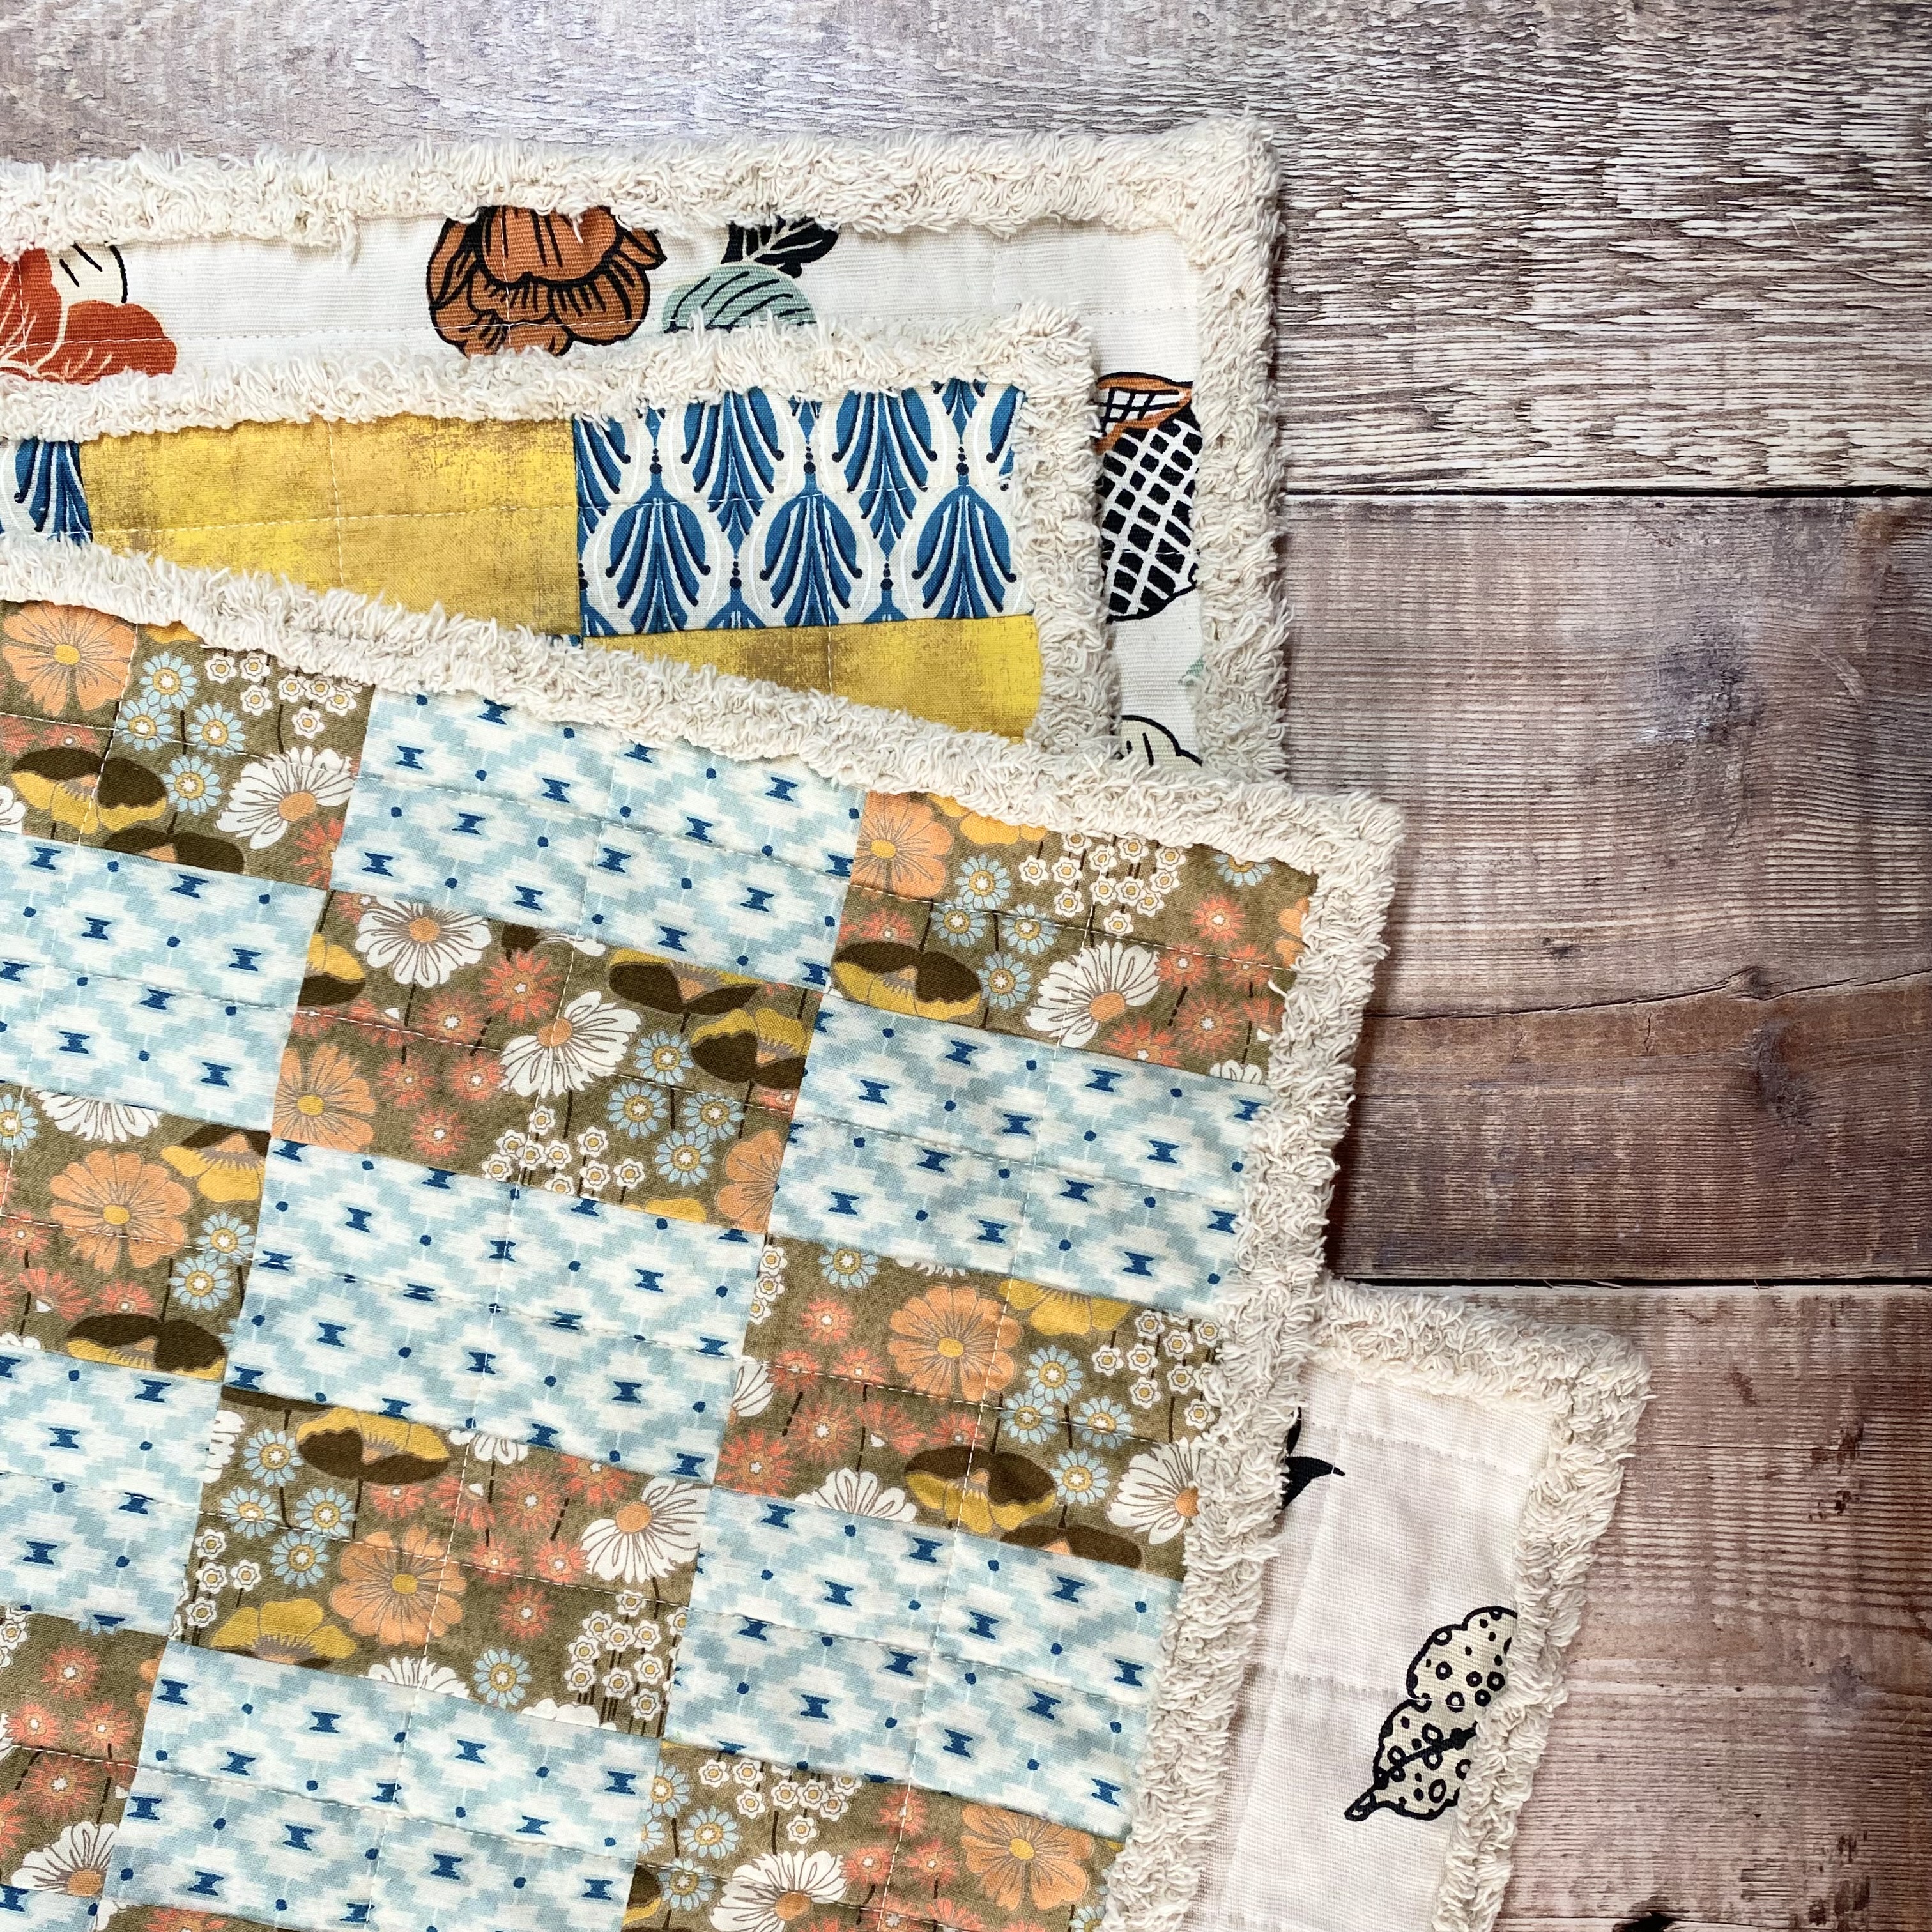
The photo above shows the quilt with the fully fluffed up tape.  For anyone curious I used the natural colour tape which I think tones well with the fabrics used.  The tape has fluffed up beautifully and gives a lovely, informal finish to the quilt.

Would I use this method again?  Yes, yes, I would.  It is much quicker than hand sewing a fabric binding and probably takes the same amount of time as machine binding a quilt.  I was unable to source the wider tape in the UK so ordered it directly from Chenille-It.  The company was very prompt in shipping my order and they had a full range of the tape colours available for me to choose from. The postage costs for international shipping do make it a much more expensive option for me so I’ll only be using the tape on special quilts.   If you could purchase the tape in your own country then it would probably be comparable in price to the usual fabric binding.

I hope this tutorial has inspired you to try using Chenille-It Blooming Bias tape on a quilt.

Please let me know if you do as I would love it see it.

Like what you see?  Remember you can follow me on FacebookInstagram and Pinterest to see more of my lovely makes.

3 great quilt binding tutorials

Binding is a really important component of your quilt as it is the frame that adds that finishing touch.  When I started quilting, I struggled to get a binding finish that I really liked.   For me, my first bindings looked a little too flat when I wanted them to be full and plump.  I also wasn’t keen on the appearance of the commonly used binding finish where one end is tucked inside the other (shown here on one of my first quilts).  
 

Binding tucked inside

Binding tucked inside

 
What I really longed to do was to sew a continuous binding which looks so much neater and less conspicuous.  Fortunately, there are lots of very experienced quilters worldwide who are happy to share their knowledge and skills via the internet.  Thanks to their generosity, and a bit of practice on my part, I now routinely sew a continuous quilt binding (you can just see the seam next to the little bird – neat, isn’t it?) and they always come up plump and puffy.  
 

Continuous quilt binding

Continuous quilt binding

 
If you have struggled to achieve a professional appearance for your quilt binding, then here are my three favourite binding tutorials that I used to hone my technique.
 
Tutorial 1
Rita, from Red Pepper Quilts, is one of my favourite quilters.  It was as a result of reading her blog that I first realised that a continuous binding was even possible.  Even better, Rita has a fabulous tutorial on her blog that clearly shows how to sew a continuously seamed binding.  She also shows in detail how to machine sew the binding on the reverse, rather than hand sewing, although I haven’t tried this myself.  
 
Tutorial 2
Next up is Kimberley from the Fat Quarter Shop who has produced a great YouTube video.  In the video, Kimberley shows how to sew a continuous seamed binding using a binding tool.  I don’t have the binding tool and instead use my corner trimmer to achieve the same result.  I also don’t have a Simplicity bias tape maker although it is on my lust list.  As an added bonus, Kimberley shows how to trim the quilt so that the backing and wadding is slightly bigger than the top.  This is the secret to creating a fuller binding.
 
Tutorial 3
Finally, this tutorial from Sewing4home.  This very comprehensive tutorial covers all aspects of cutting and sewing quilt binding.  It has loads of hints and tips including information on how to calculate the amount of fabric you need to bind your quilt.  
 
So there you have it.  Three fabulous binding tutorials to help you achieve a professional binding for your quilt.  Happy sewing!   

My new favourite gadget

I  popped this inexpensive little gadget into my shopping basket on a whim and it is just the best thing.

The corner trimmer was designed to simplify sewing right angled triangles, such as half square triangles or flying geese blocks.  The main reason I wanted to give it a try was because it also makes it easier to cut and sew the bias edges when piecing binding strips (one of my bugbears).    

Anyway, to use this little gadget for binding, I cut my strips and then simply lined up a straight edge of the trimmer exactly on the long edge of a binding strip.  I first cut the diagonal edge and then the 90 degree triangle.  Turning the strip around, I did the same at the other end.  

Cutting off the little triangle on the end made such a difference!  No more guesswork matching seams. Now they lined up perfectly.  


And there were no “dog ears” of fabric to cut off after the seams were pressed open.


When sewing the binding to the quilt, I prefer to use a diagonal seam for the final join.  The corner trimmer made this so simple to do.  It was small enough to manoeuvre on the binding strip ends and the clear cutting instructions made it easy to get the final length of the strip just right.

I love this corner trimmer and can see that I will be using it often.  Binding from now on will be a breeze!