Funny how things don’t turn out how you planned. One of my New Year resolutions was to write a weekly blog post. And we can all see how well that turned out! Well, I am not giving up on my resolution just yet. So on to my first post for the year. Better late than never.
Two weeks ago I spent a fabulous day with amazing quilter Charlotte Newland at The Village Haberdashery learning the techniques of improvisational patchwork.
First up was making blocks from scraps chosen at random from plastic bags – with NO peeking! Given that I have a thing about colours going together, I found the no peeking aspect particularly challenging. And I was pleasantly surprised at how well my scrappy block turned out (ooh, the Liberty print!). Doing this with your own scraps must bring back many happy memories of items you’d made earlier.
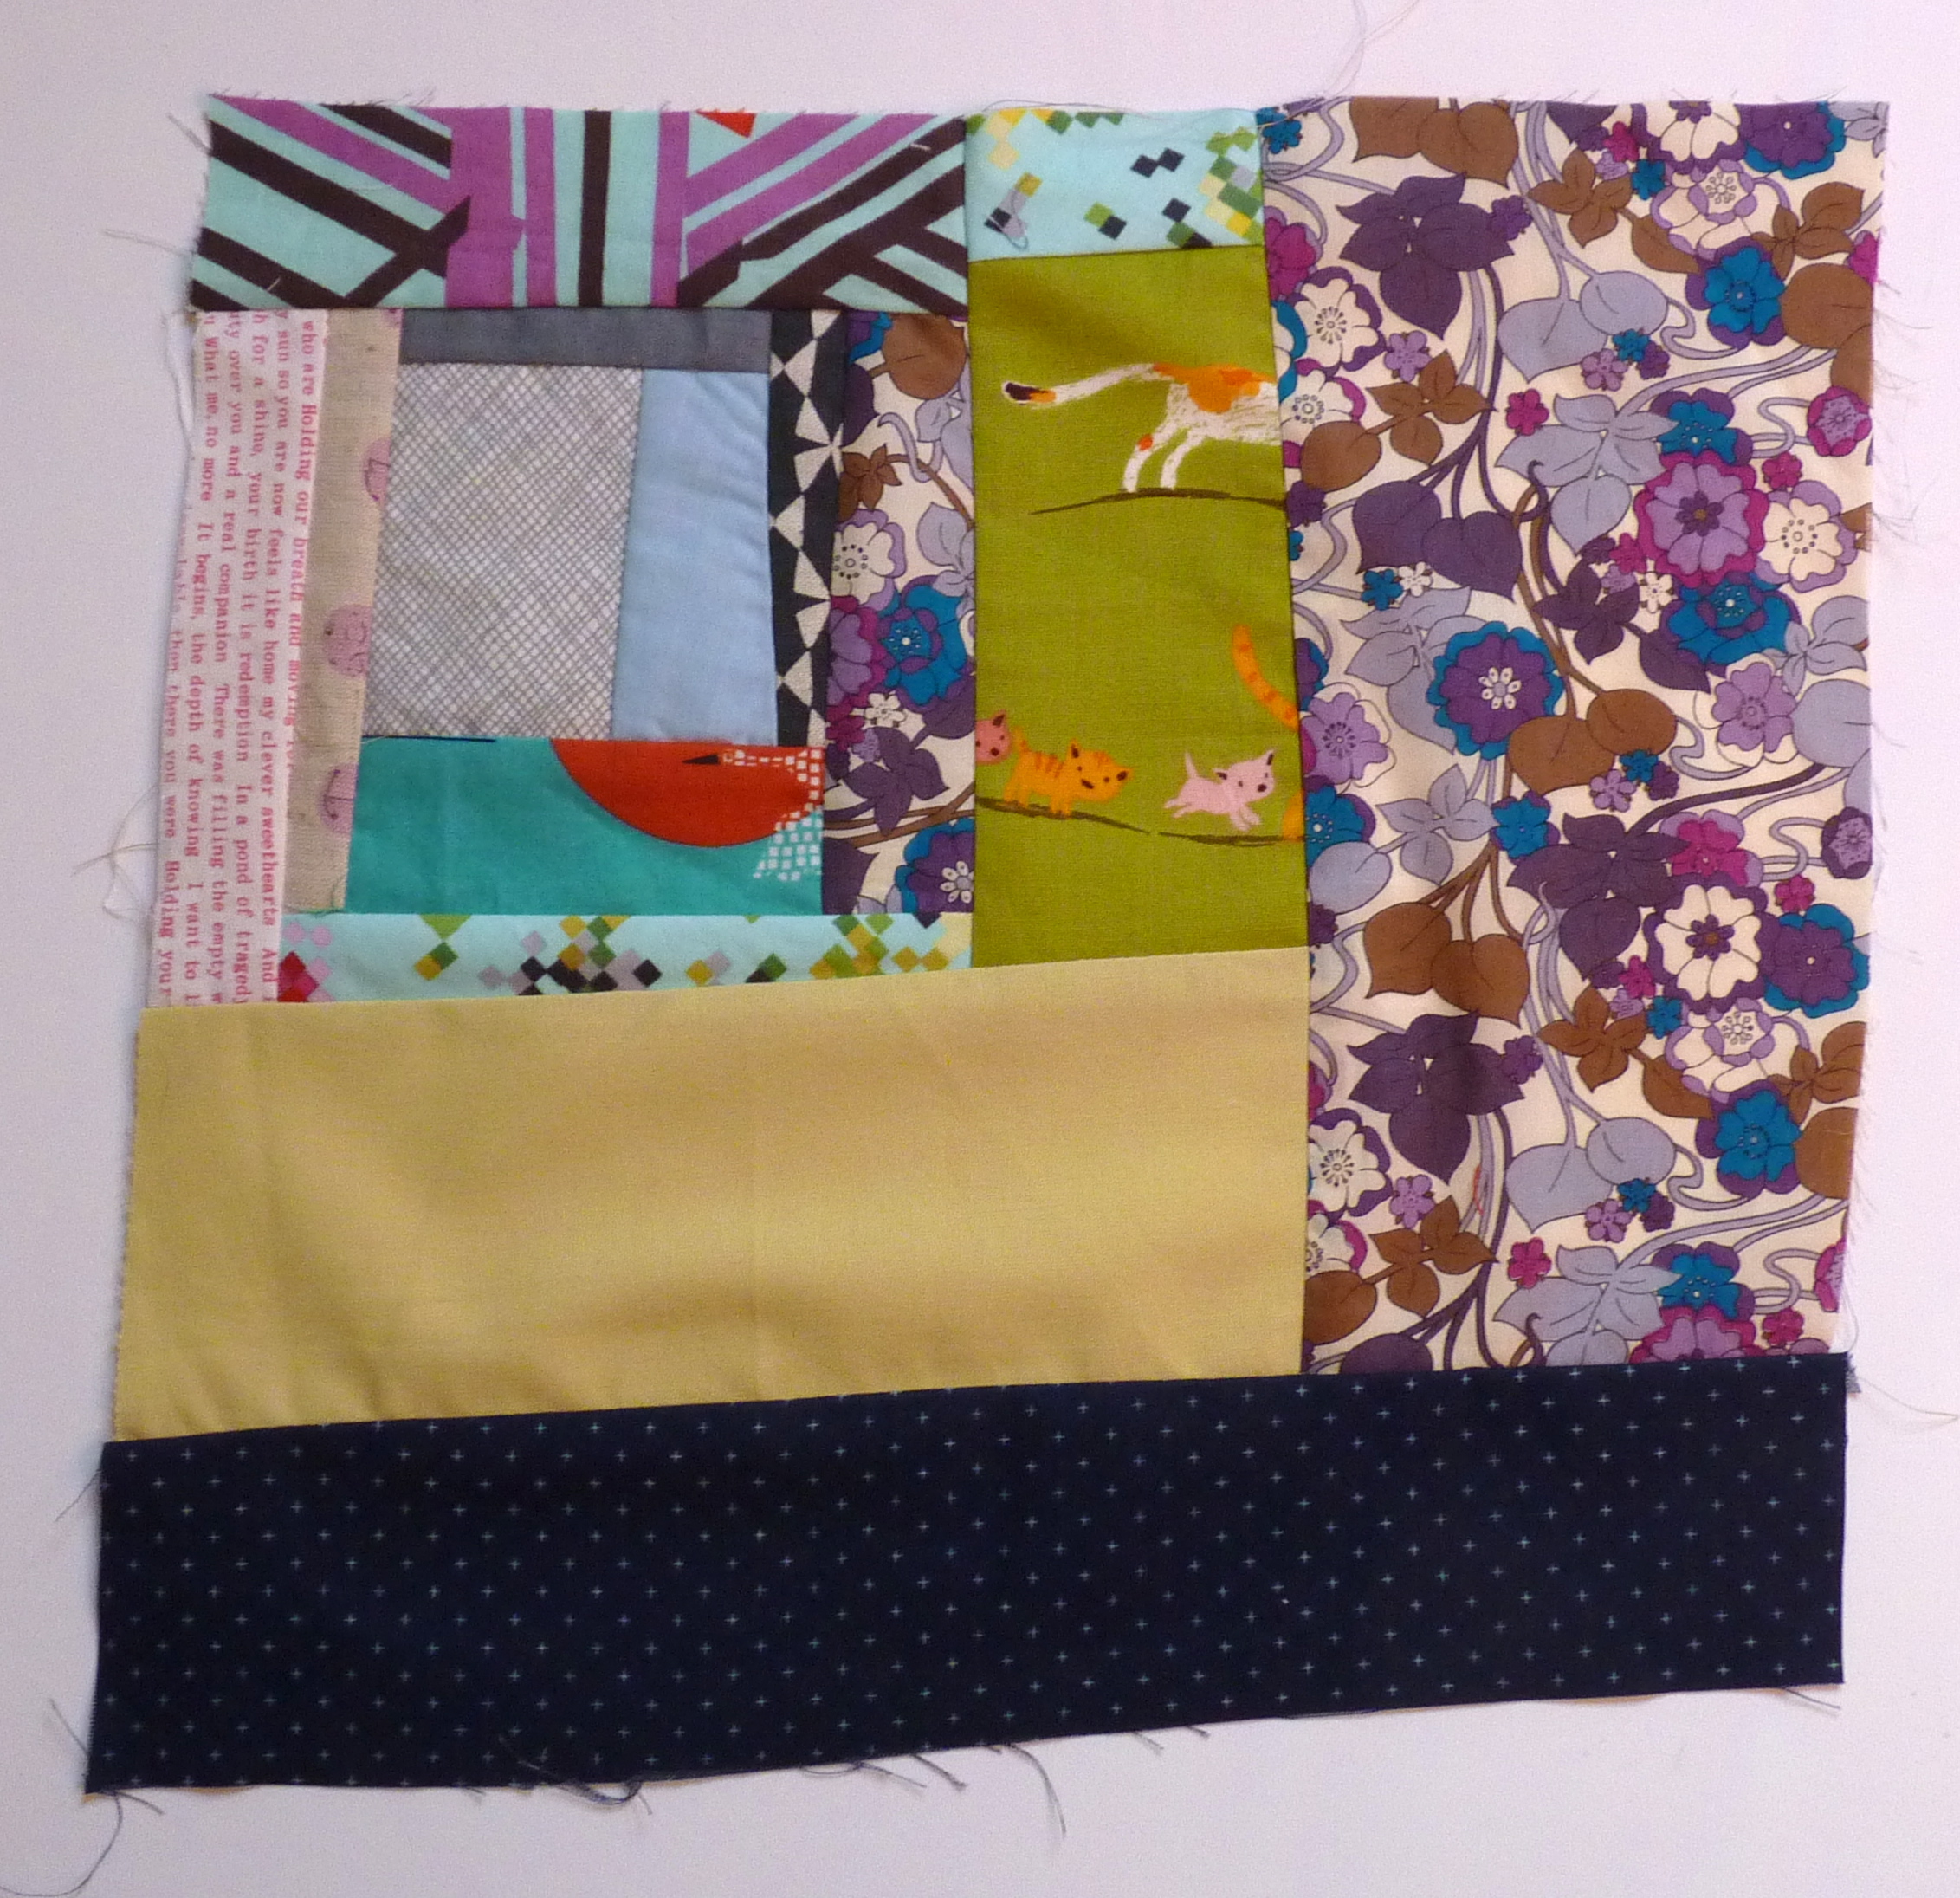
Improvisational patchwork block
For our next block we were allowed to add in pieces of our chosen fabric (the orange butterflies) along with randomly chosen scraps. I love the tiny pieces of text fabric in this block.
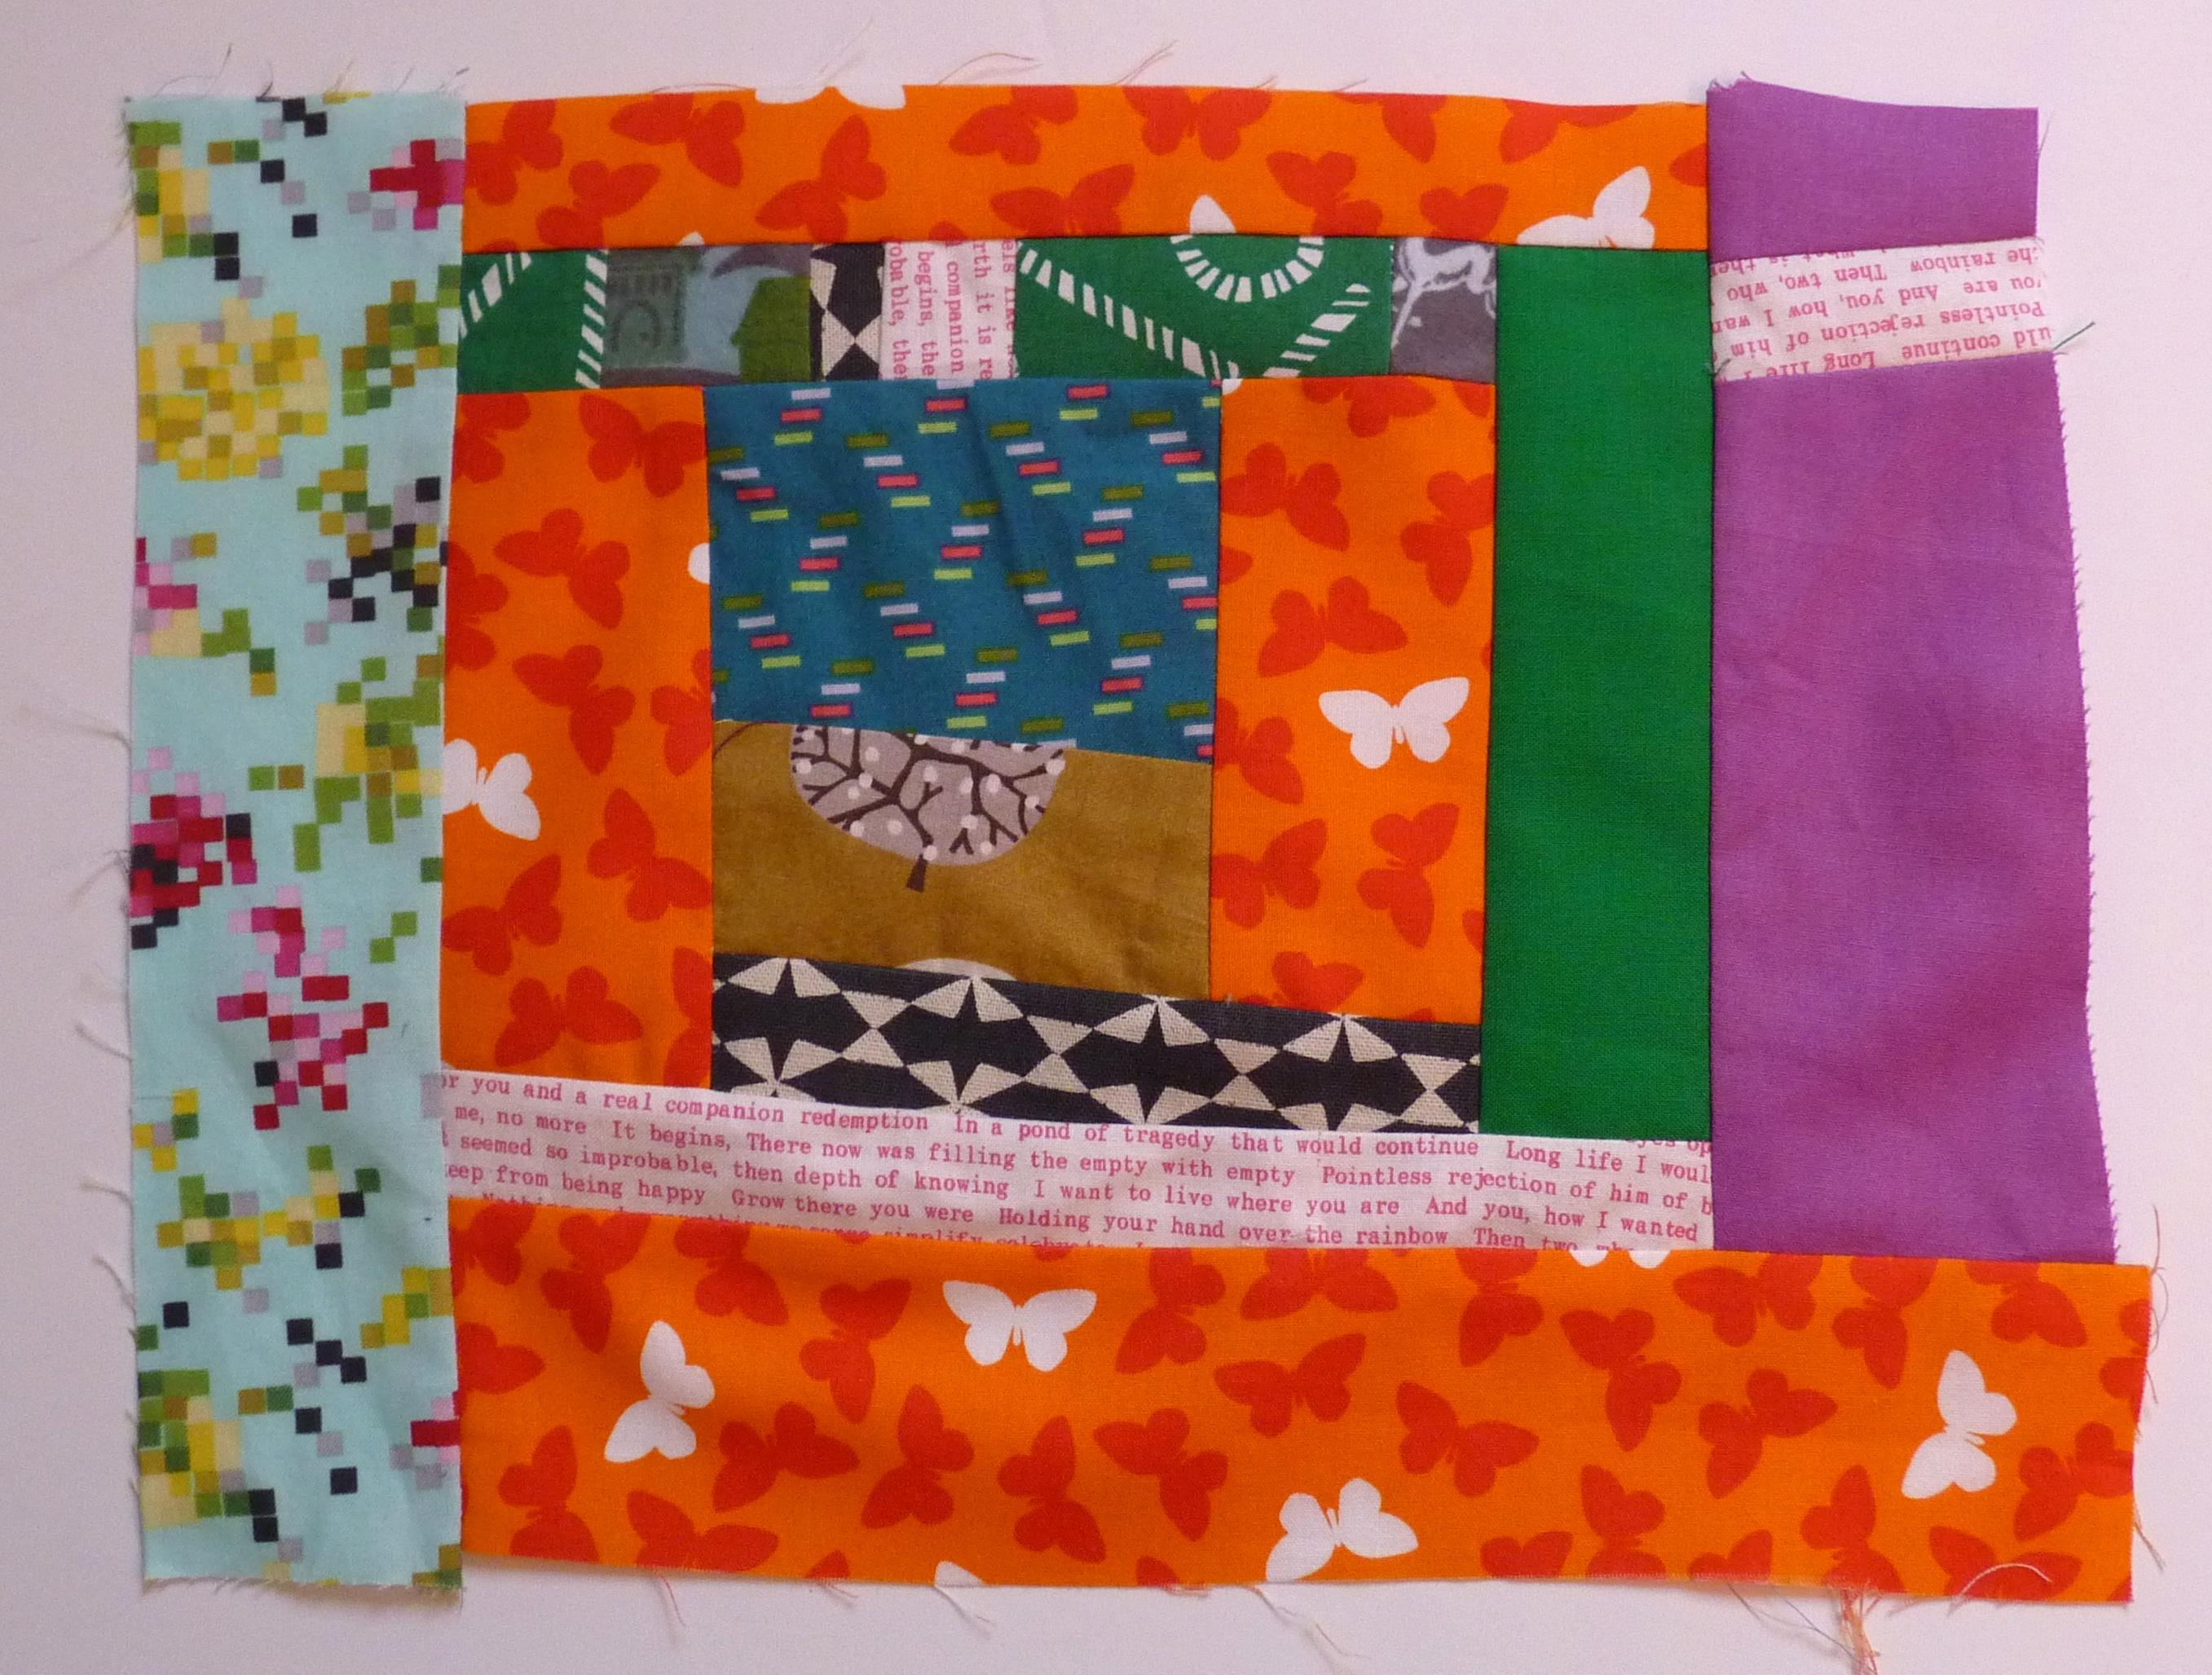
Improvisational patchwork block
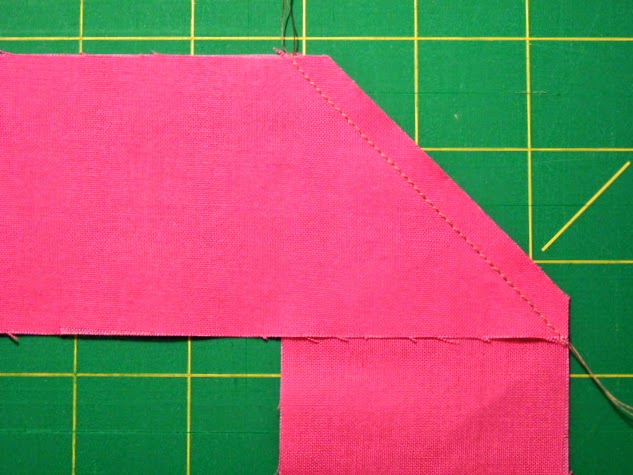
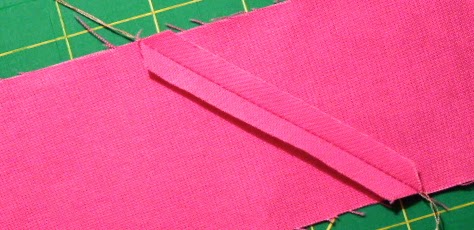
The main part of the day was spent making a piece of improvisational fabric from three fat quarters. Below you can see what I made after a lot of cutting and sewing. This was a lot of fun and very liberating. Need to cut with a ruler? Nah. Your seams aren’t a perfect 1/4 inch? Doesn’t matter. Want to leave in the selvages? Go ahead. What bliss!
I’m not sure I like my final result but this isn’t a surprise as I did deliberately choose fabrics that weren’t my favourites. I haven’t decided what to make with it yet. A wall quilt, perhaps a mat for the cat…

Improvisational patchwork sample
Charlotte also showed us how to sew improvisational curves, snowball blocks and sticks. Sorry, I don’t have photos of these as I was far to busy sewing.
Thanks, Charlotte for a great class and an opportunity to work outside my comfort zone. I know that I’ll use what I have learnt in future quilts, particularly the improv log cabins and curves.