What do you give someone when you want something that says “you’re special”, something that says “thank you”, something that says “I love you”? For me, the answer is usually always a handmade quilt (sometimes it is cake but that is another story).
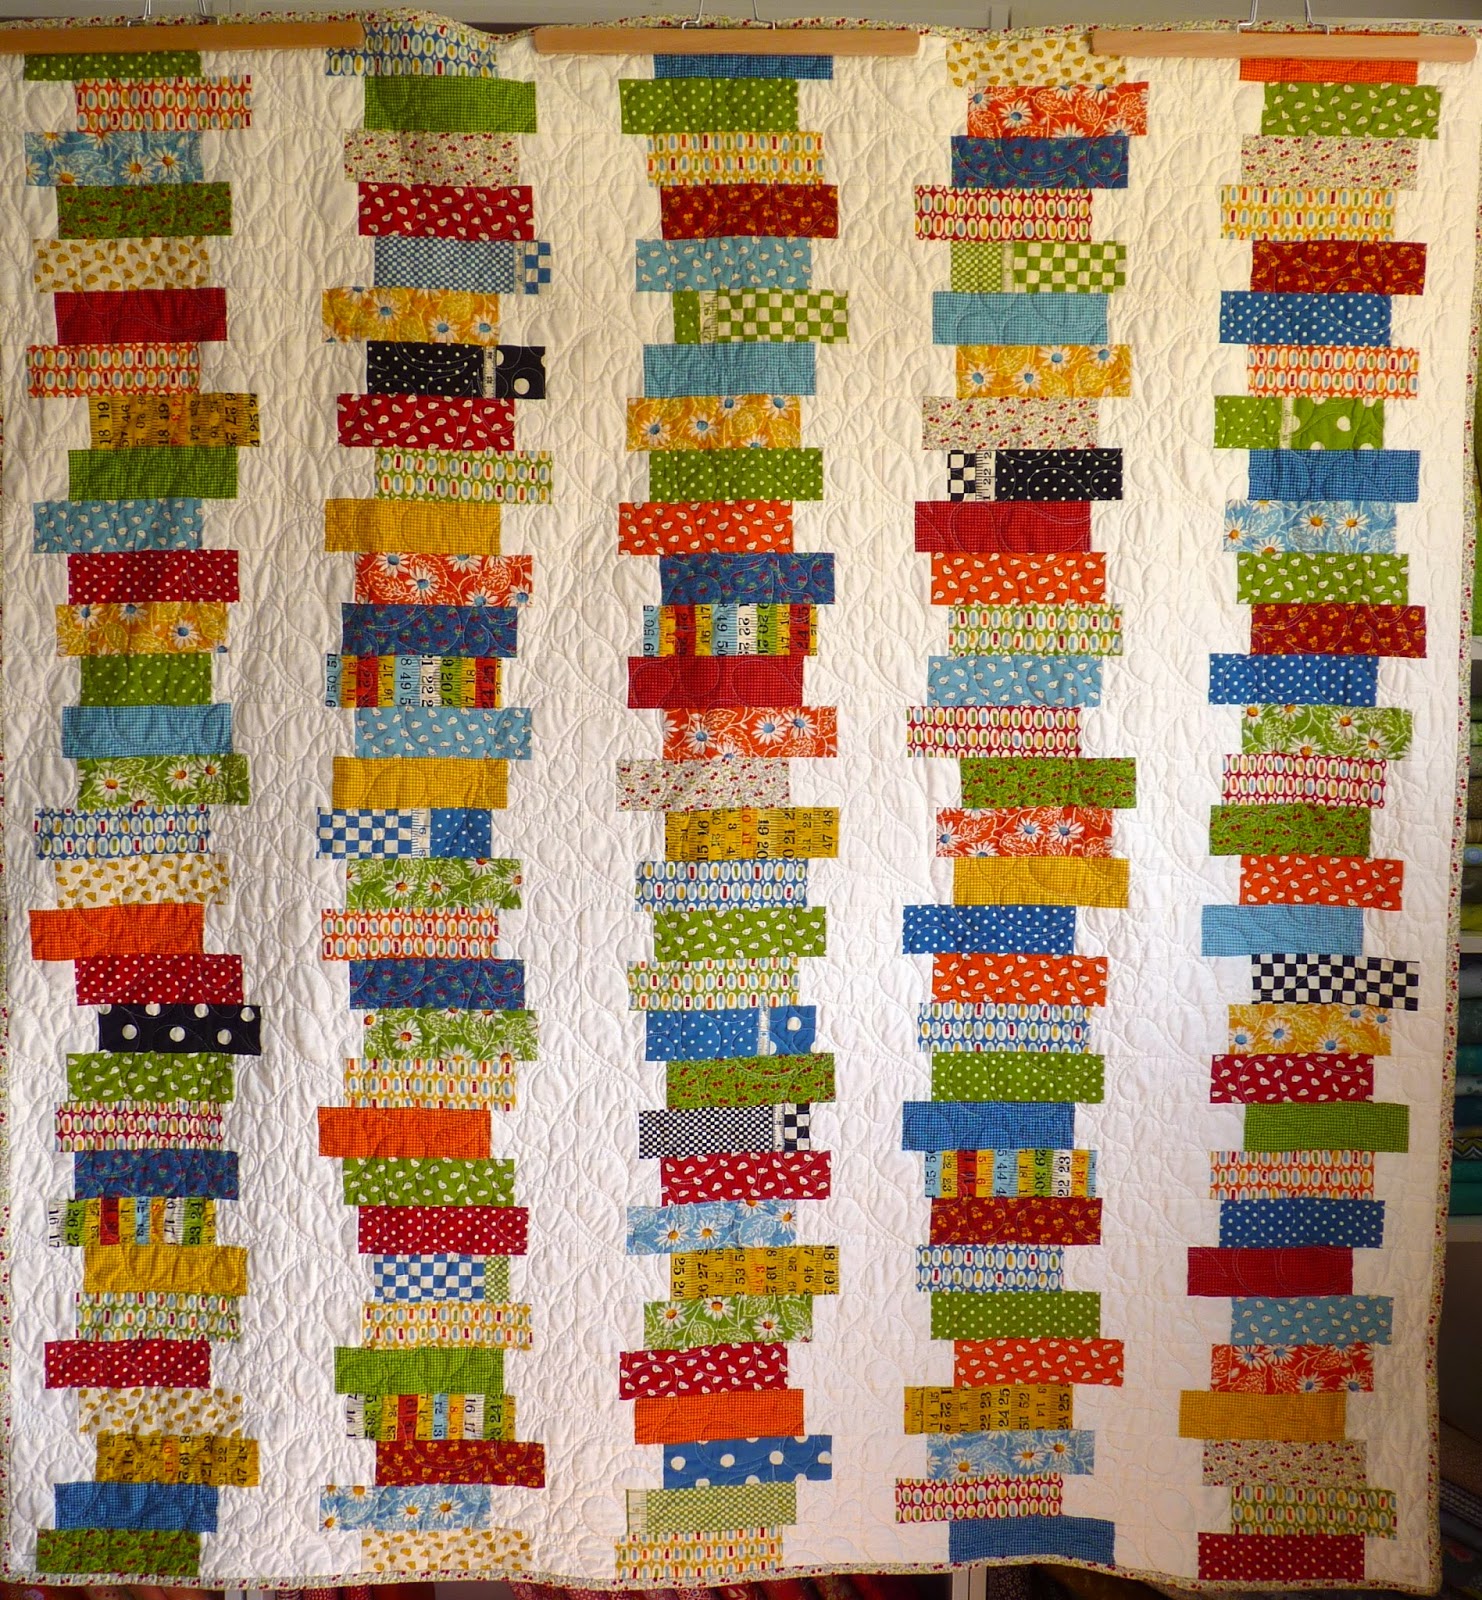
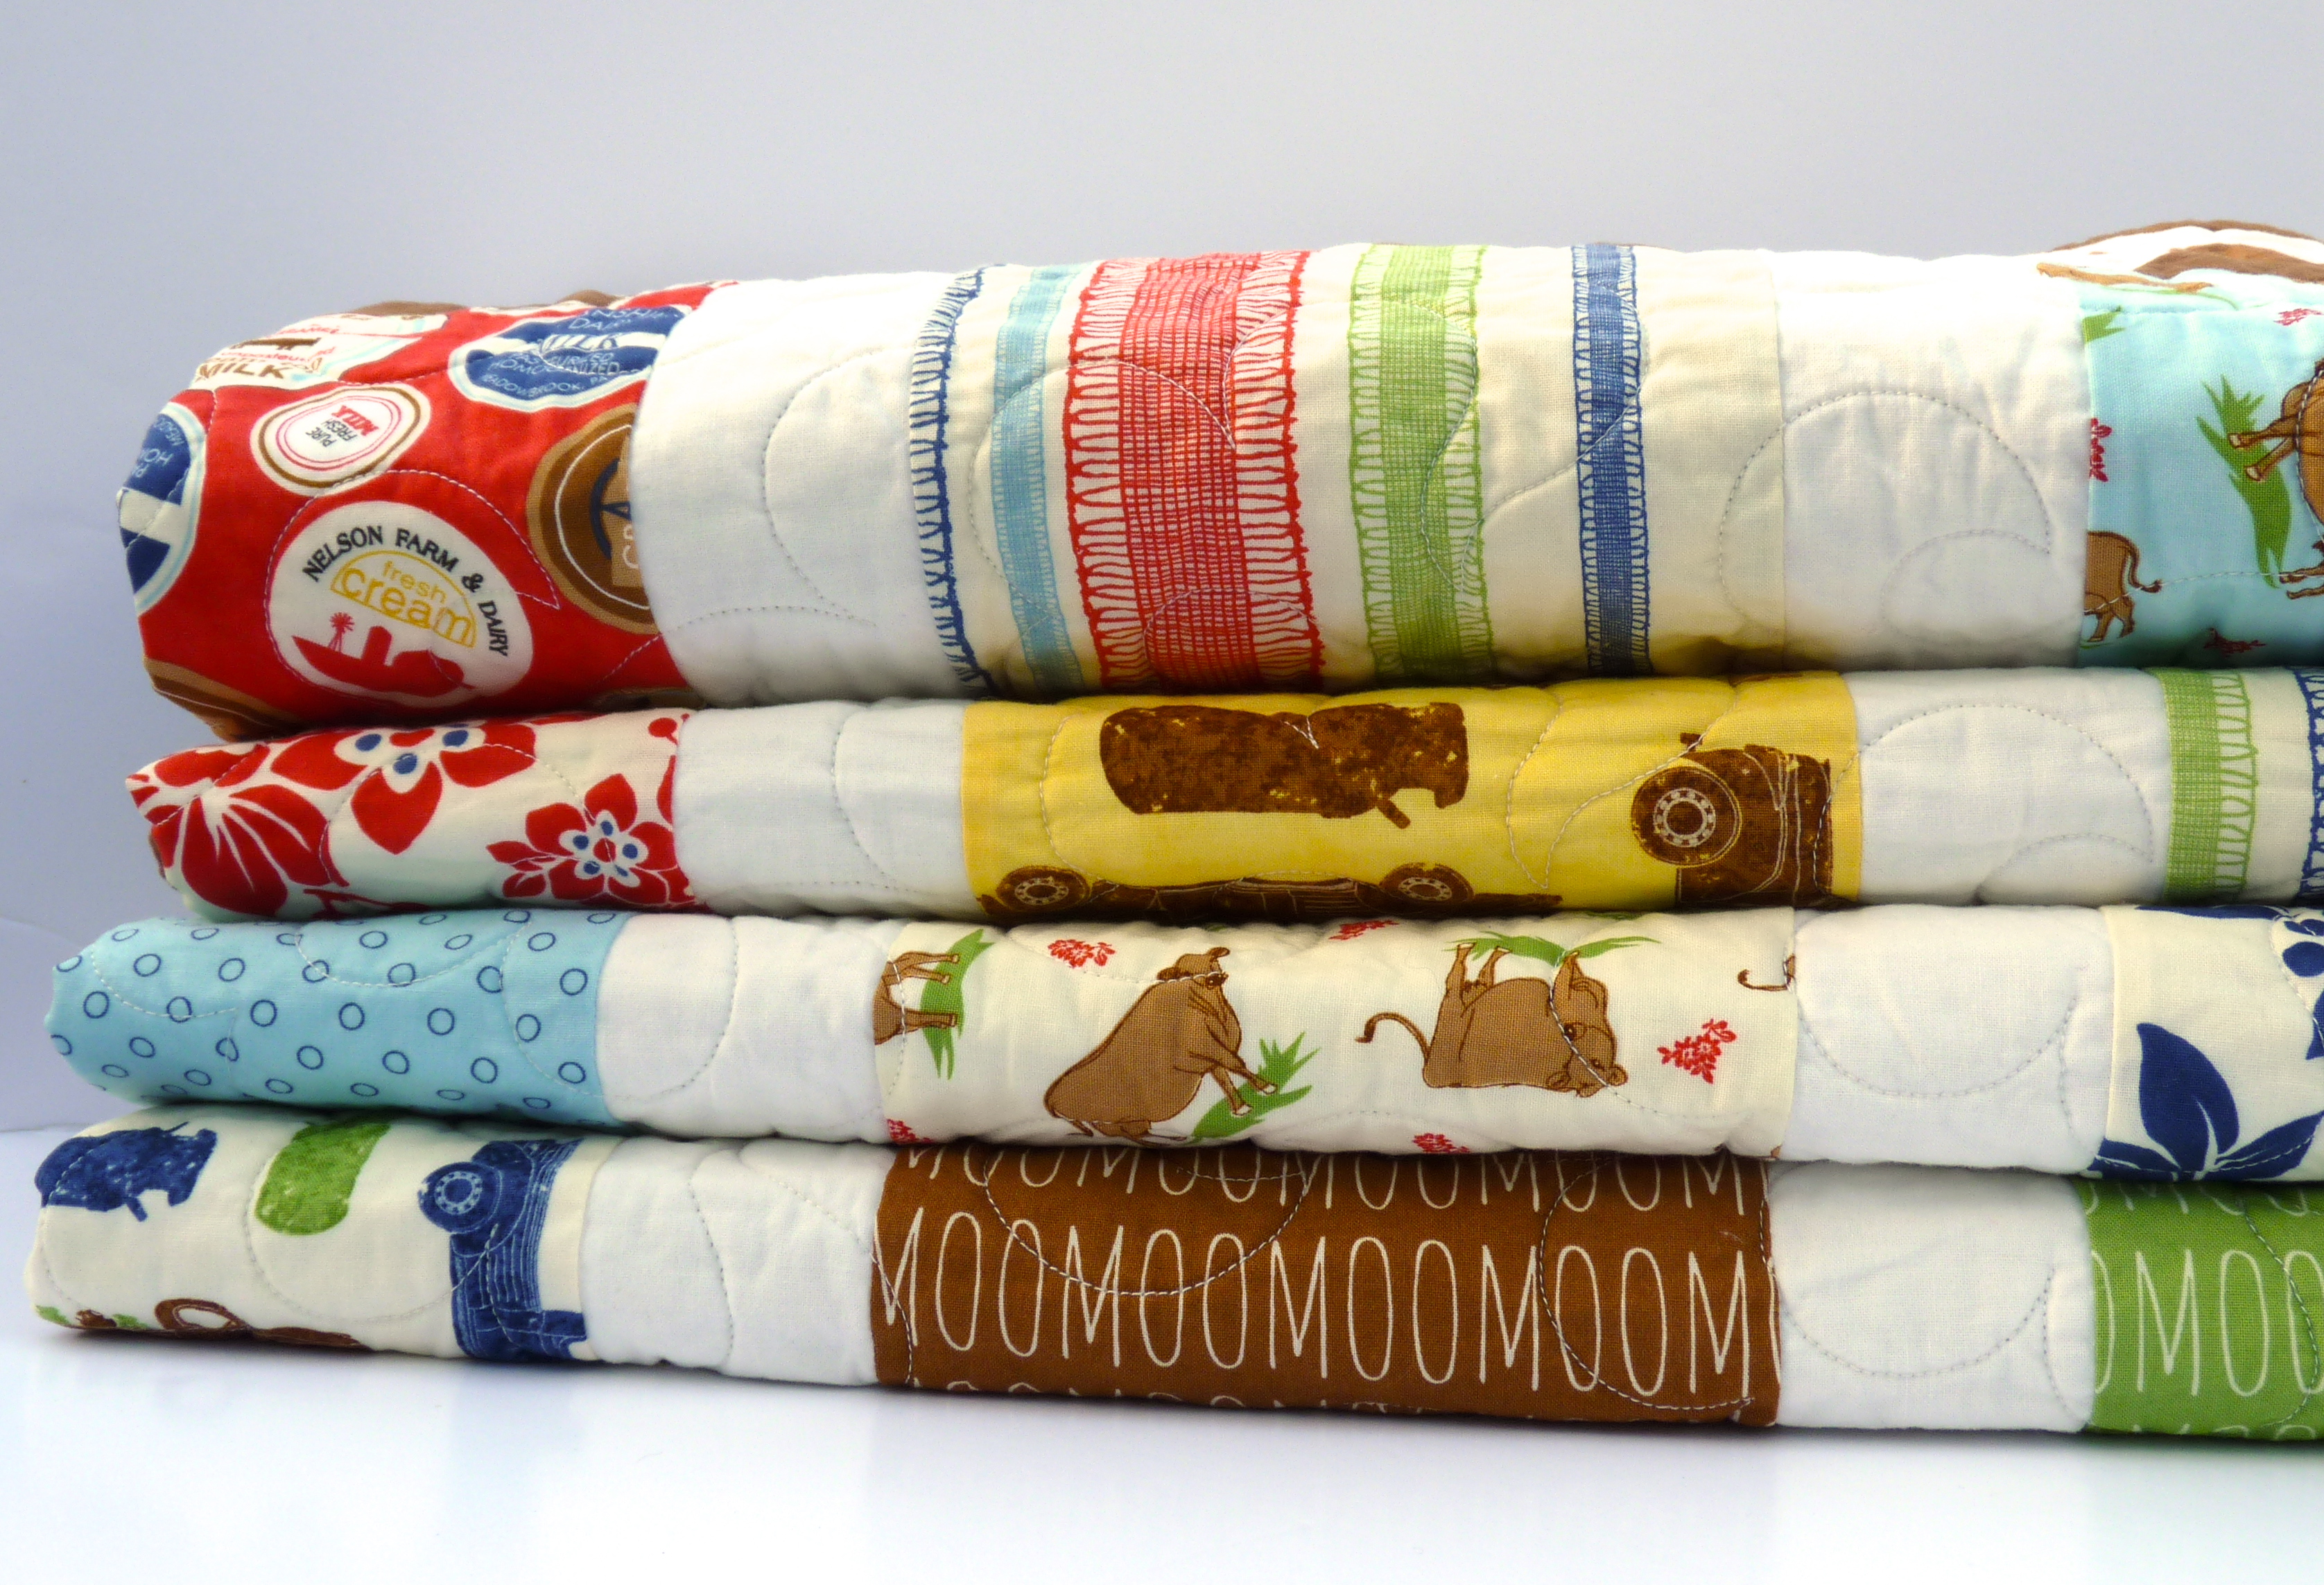
Earlier this year, it was my privilege to make a custom order quilt for a couple who have a jersey cow stud. When I showed my client a fun quilt pattern featuring rows of milk churns (remember those?) we knew we’d found the perfect design. I mean, dairy farmers and milk churns, what could be more appropriate?
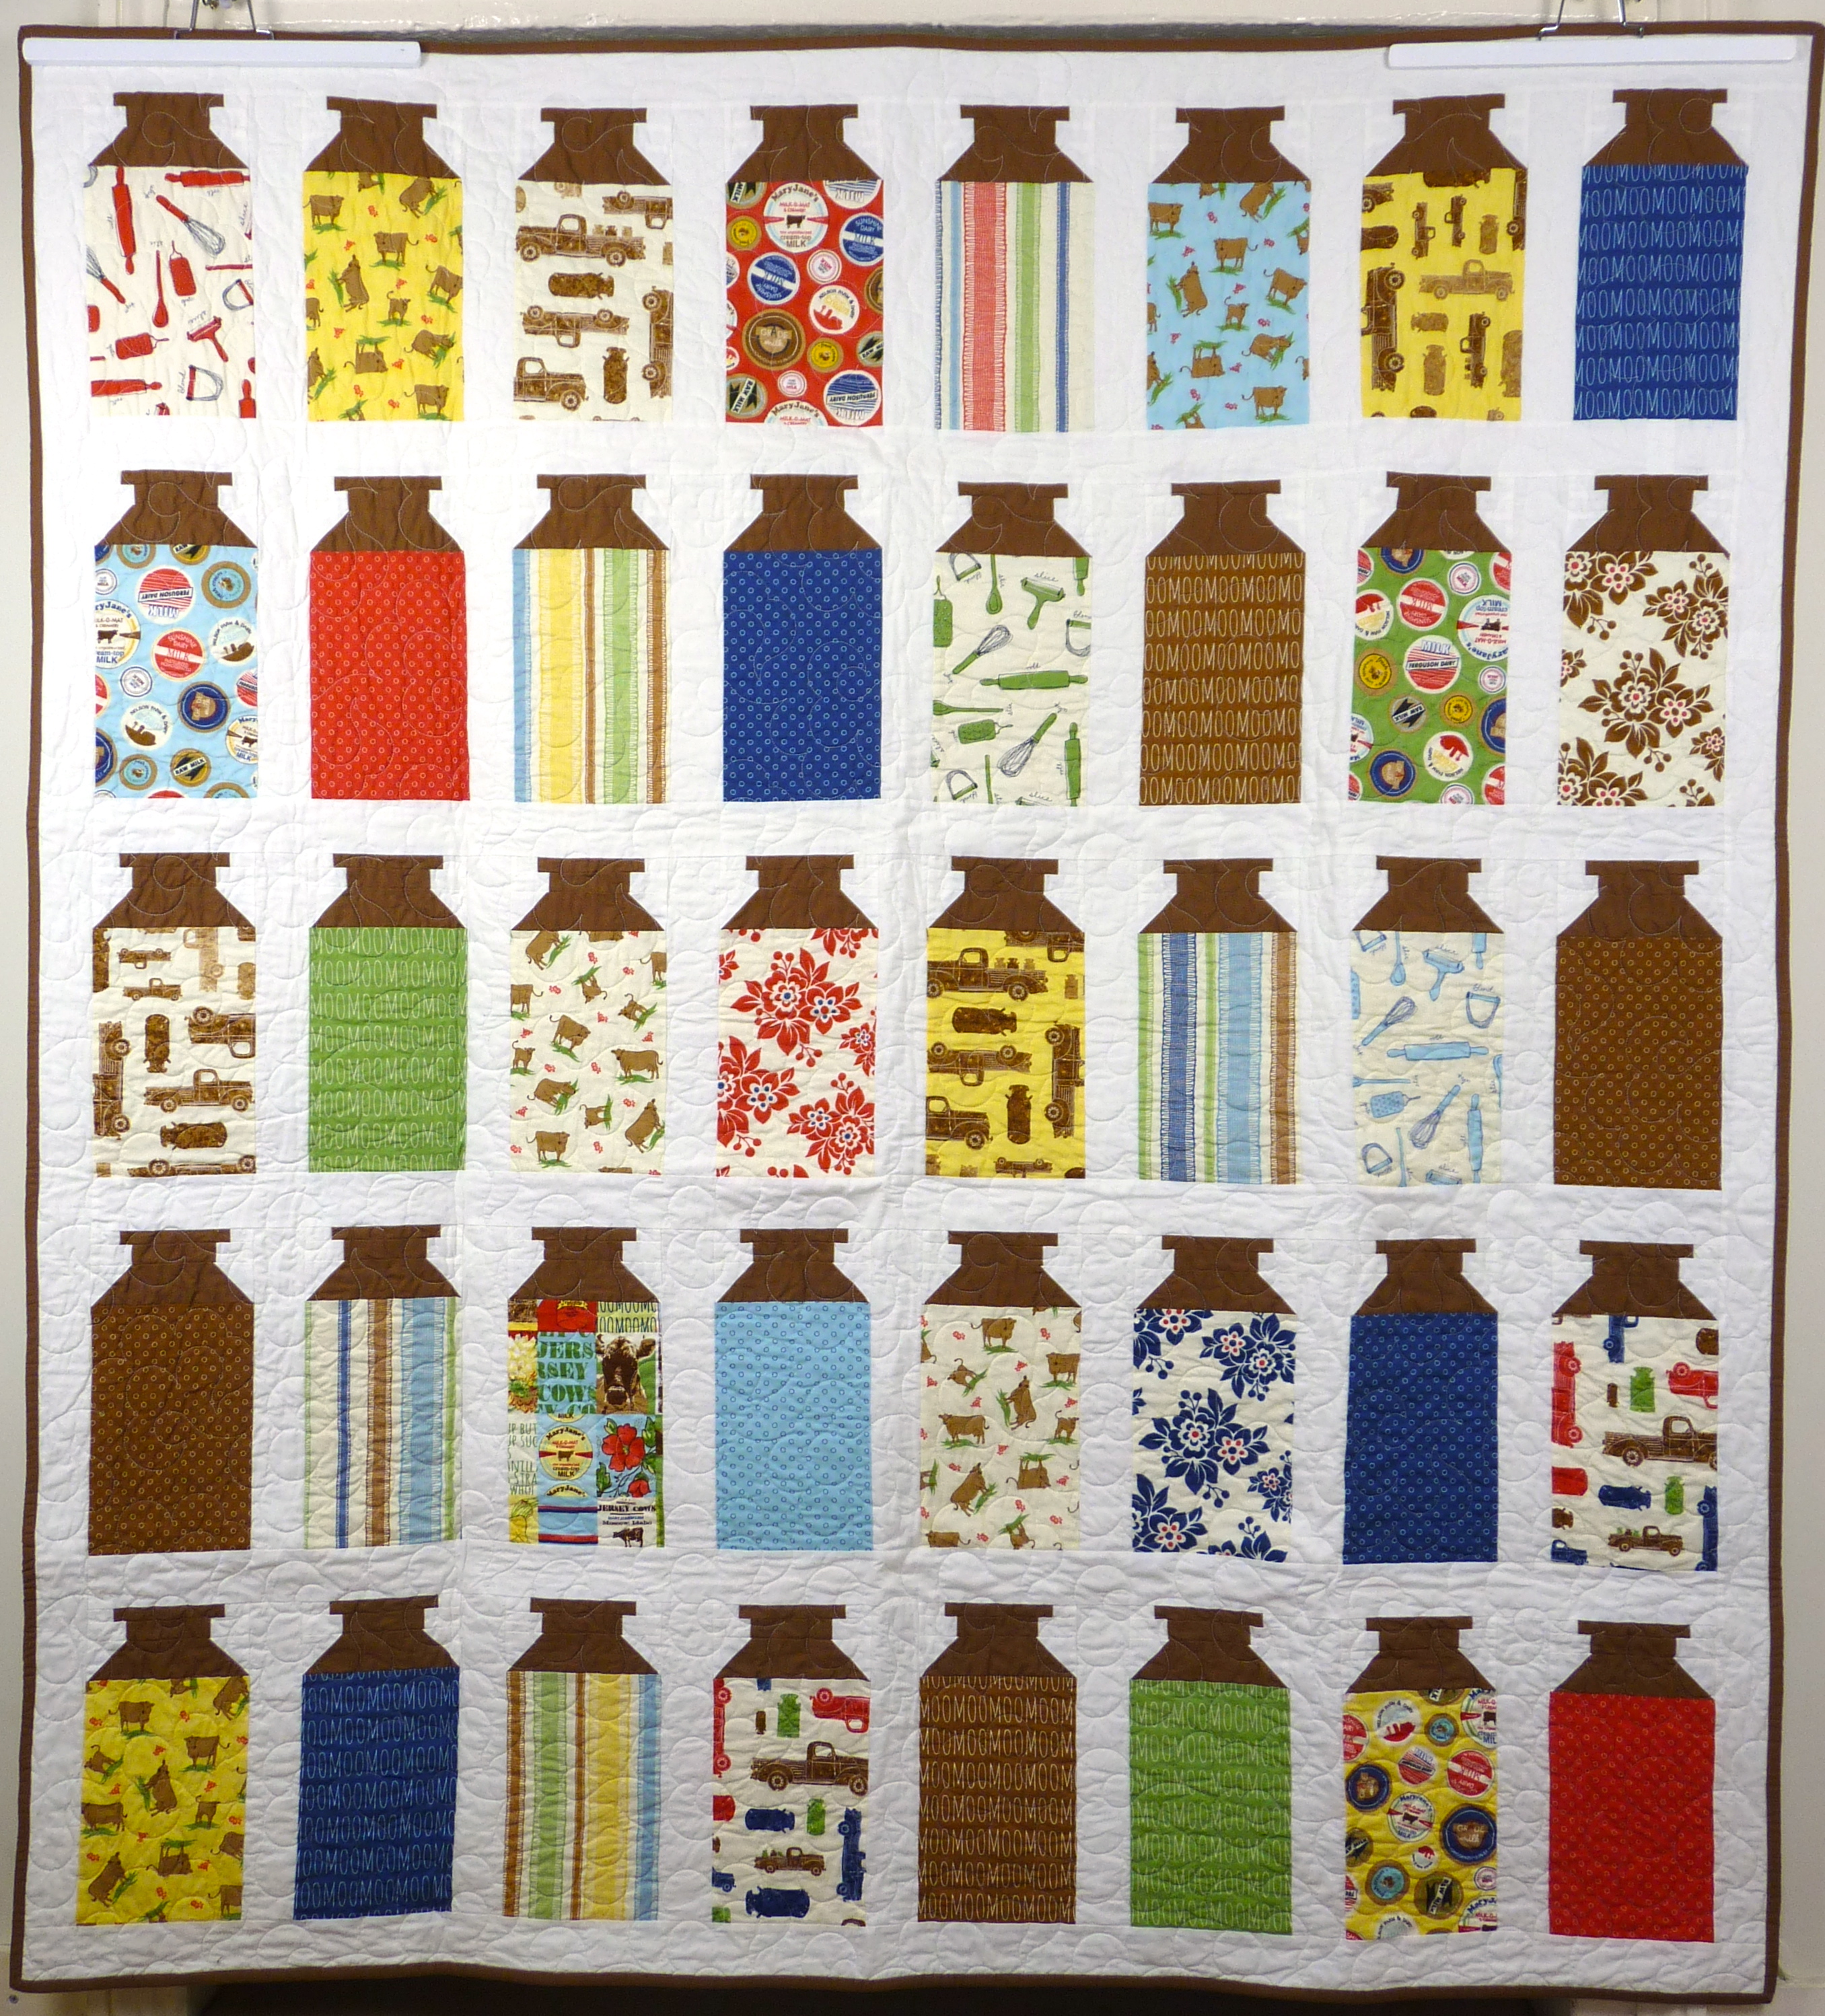
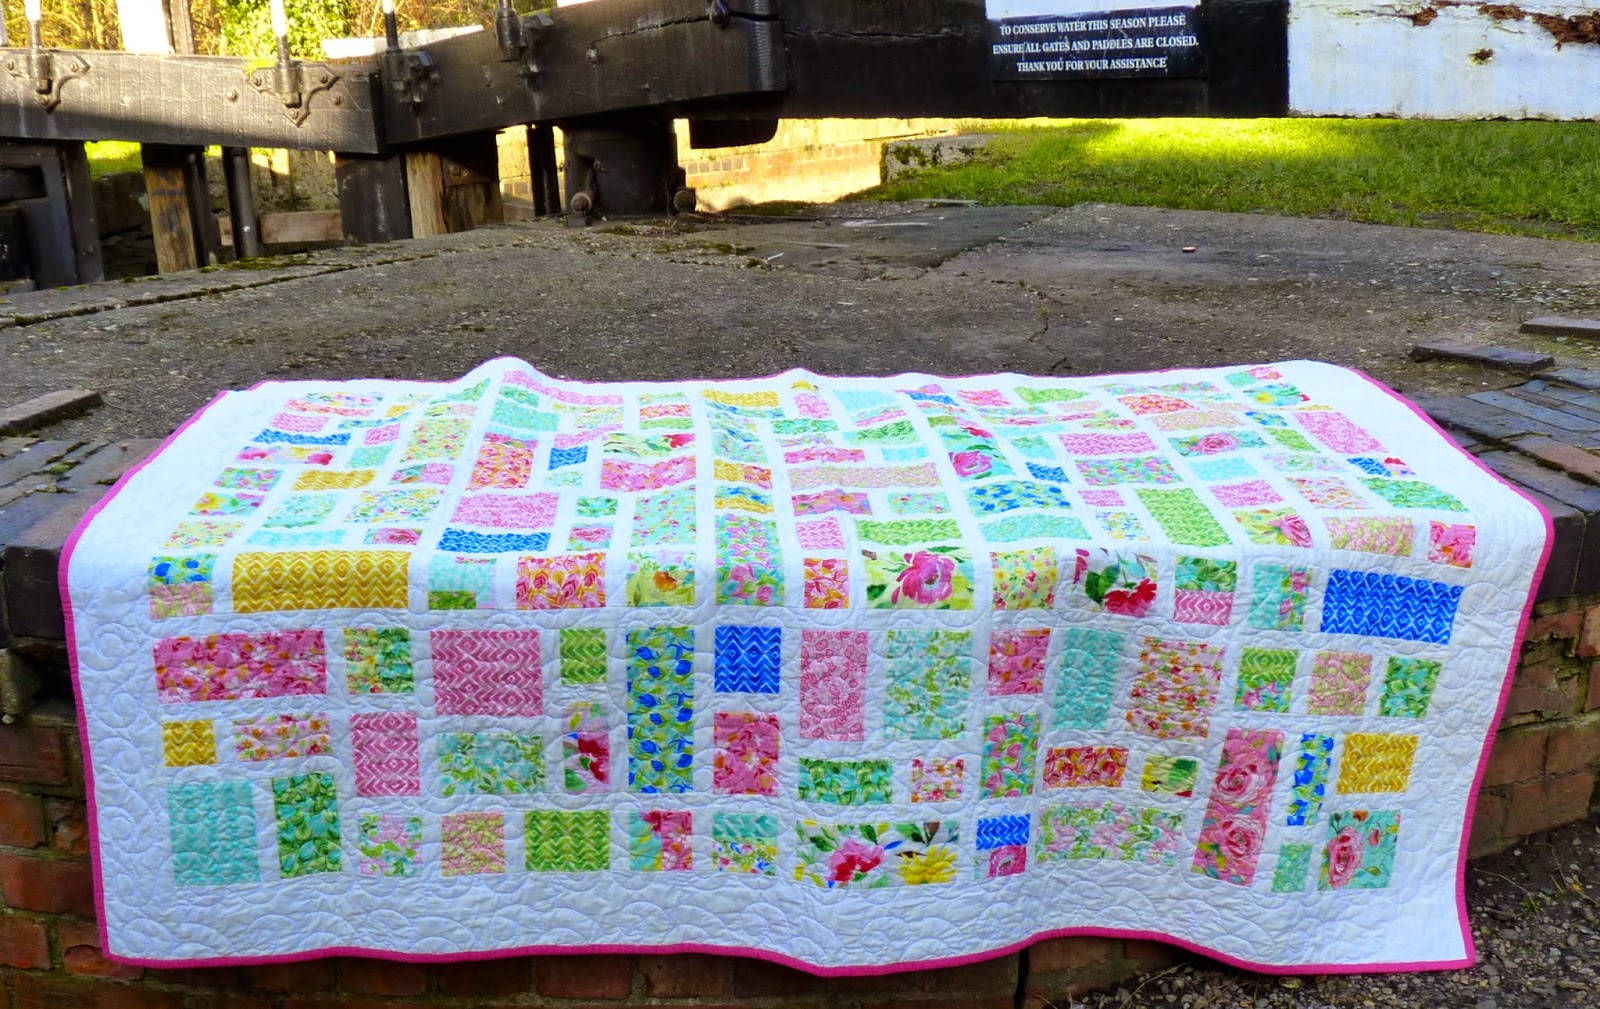
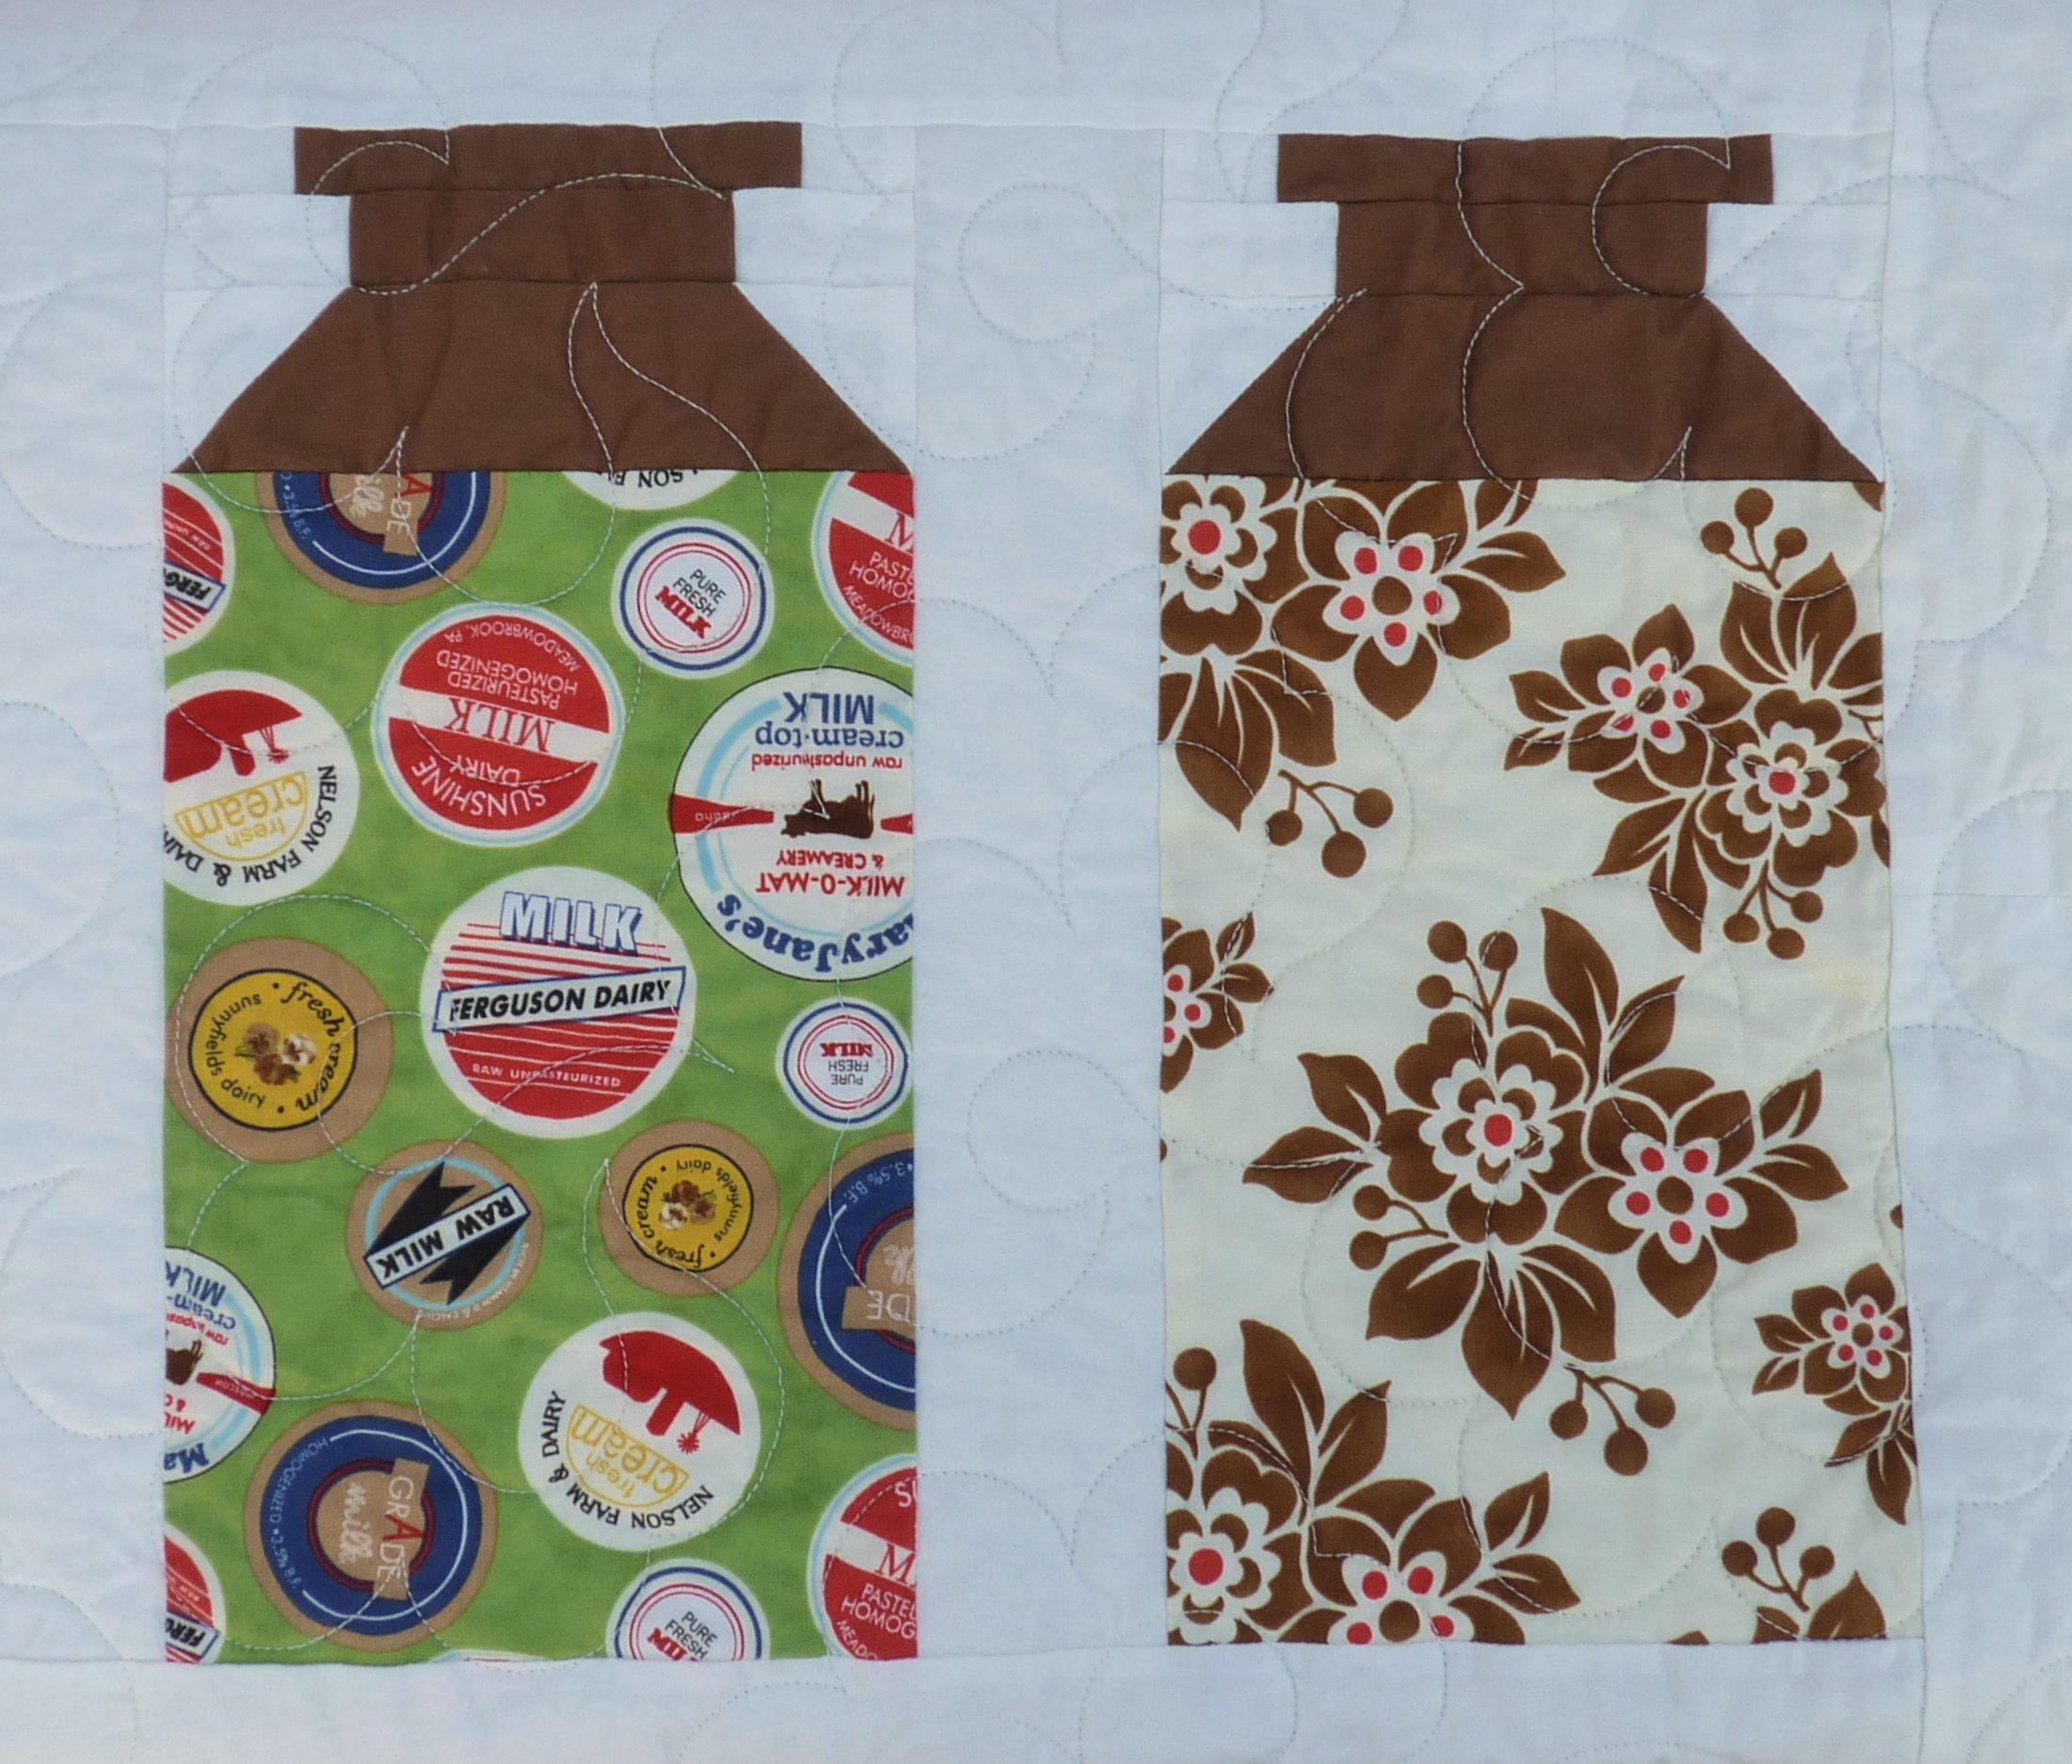
Milk churn patchwork quilt
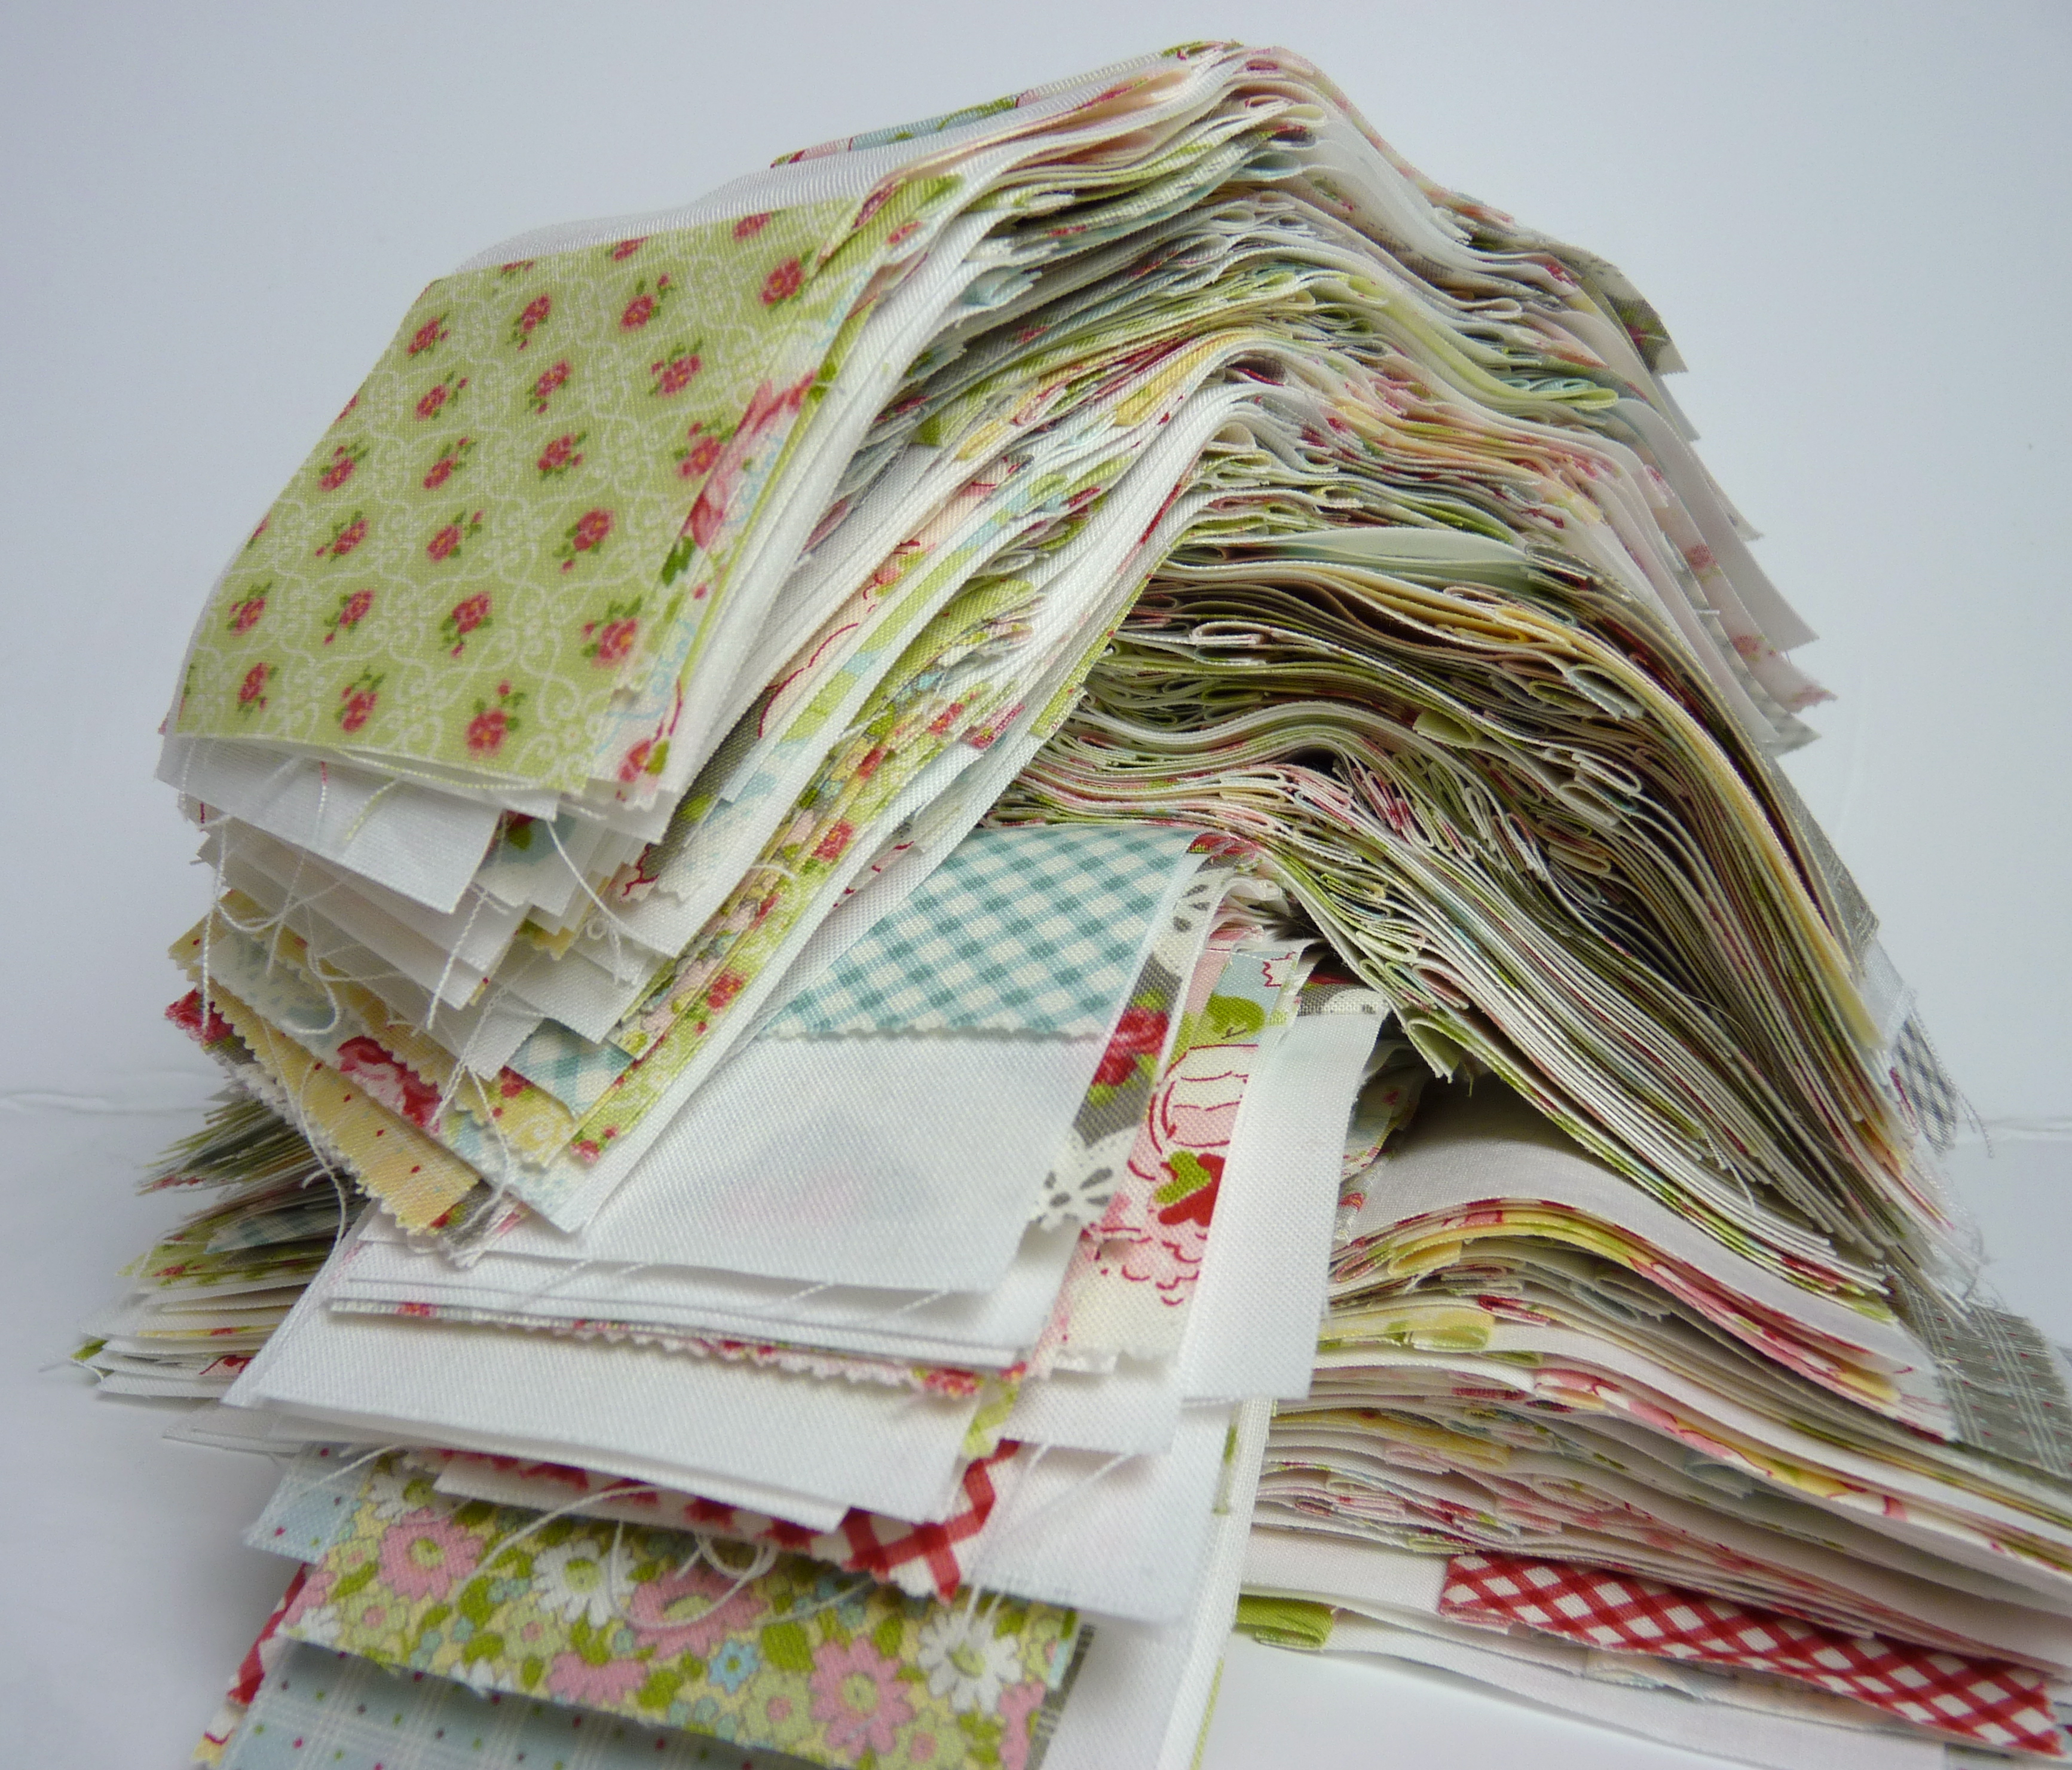
The fabric collection is Milk Cow Kitchen by Mary Jane Butters for Moda. Nostalgic, a bit kitsch, the collection features tiny jersey cows, vintage cars, kitchen utensils, milk bottle tops and my personal favourite, lots of moos!!. There is even a recipe for strawberry jam.
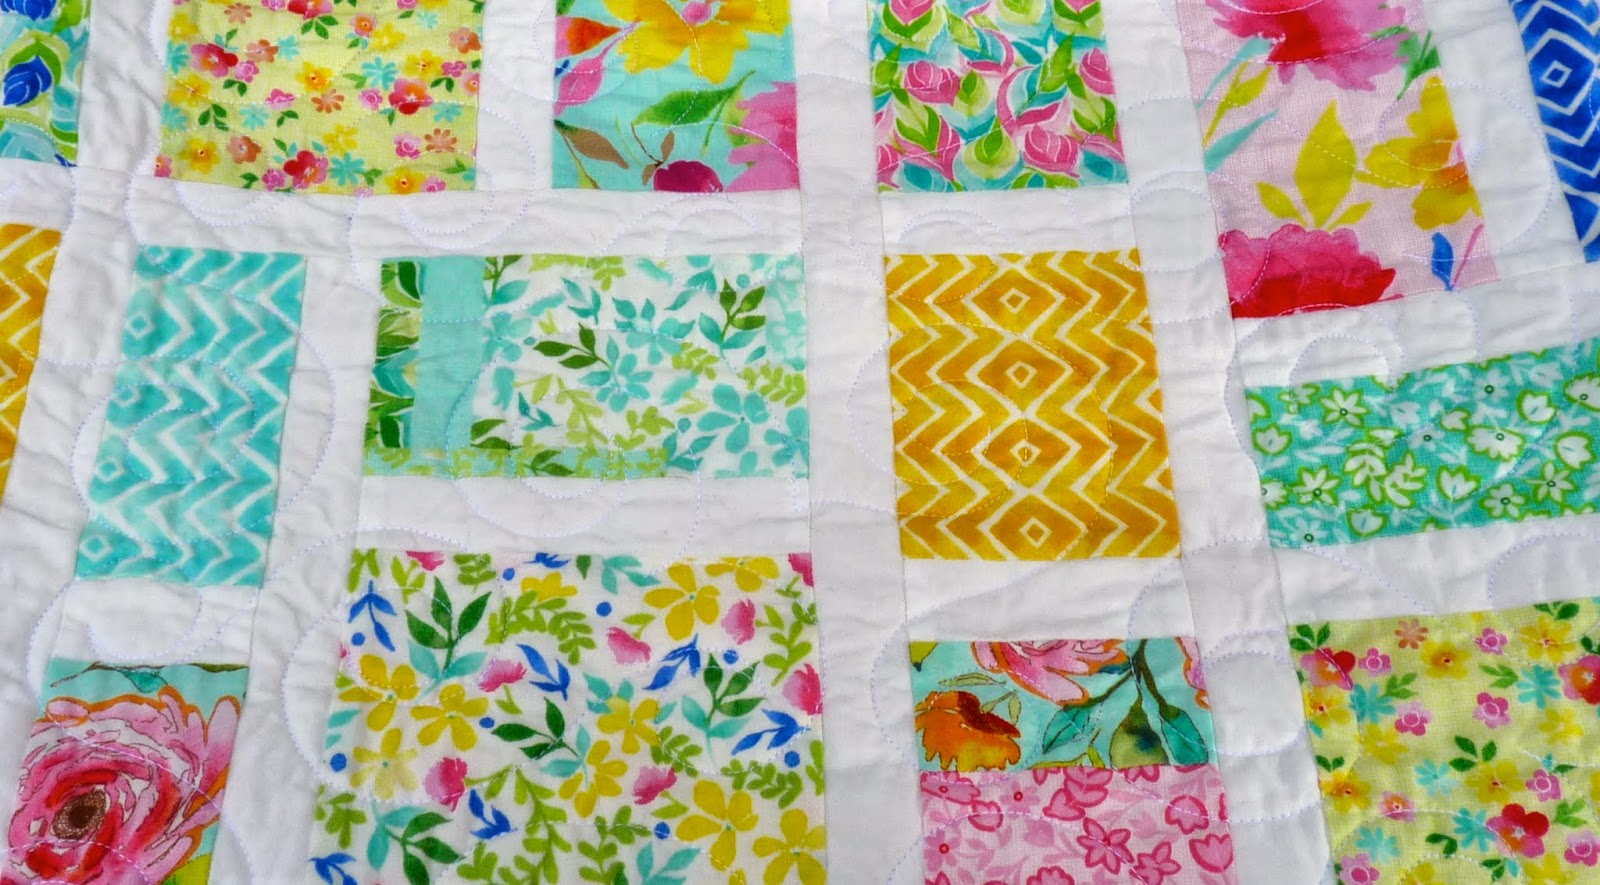
Milk churn patchwork quilt detail
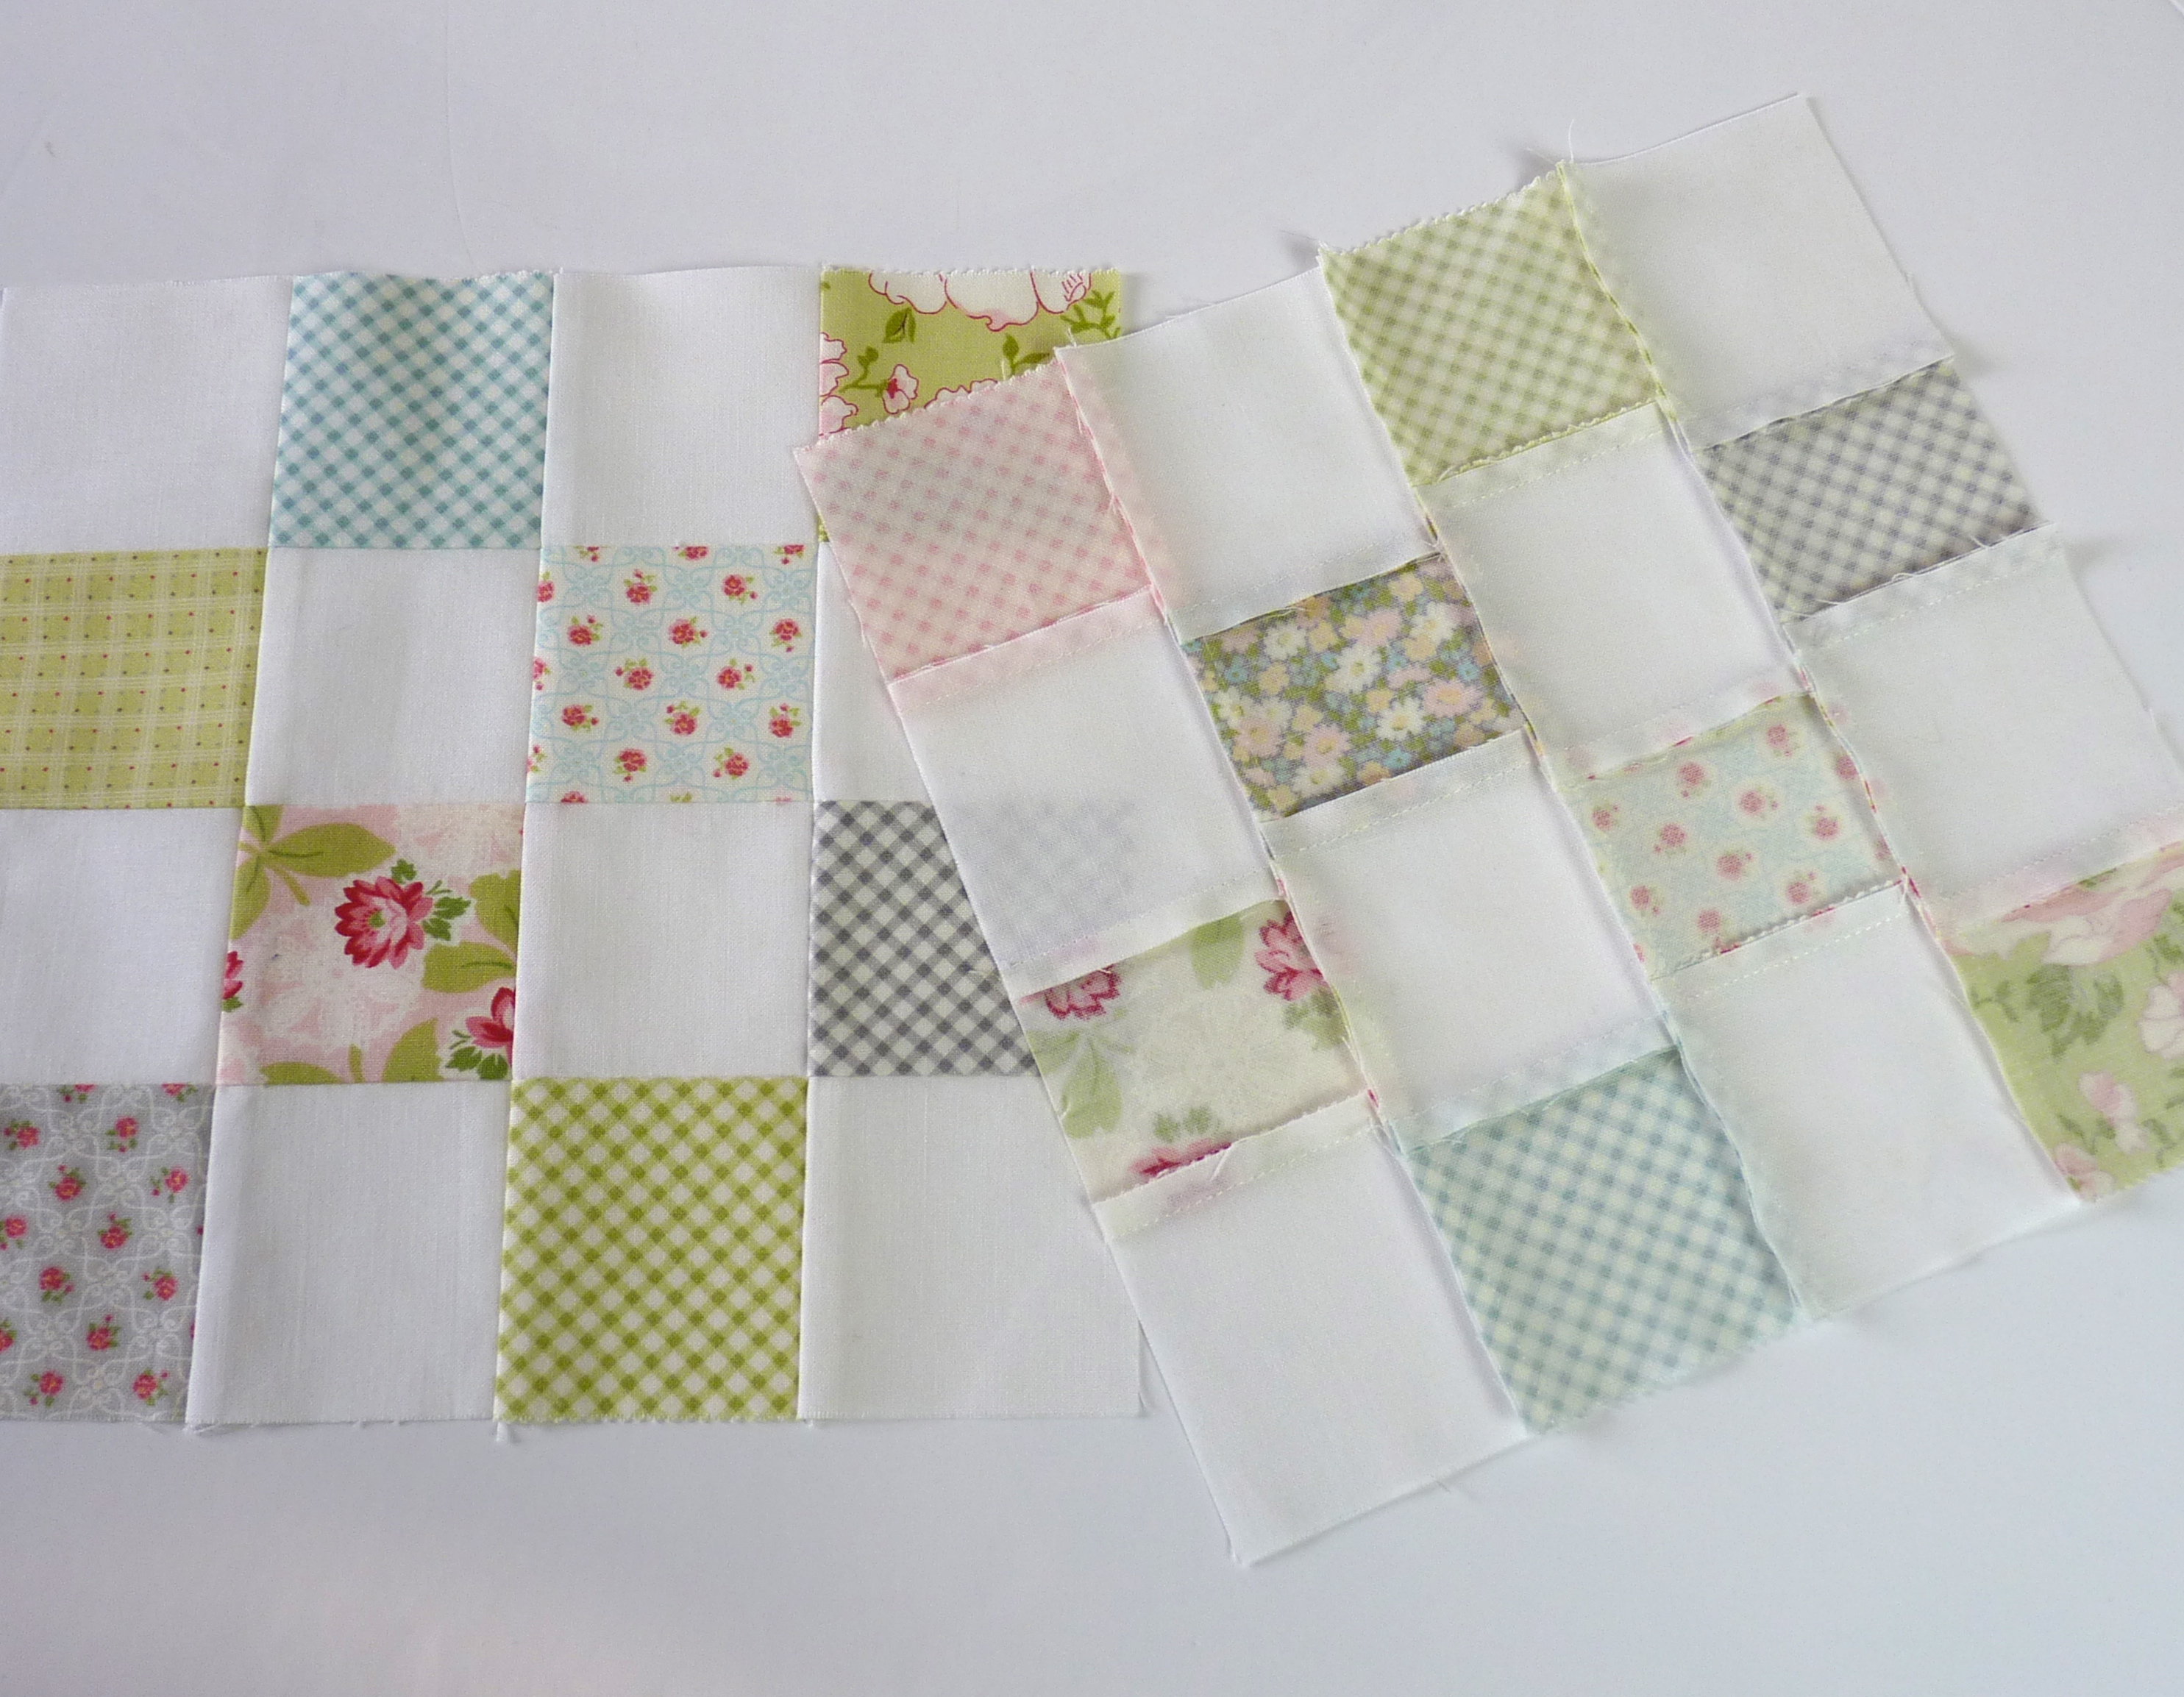
To make the quilt I used this free pattern from the Fat Quarter Shop. I did change the pattern slightly by adding an extra column of milk churns to make it wider and I changed how I added the sashing. The milk churn lids were made as larger strips that are then cut down making it much quicker and easier to put together than it first looks.
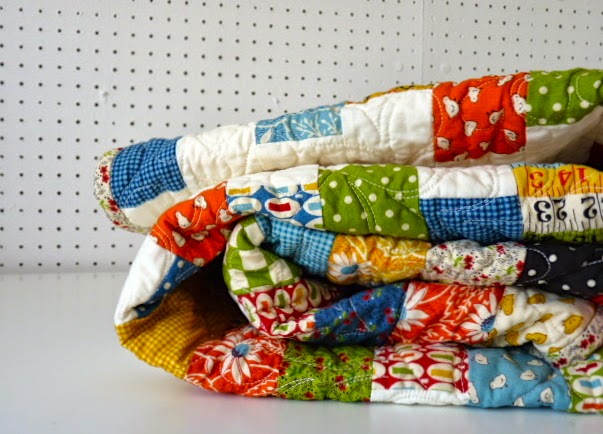
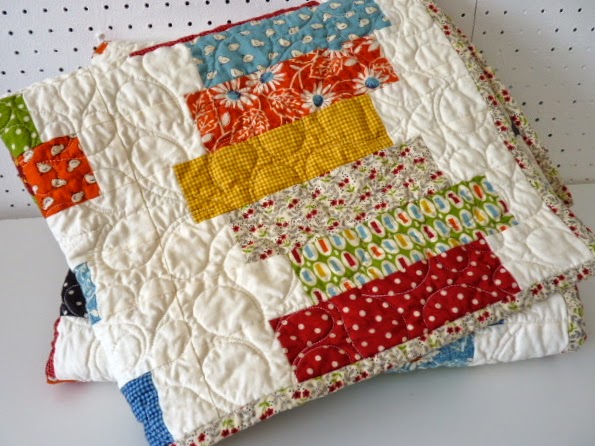
Milk churn patchwork quilt detail
The finished quilt was professionally long-arm quilted with an overall pattern called Cloud Nine.

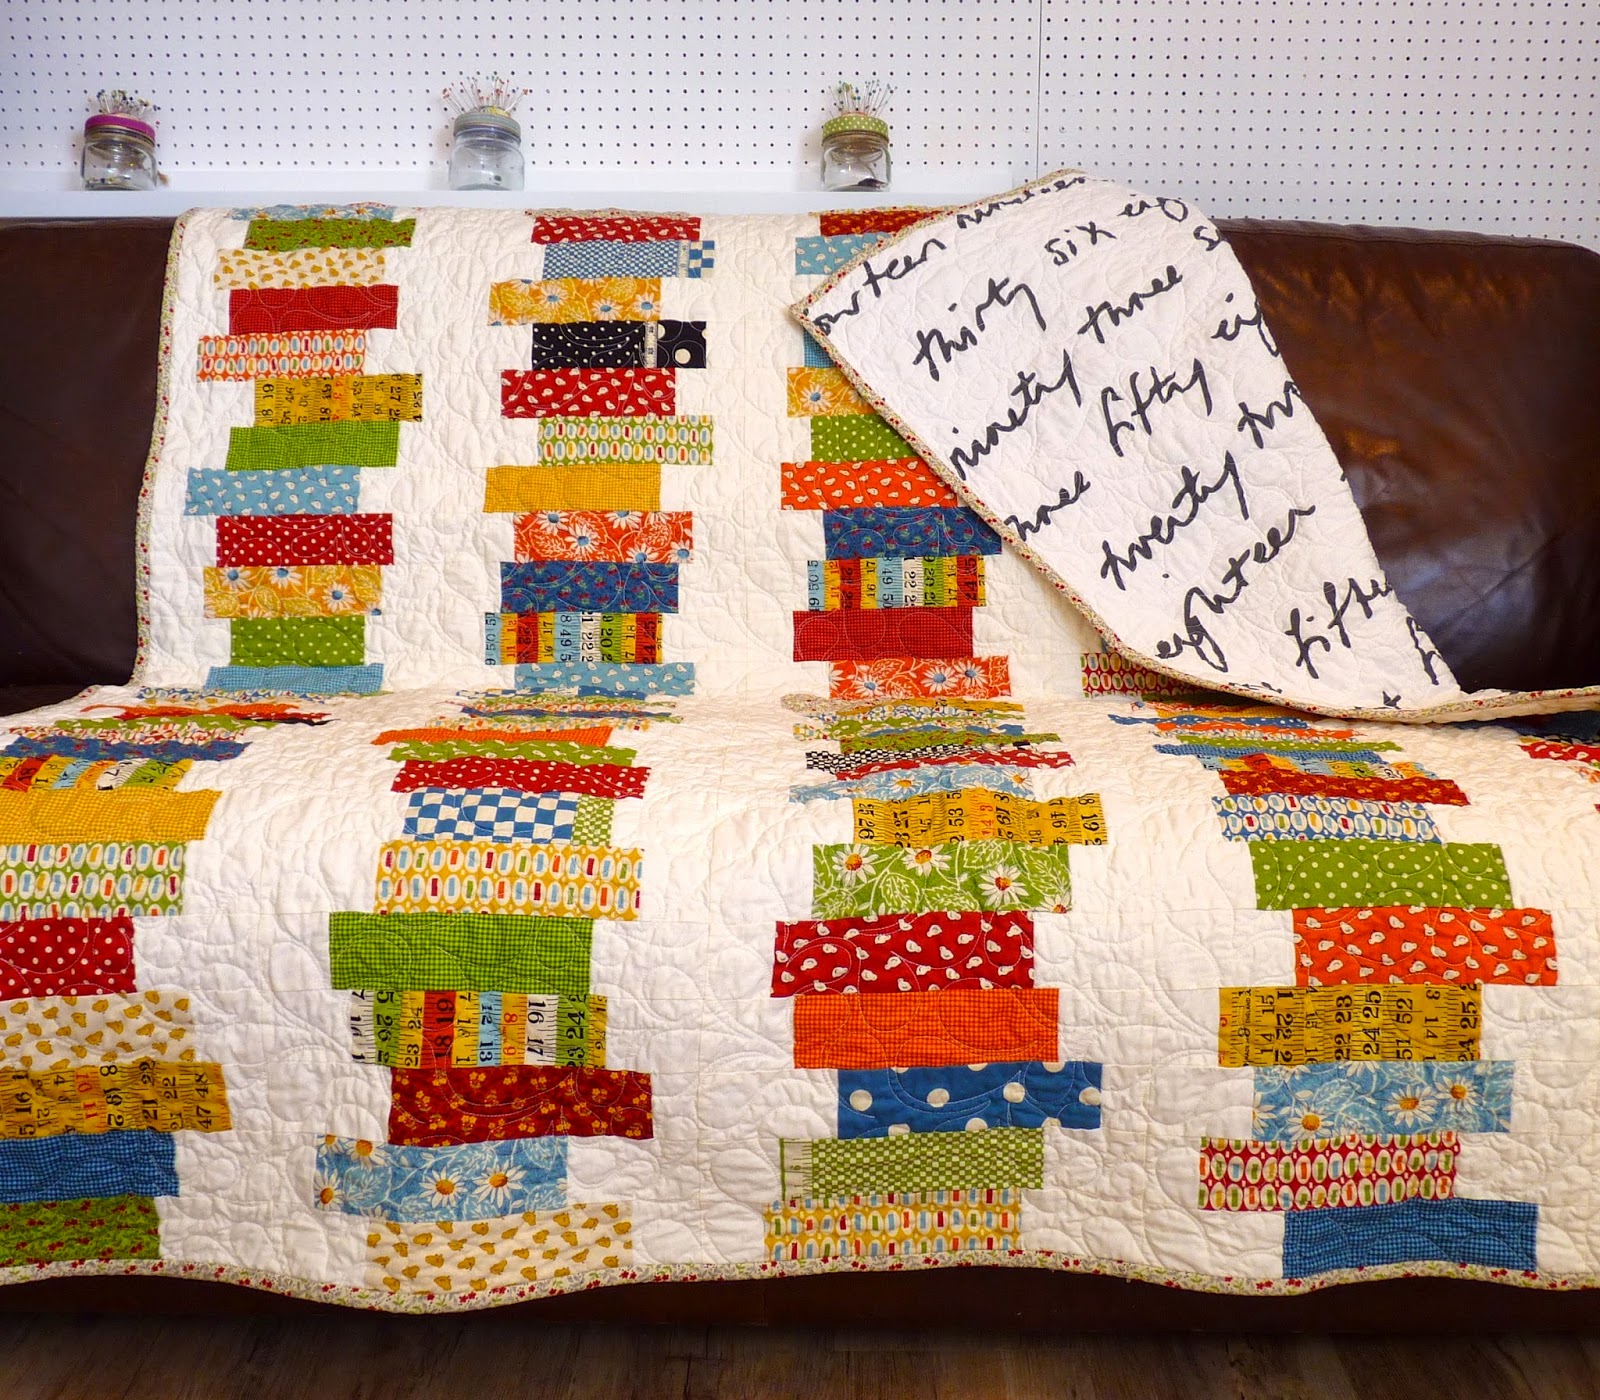
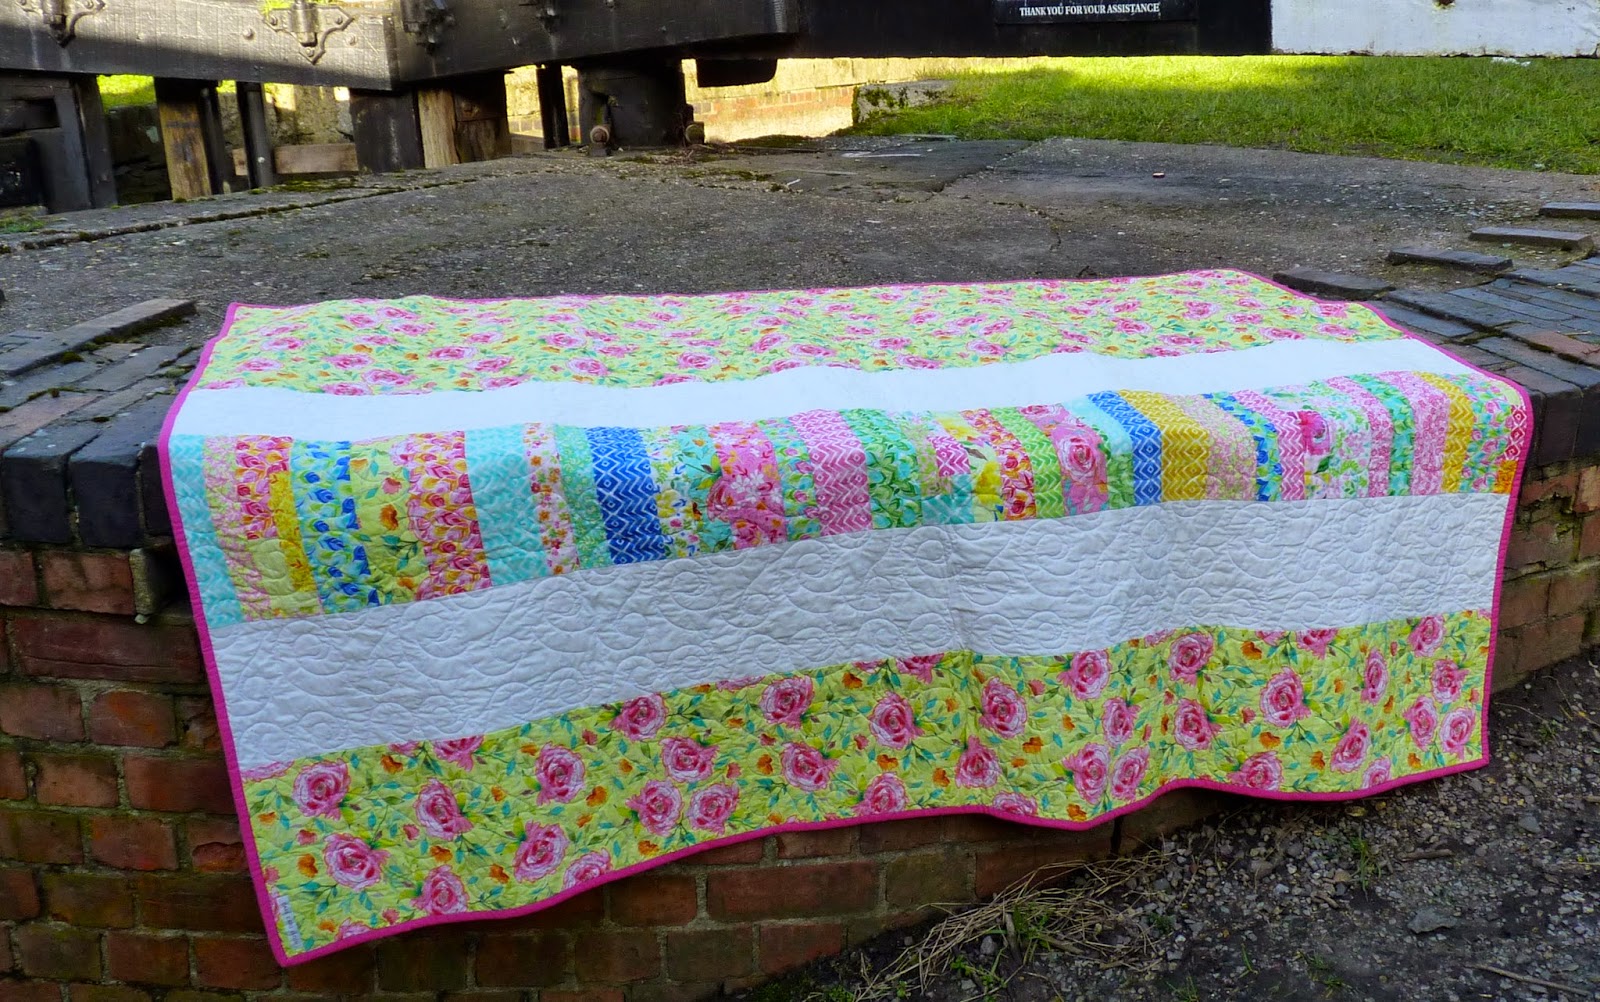
Milk churn patchwork quilt backing
And for the backing, I chose this green Lulu fabric from the Up Parasol range by Heather Bailey. It is one that I wish I had been able to buy more of as it really is the most lovely light olive green.
The 100% cotton wadding in the quilt makes it irresistibly soft and warm and gives the quilt a beautiful drape. At 70 inches by 64 inches, it is a very versatile size and perfect for a bed or a sofa.
Today I received the good news that Royal Mail and Australia Post did their bit and delivered the quilt safe and sound to its new home. And I’m very pleased to say that it was a very welcome present that will be much loved for many years to come. A special gift for a lovely couple.