Strangely I seem to have a number of half-finished quilts cluttering up my workroom. I’m not sure how this happened. Best not to dwell on the how and instead focus on getting them completed.
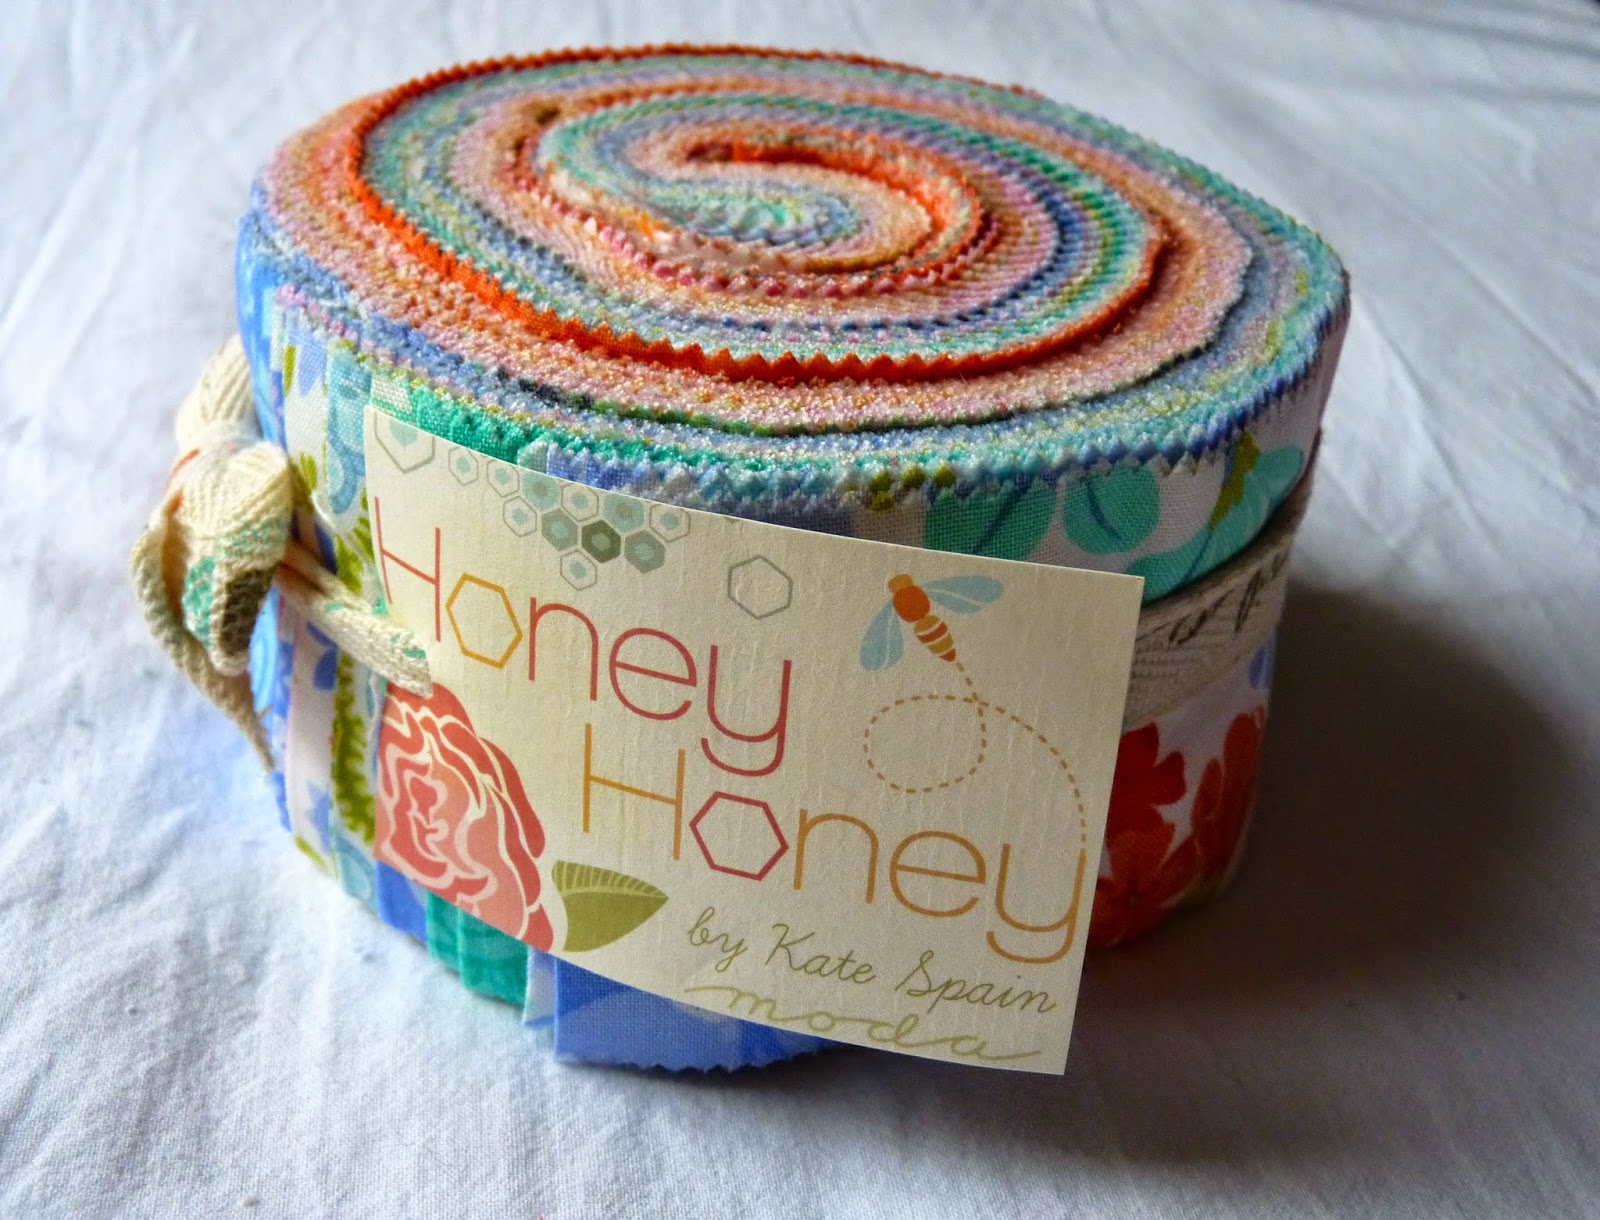
With this in mind, over the past week I have been working on a checkerboard quilt top that had been languishing on my dining room table for (many) months. I had decided to use a jelly roll for the patterned sections and then very quickly wished that I hadn’t. Don’t get me wrong. I love using jelly rolls. Sadly this one seemed to have more than its fair share of strips not cut on the grain and many were slightly wider than 2 1/2 inches. After a bit of judicious cutting, thankfully this wasn’t too much of a problem.
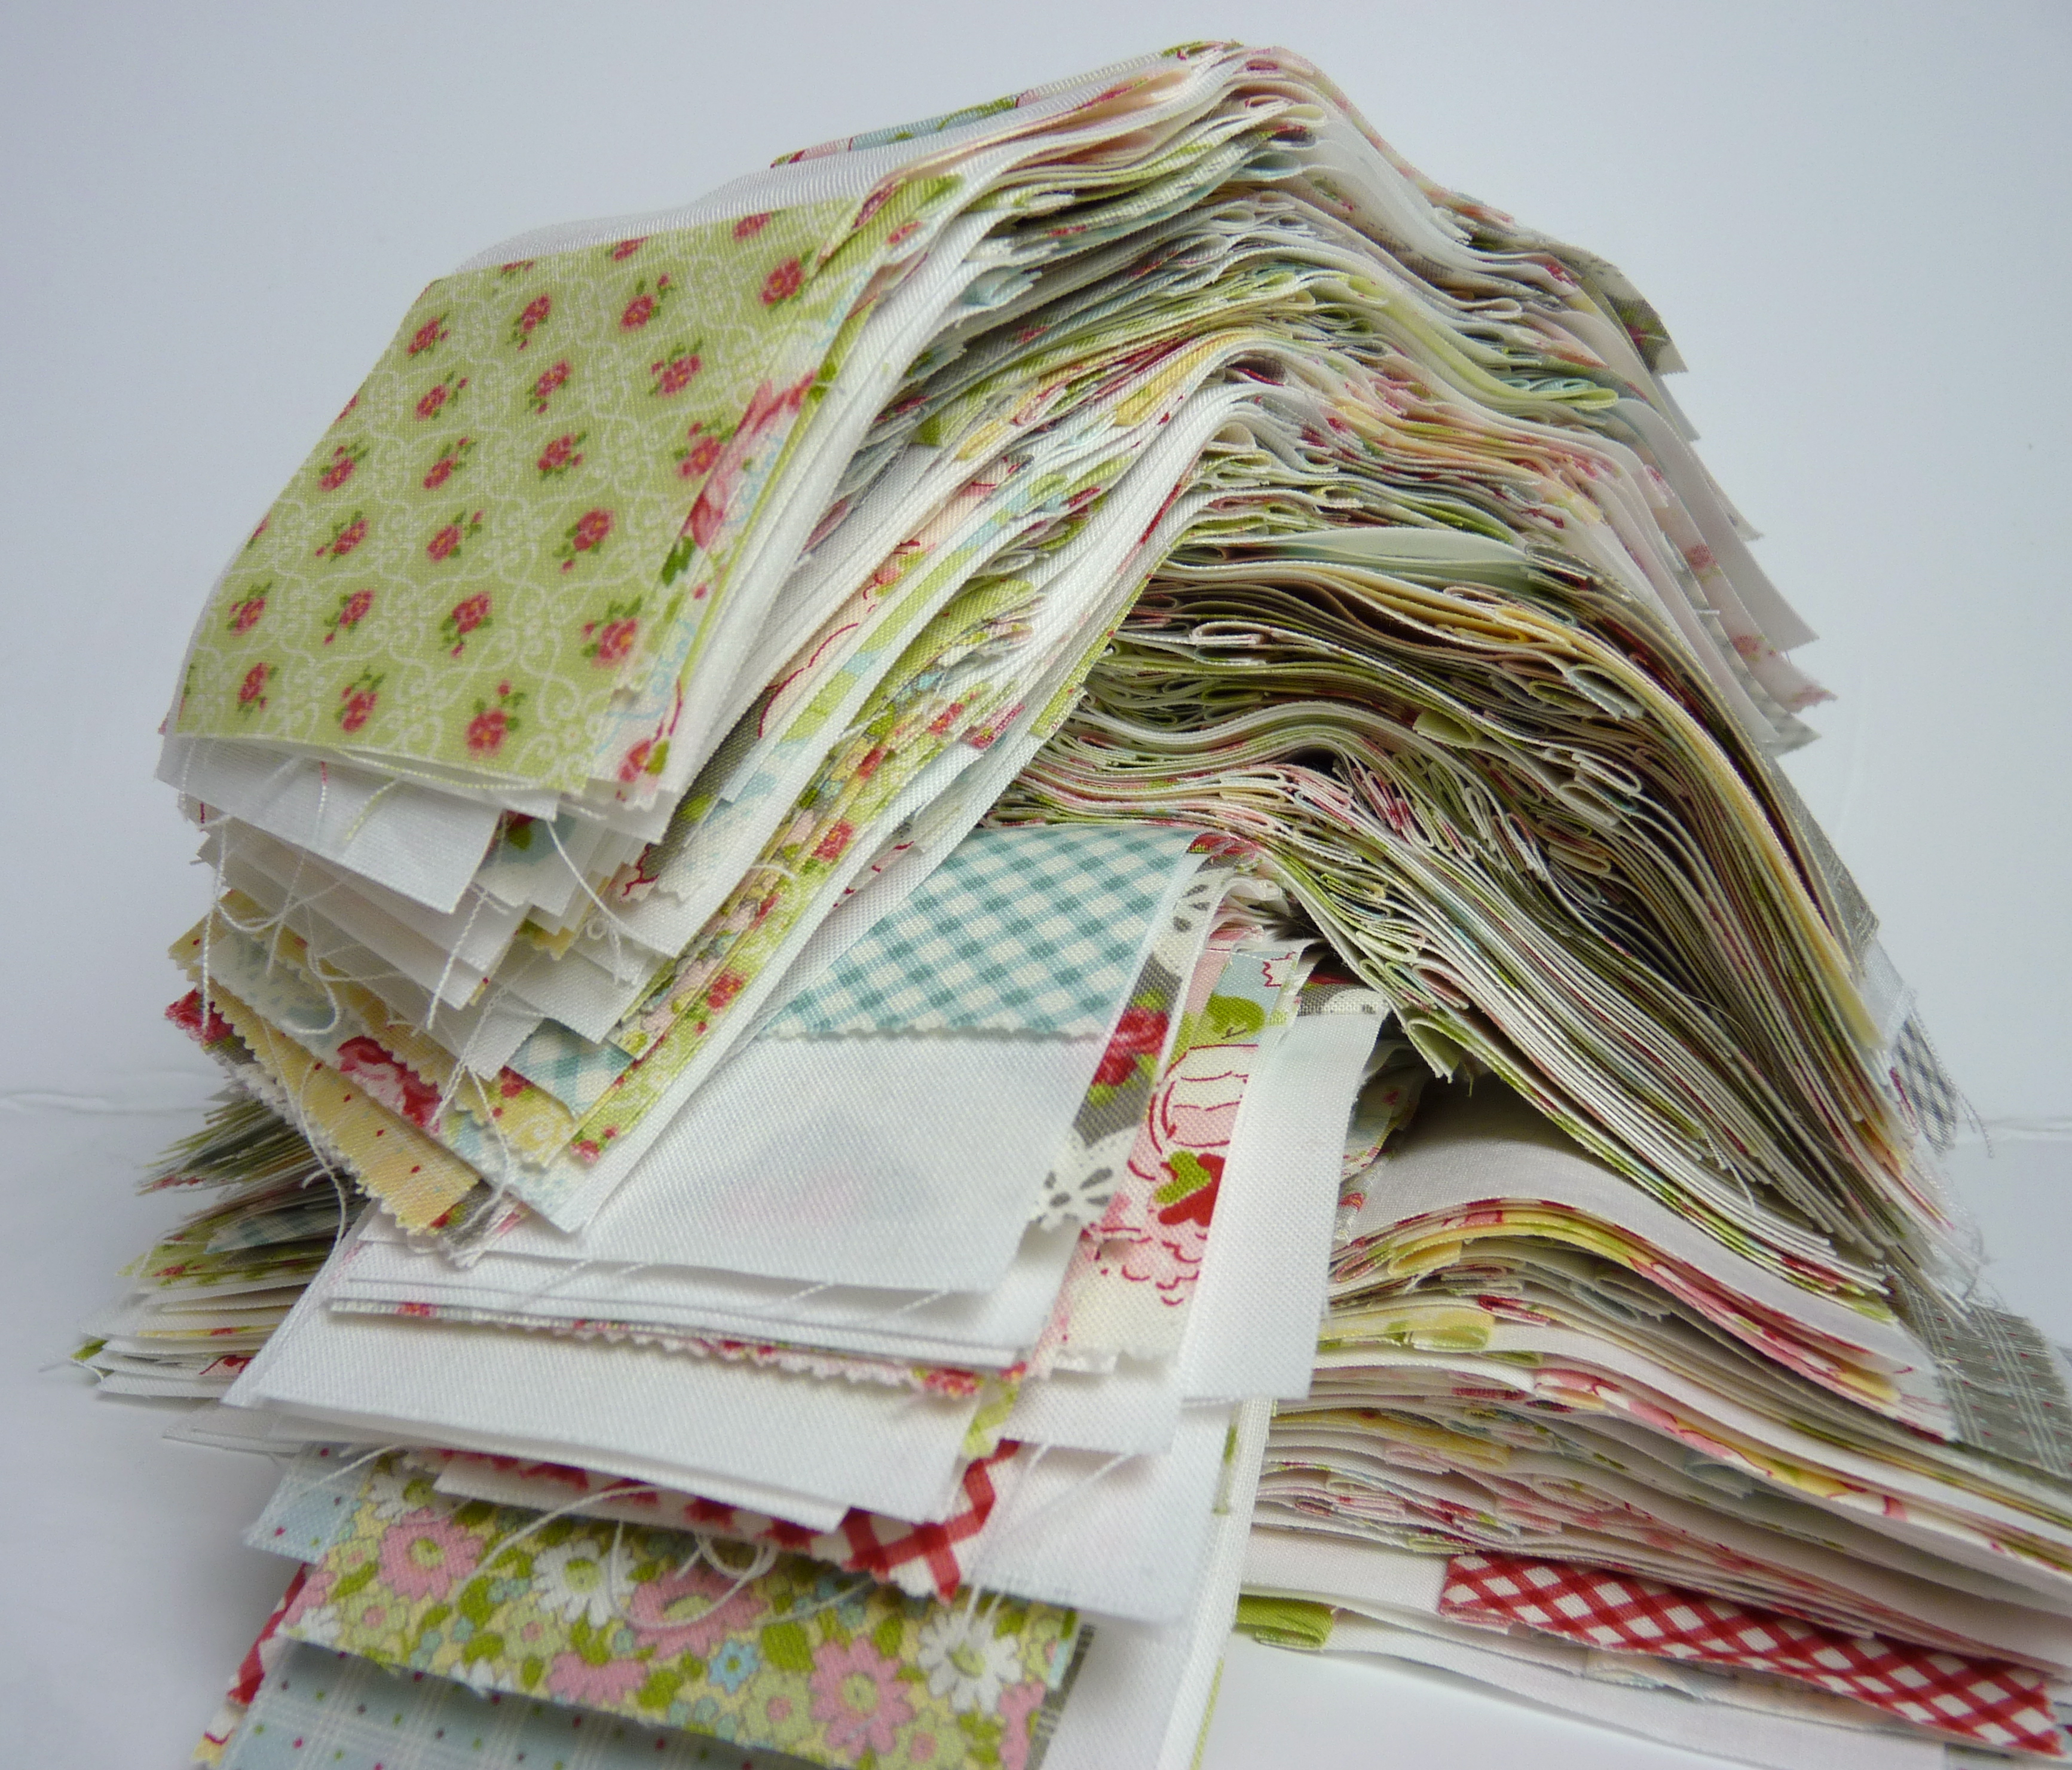
Rather than cut out individual 2 1/2 by 2 1/2 inch squares, I used this strip piecing tutorial by Red Pepper Quilts. I selected 33 strips from my jelly roll, cut them in half on the fold line and then attached a 2 1/2 inch wide strip of plain fabric to the long side. Although not really necessary, I cut the jelly roll strips in half to reduce any potential problems if the strips were wonky. I really needed only 32 jelly roll strips for the quilt. The extra one was to allow for any cutting errors (sad to say, there was one) and also ensured I had plenty of options when putting the quilt top together so that similar/same patterns weren’t right next to each other. The sewn strips were then cut down to 10 1/2 inches long and then sewn to another pair of sewn strips. Although these strips were slightly shorter than the 11 inches recommended in the tutorial there was more than enough fabric available when cross-cutting the strips.
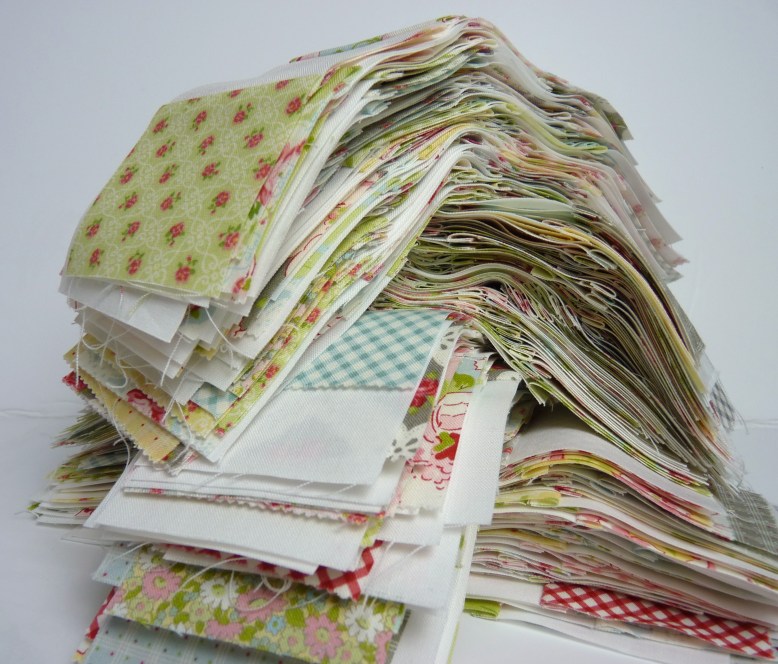
Checkerboard quilt strips
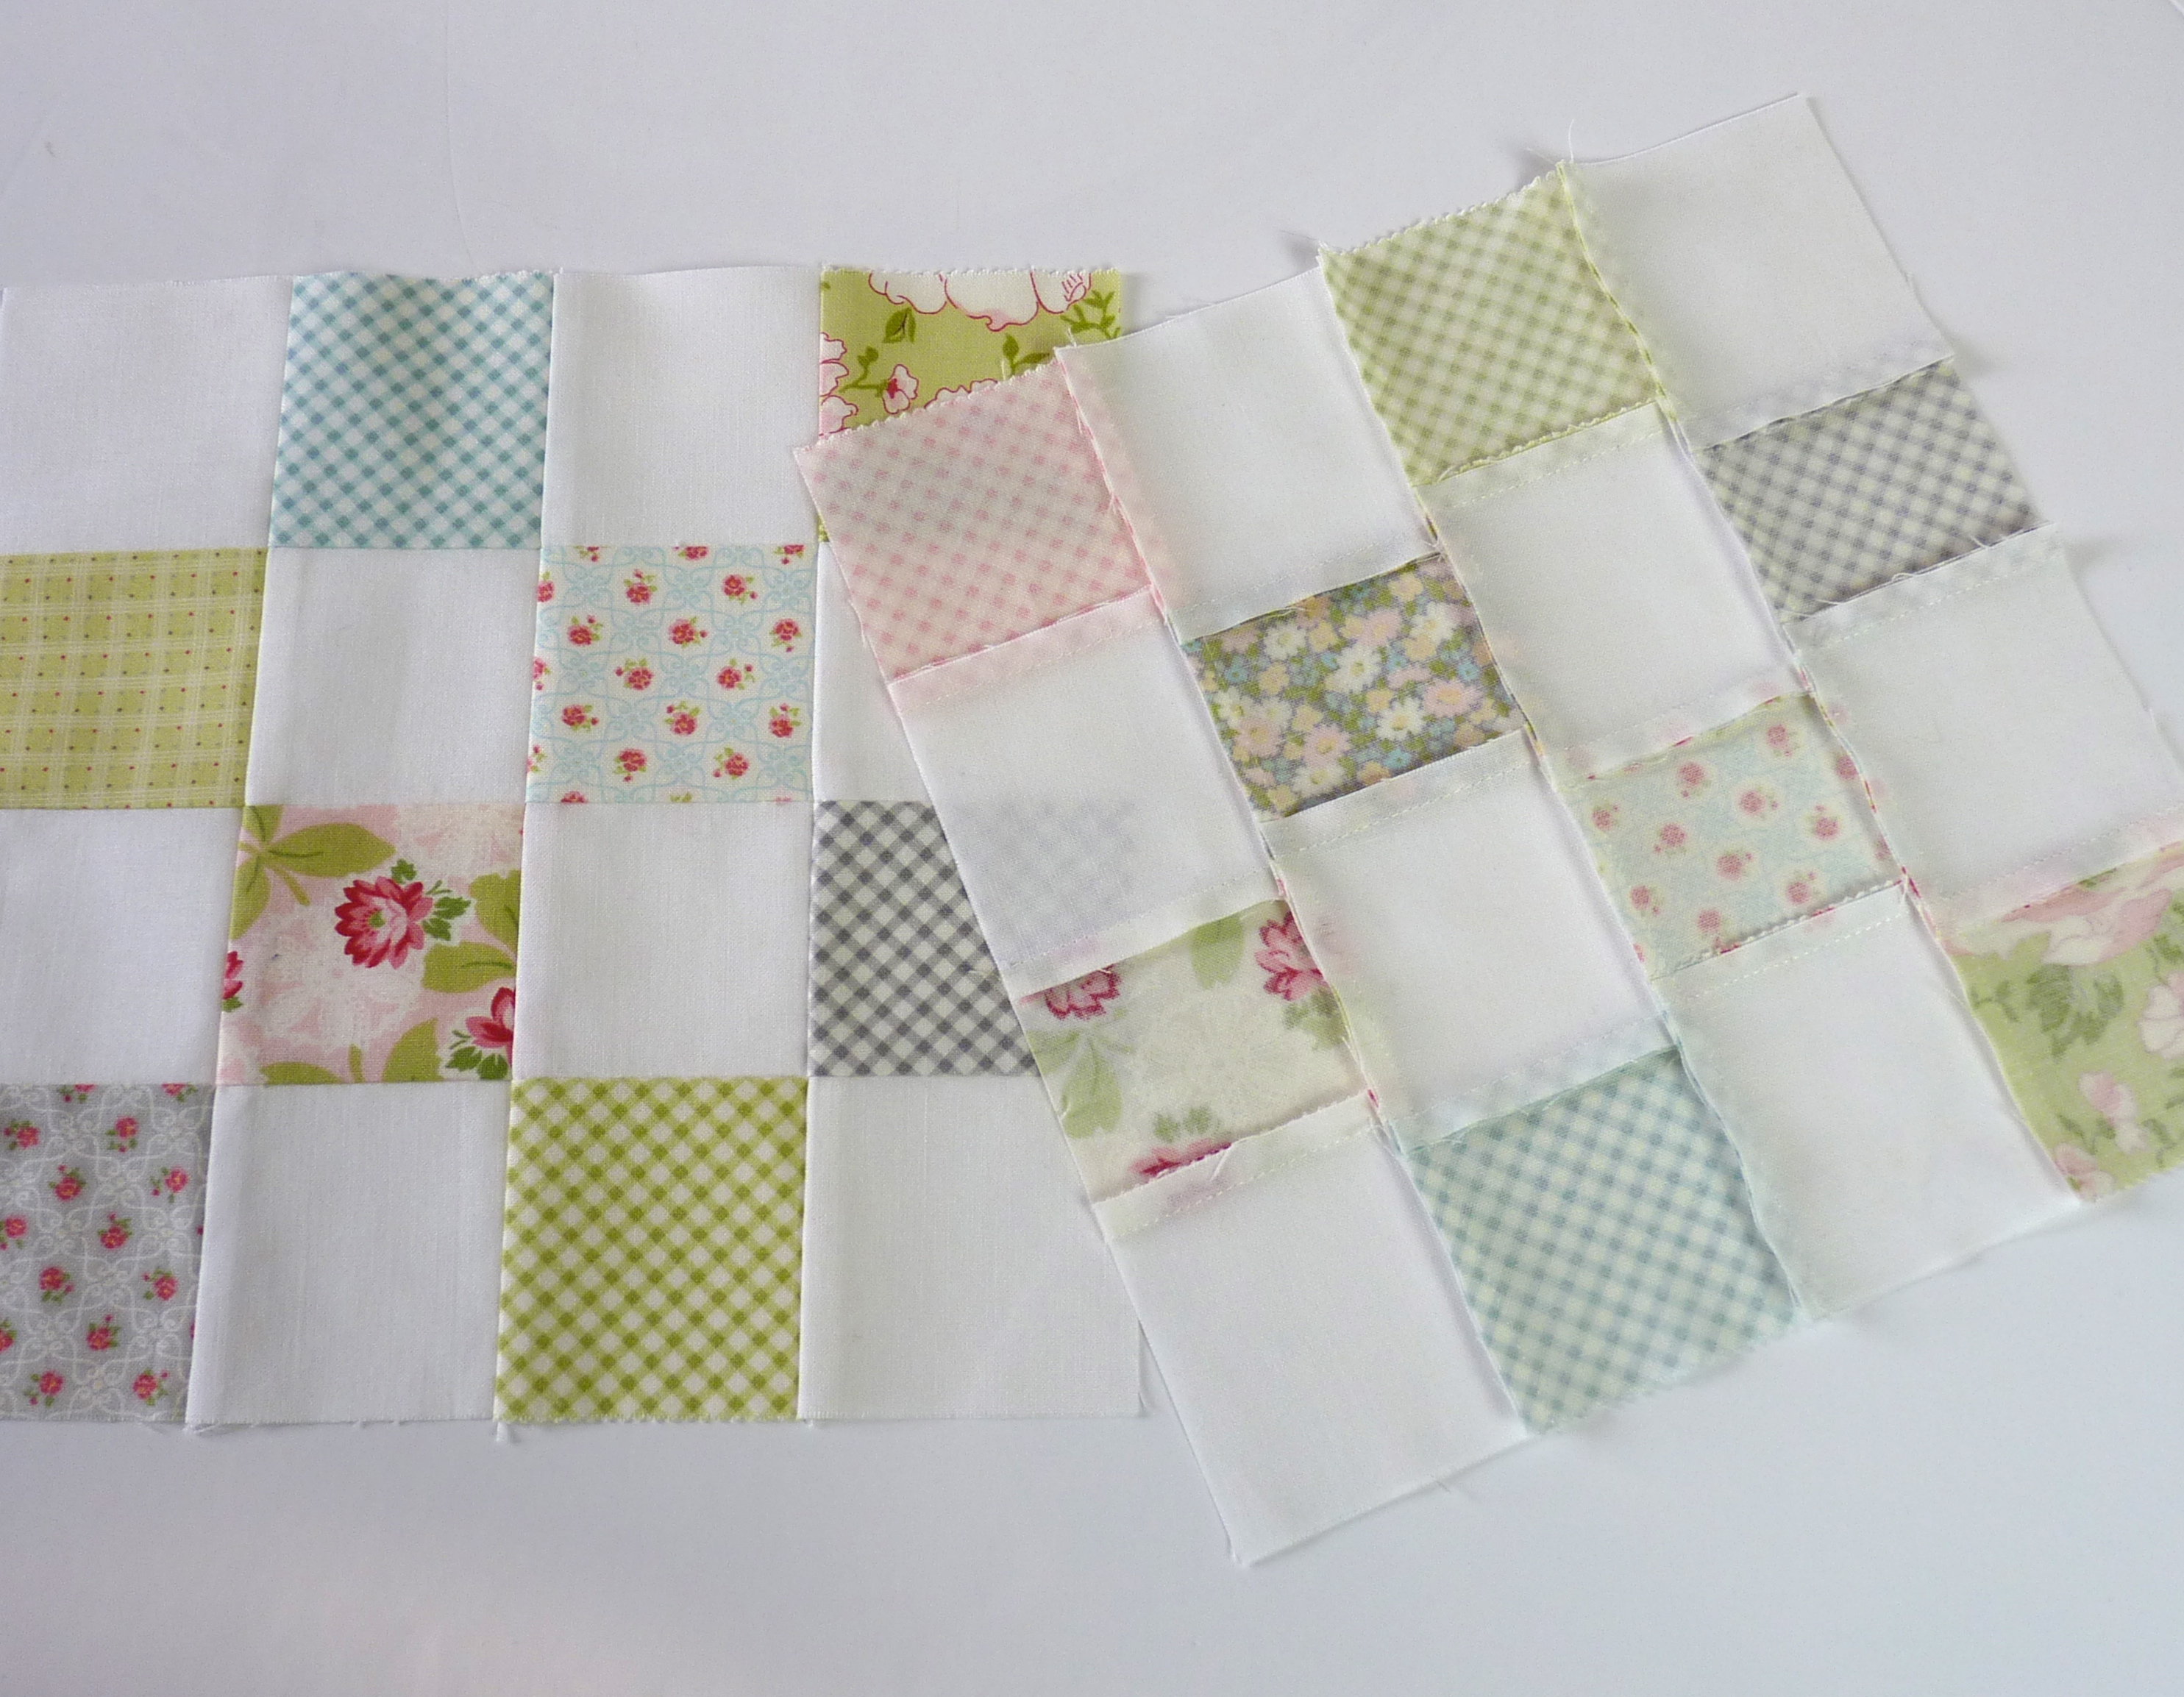
I worked on a quarter of the quilt at a time as I don’t have a large enough space in which to layout the full quilt design. Making up blocks of 16 squares each as per the tutorial made it much easier to nest the seams together and the reverse stayed very neat and tidy too.

Checkerboard quilt blocks
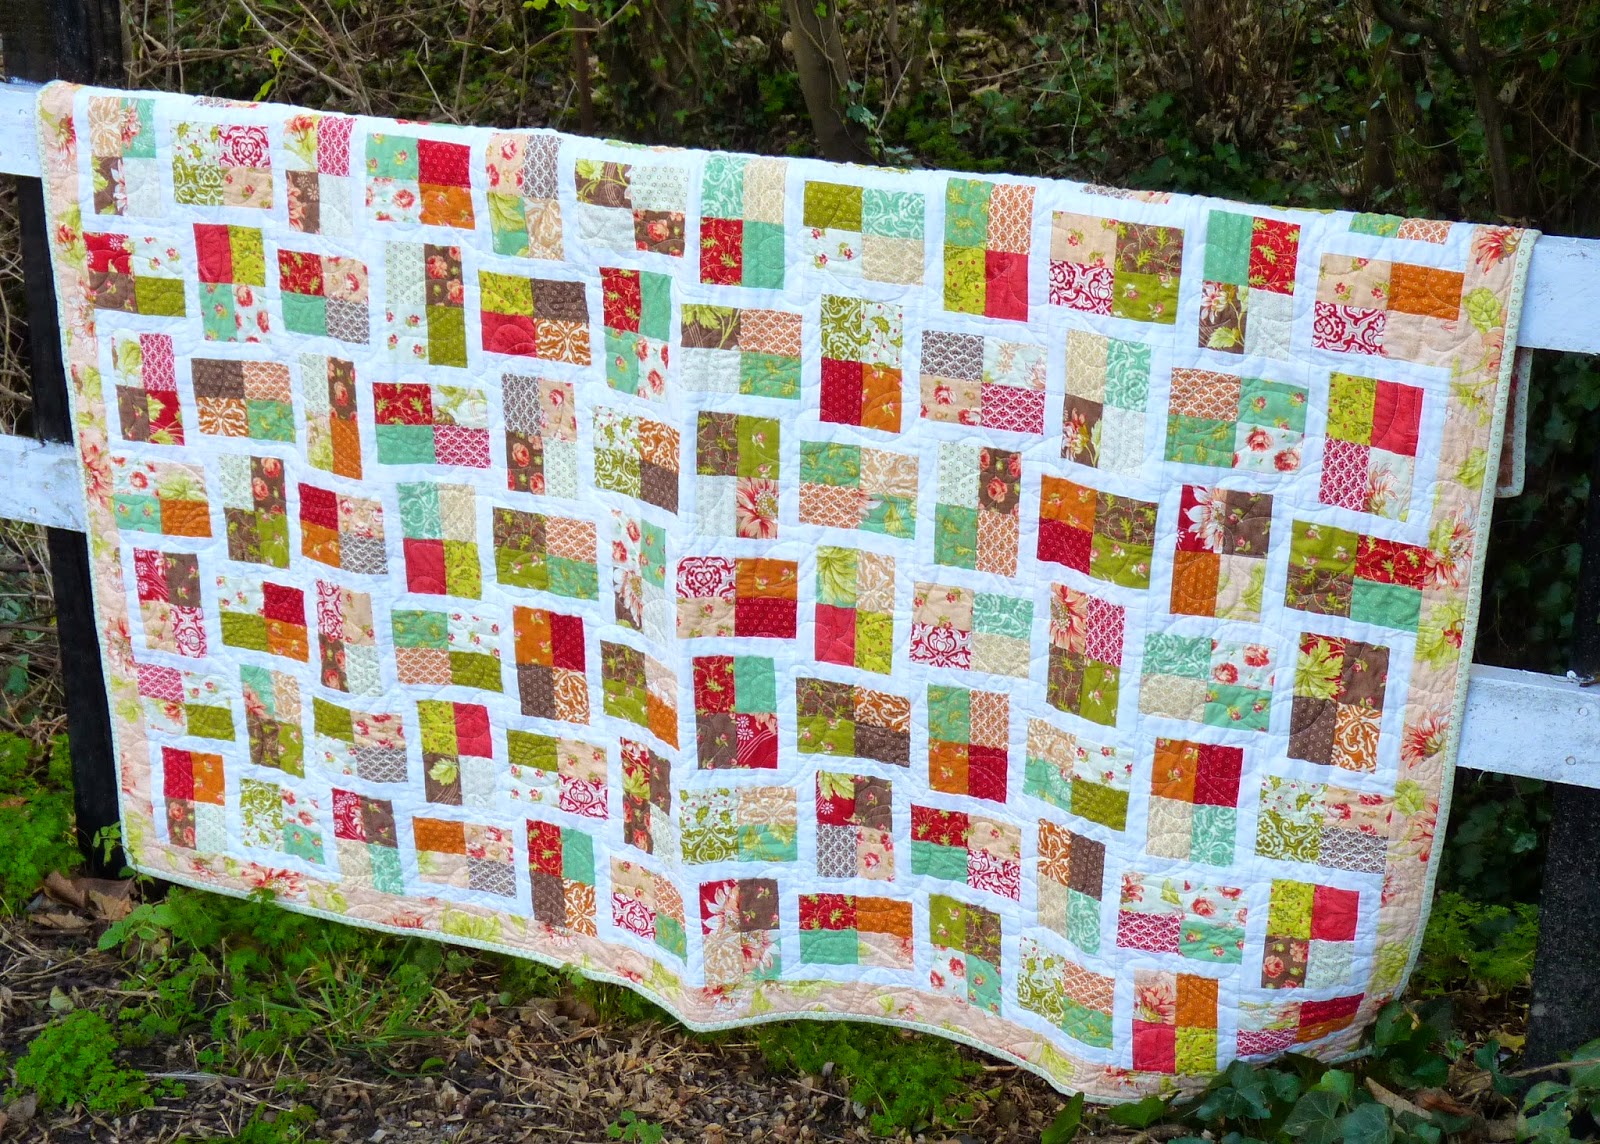
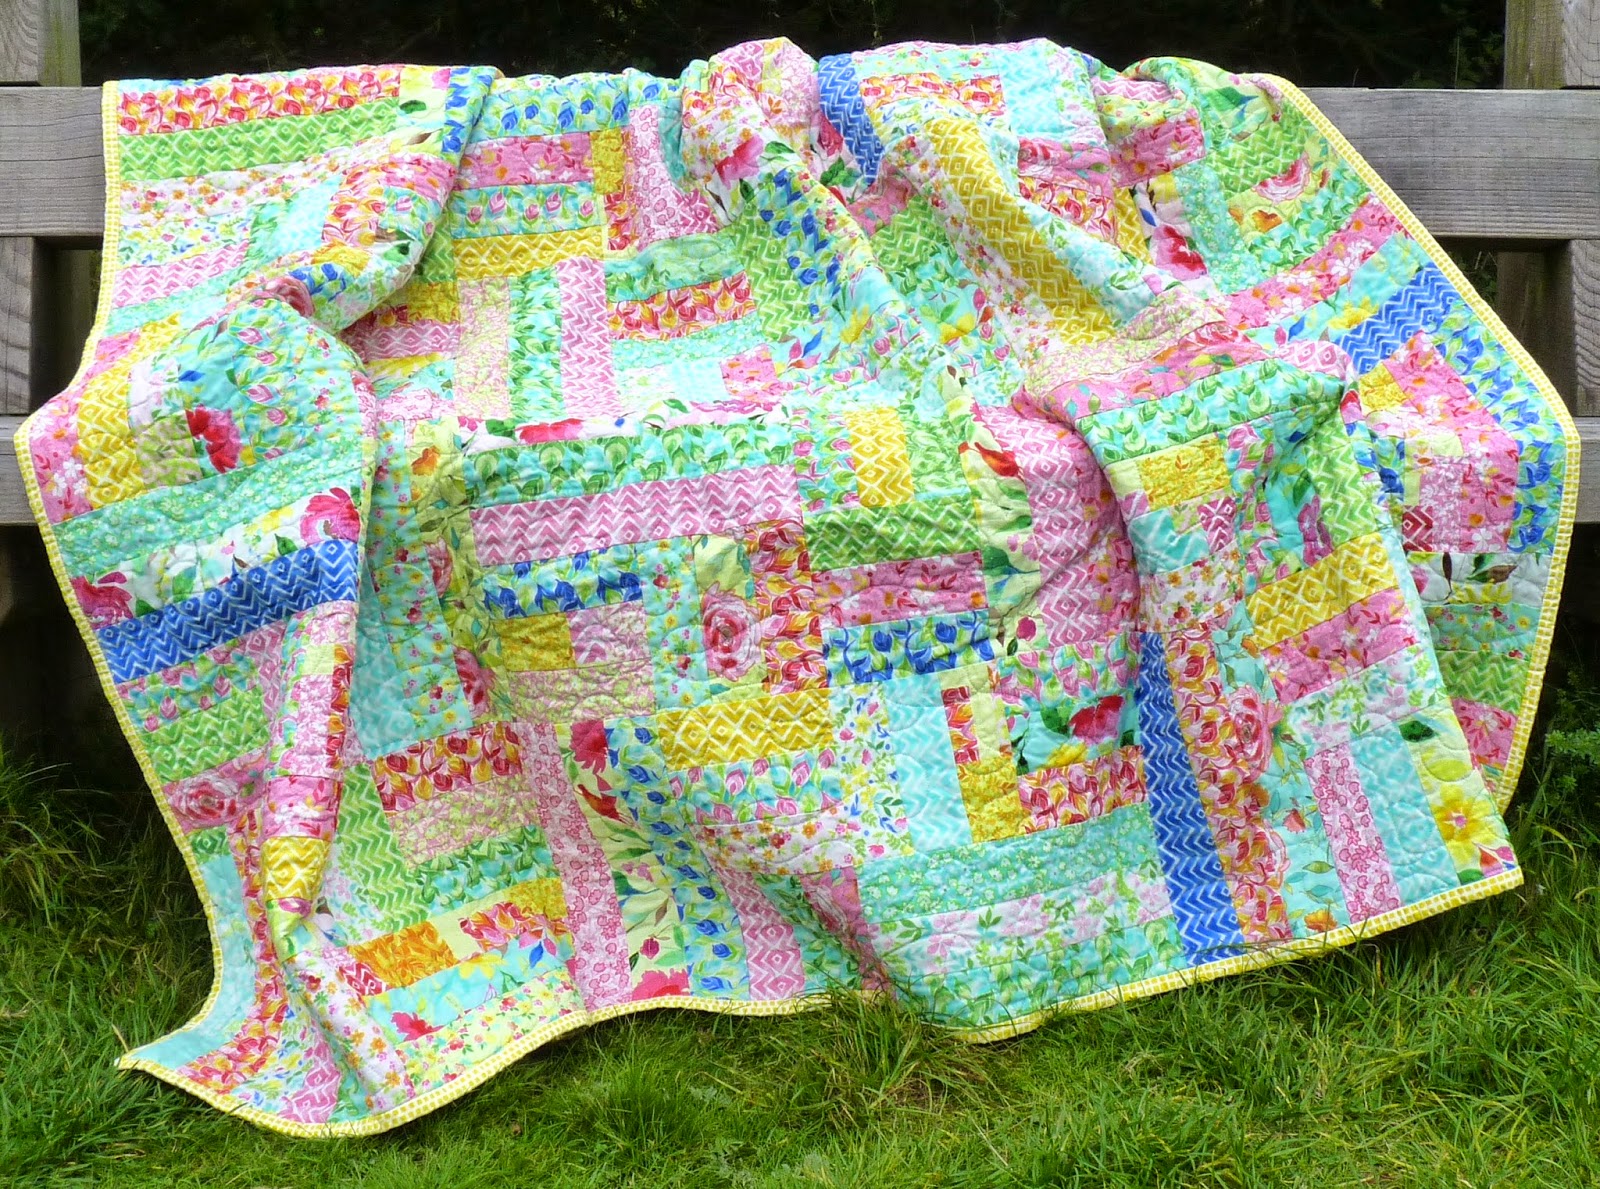
My quilt top is now complete and ready for quilting.
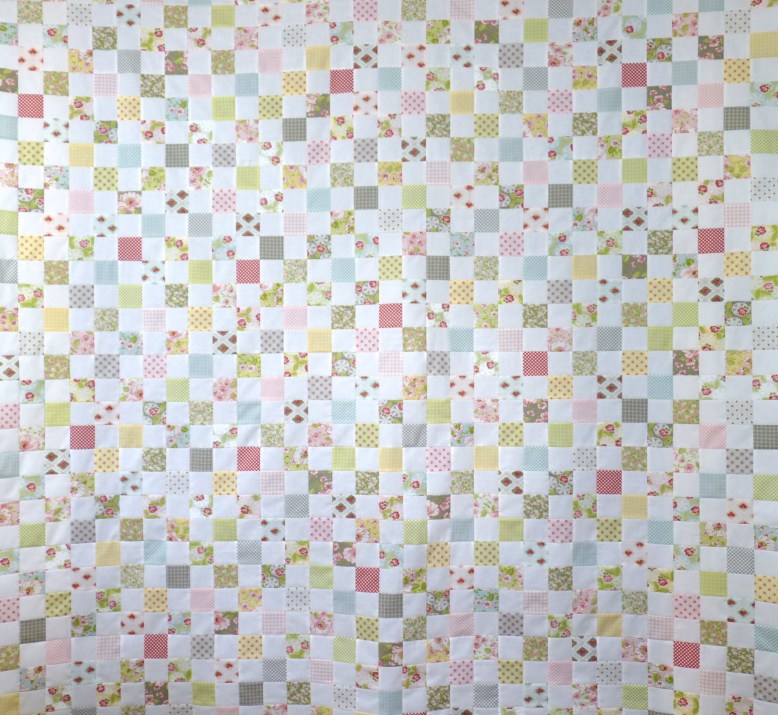
Checkerboard quilt top
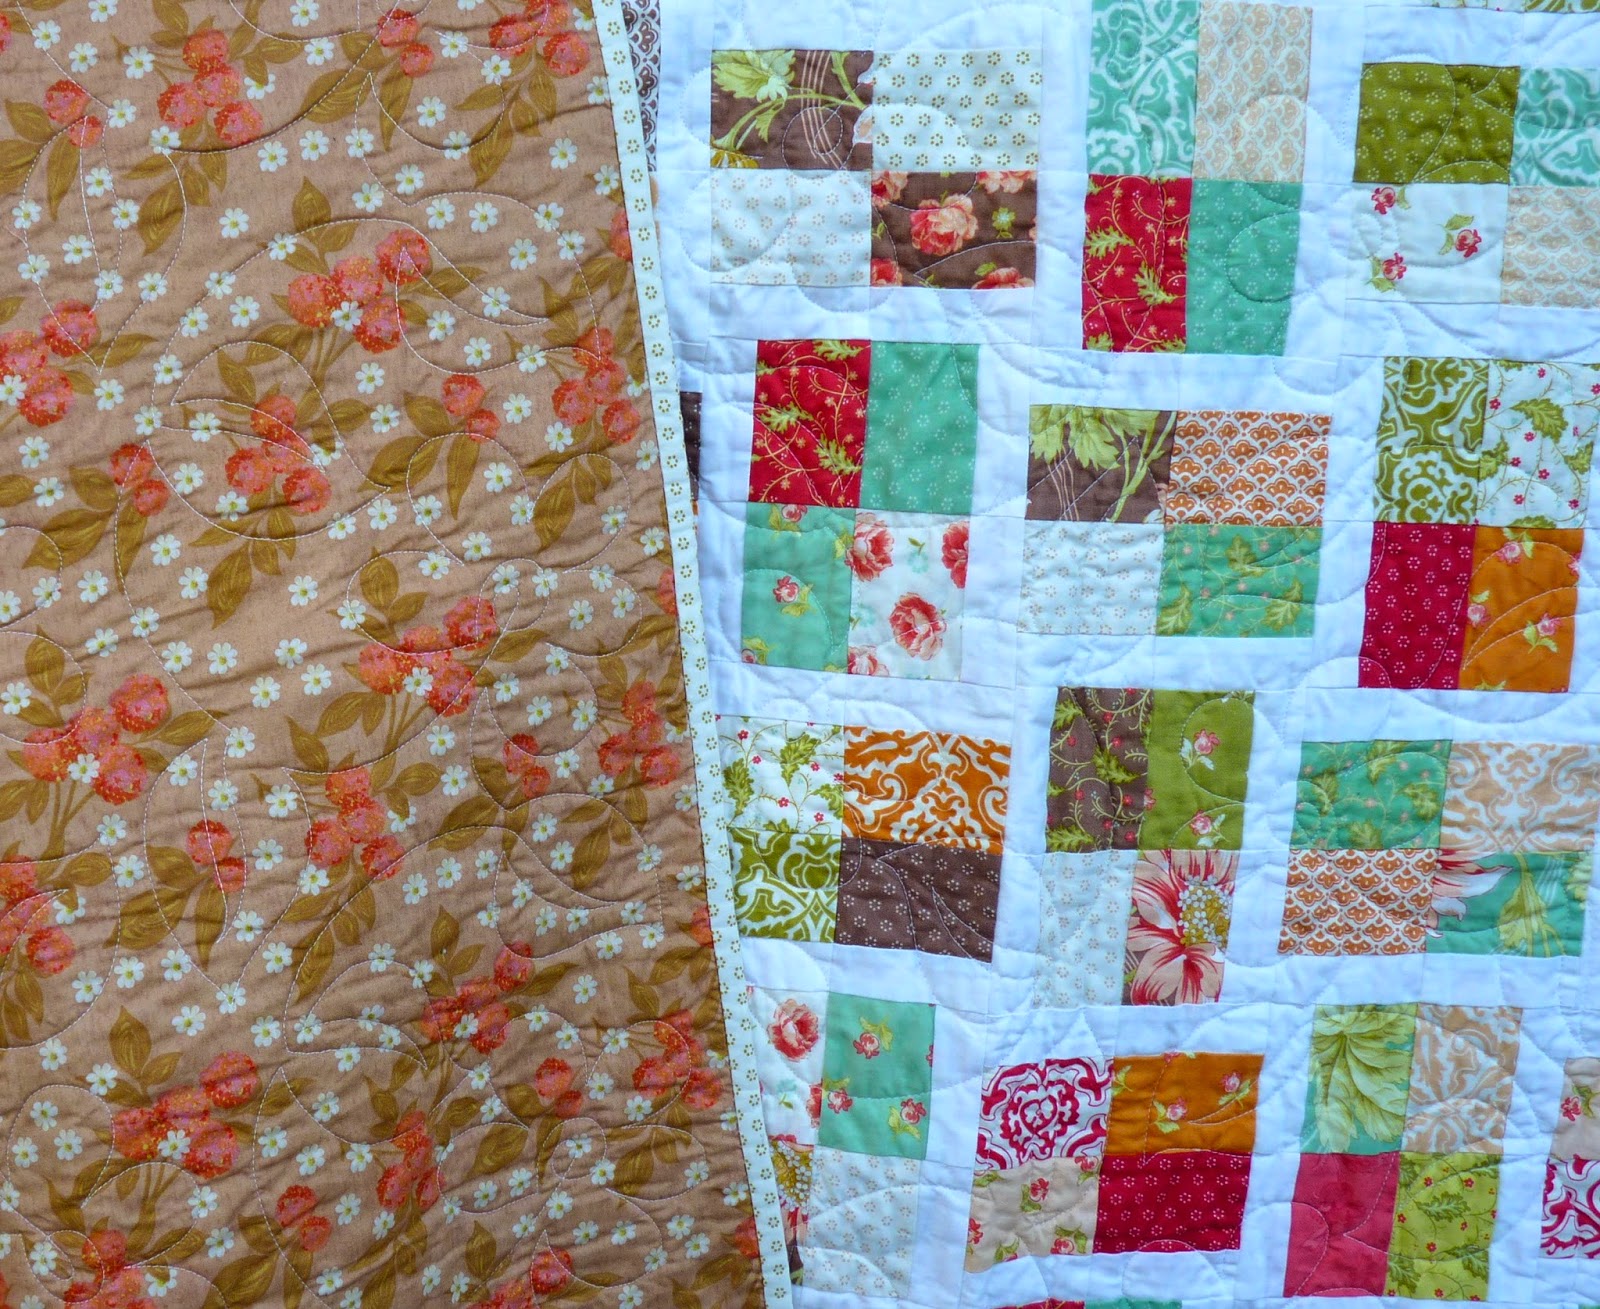
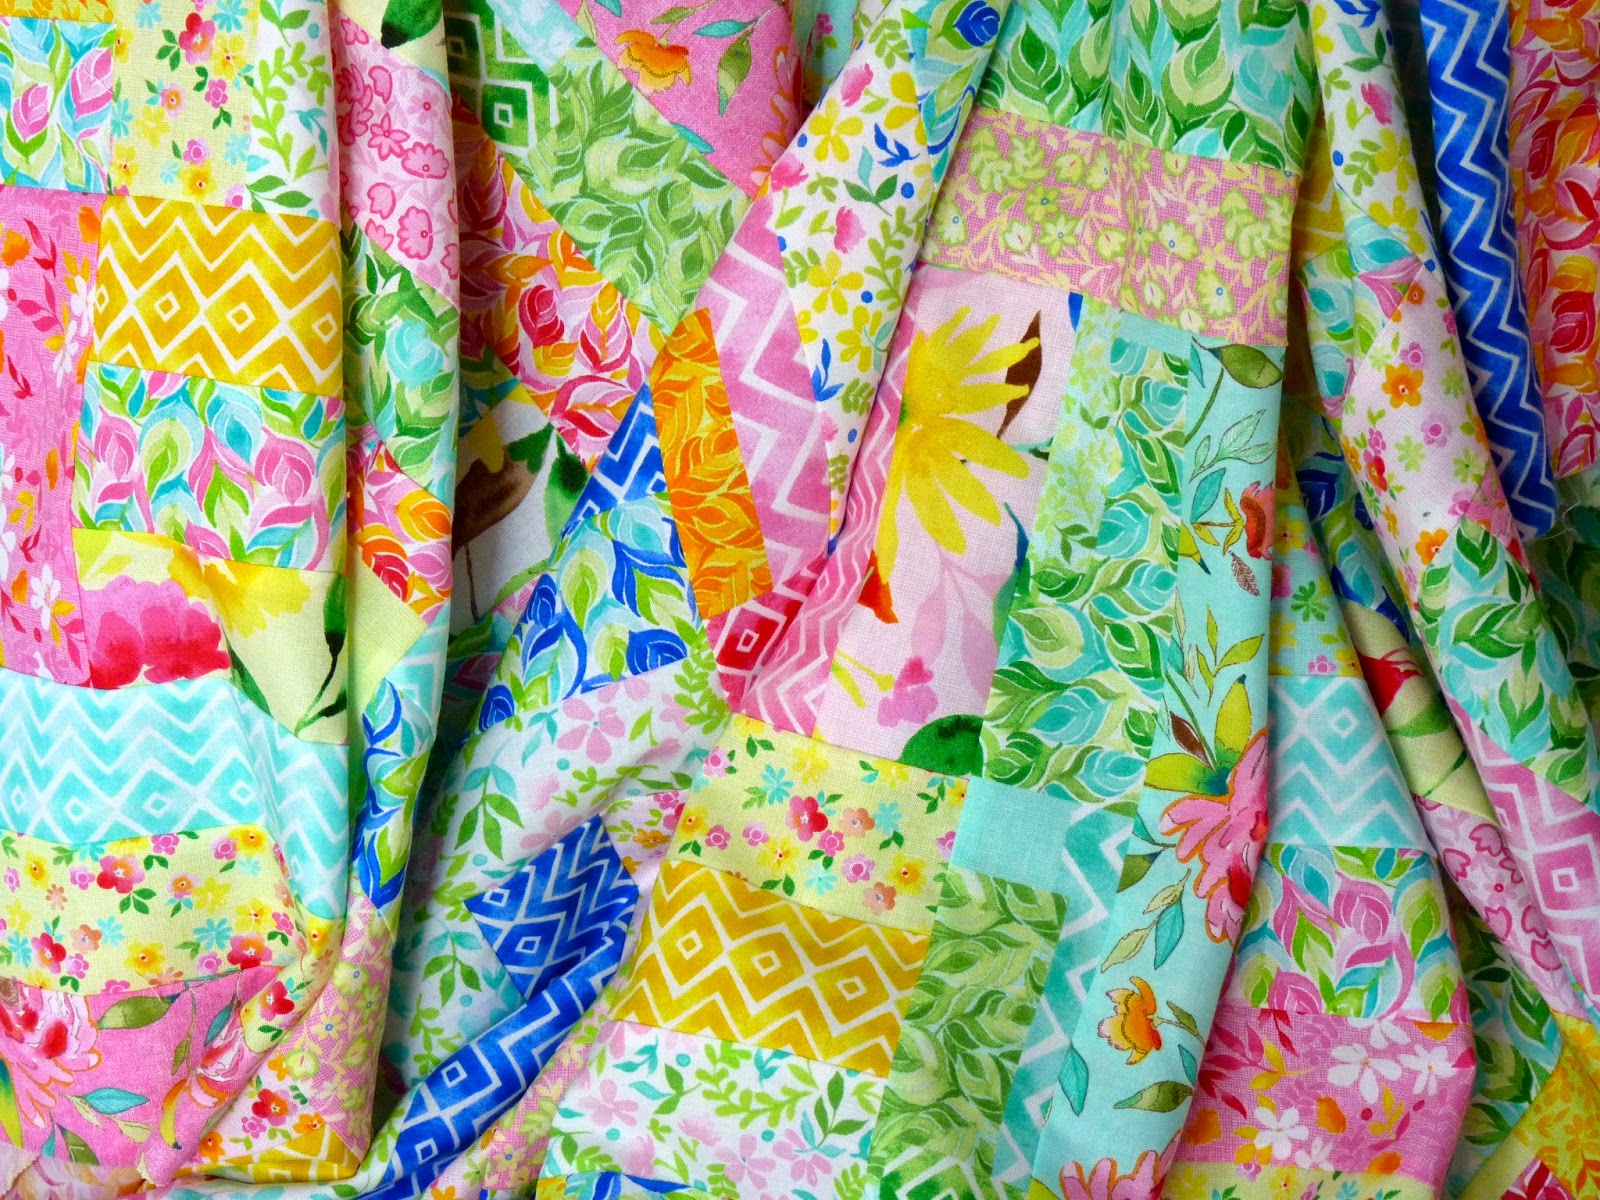
I love the colours in this one. They are so soft and pretty. And the white squares make it look lovely and fresh. Here is a close-up so you can see all that prettiness in detail.
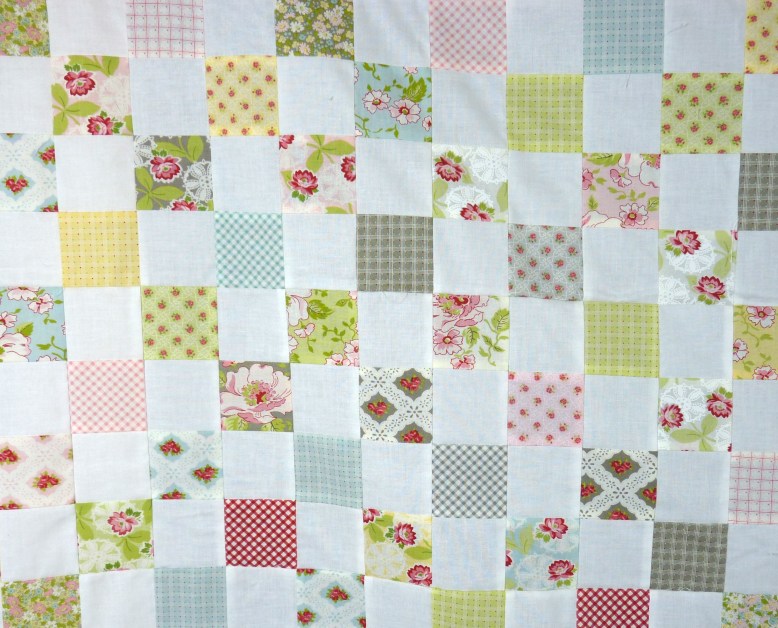
Checkerboard quilt top detail
It reminds me of meadow flowers strewn across a white sheet and I don’t even mind the greys in this one. Now I just need to choose the backing fabric and the quilting pattern. Decisions, decisions.
Oh, and in case you are wondering, I used an Ambleside jellyroll by Moda – a very pretty, country cottage collection of rose, daisy, gingham and lace designs – and Bella Solid in Off White for the plain squares.
Back with more soon.